Los pequeños detalles son los que hacen de una web algo realmente chulo. En este tutorial vamos a ver cómo hacer pies de página que se salgan de lo habitual y hago de nuestra página algo bonito y distinto a lo que solemos tener en el Footer.
Vamos a ver como hacer pies de página como el siguiente:

Para conseguir este resultado vamos usar la plantilla DIVI, si no la tienes te paso un cupón descuento del 20% para la licencia anual o un 10% para la licencia de por vida.
Si la quires probar gratuitamente la tienes disponible en la zona premium gratis para que la puedas probar.
Aquí tienes el tutorial en vídeo:
Suscríbete a mi canal:
Pasos a seguir:
Dejar el pie de página transparente
Lo primero que vamos a hacer es poner transparente el pie de página que viene por defecto, para ello vamos al personalizador de temas —> Pie —> Barra inferior —> Color de Fondo y ponernos el color transparente con la siguiente orden: rgba(0,0,0,0)
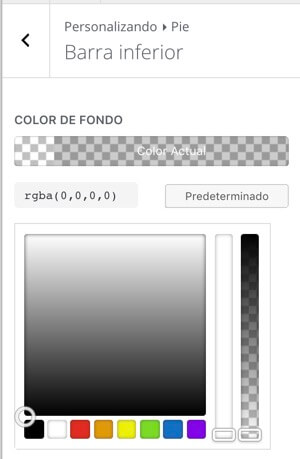
Dependiendo del color que pongamos posteriormente al fondo tendremos que cambiar el color del texto y el color del icono social para que se vea bien.
Crear un nuevo pie de página
El nuevo diseño del footer lo vamos a crear desde una página o entrada ayudándonos con el constructor visual de Divi y luego lo guardaremos como un elemento que podremos reutilizar en todos aquellos lugares que necesitemos.
Para ello creamos una página —> usamos el constructor visual de Divi —> usar constructor visual.
Nos preguntará como queramos empezar y le decimos Build from scratch
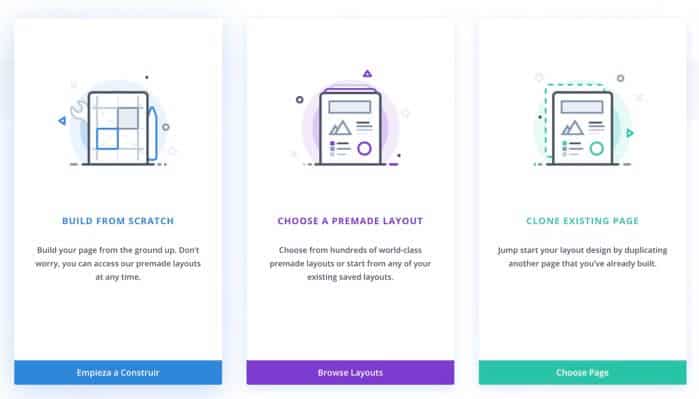
Nos preguntará cuantas filas queremos añadir y seleccionamos 1
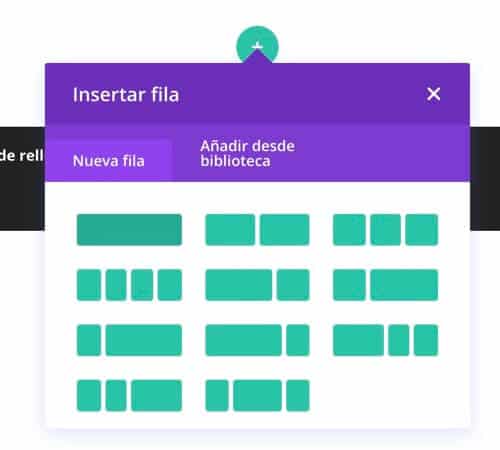
Ahora nos preguntará el módulo que queremos seleccionar, aquí no hace falta usar ninguno.
Parece que no hemos hecho gran cosa pero ahora tenemos dos elementos que podemos modificar, la sección y la fila.
Ajustes de fila
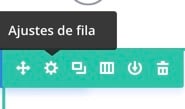
En los ajustes de fila tenemos que rellenar los siguientes campos en la pestaña Diseño —> Separación:
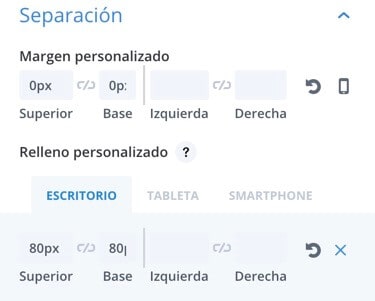
Margen personalizado: 0px Superior, 0px Base
Relleno personalizado (Escritorio): 80px Superior, 80px Base
Relleno personalizado (Tablet): 100px Superior, 100px Base
Ajustes de Sección:
En los ajustes de sección tenemos que rellenar los siguientes campos en la pestaña Diseño —> Separación:
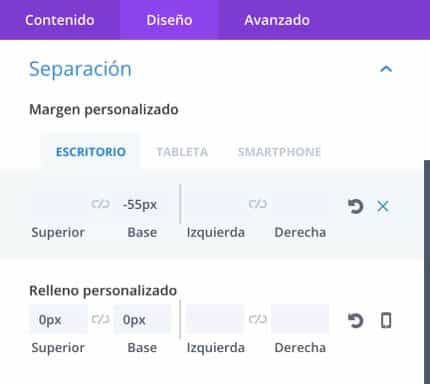
Margen personalizado: -55px base
Relleno personalizado 0px Superior, 0px Base
Ahora dentro de la configuración de la sección vamos a Dividers —> Base
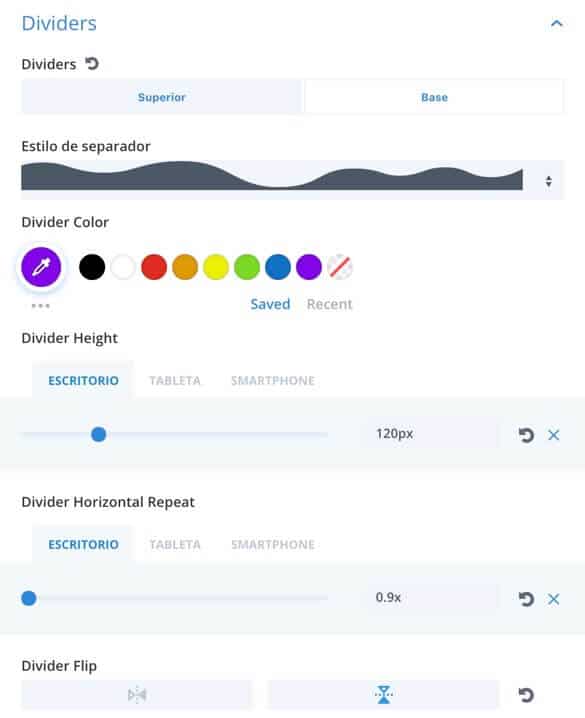
Estilo de separador: Añadimos el diseño que nos gusta, en la imagen anterior podéis ver el que he añadido yo.
Divider Color: Elegimos el color que queramos
Divider Height: 120px(Escritorio), 150px (Tablet), 150px(smartphone)
Divider Horizontal Repeat: 0.9(Escritorio), 0.5(Tablet),0.5(Smartphone)
Divider Flip: Vertical
Y ahora ya lo tenemos casi casi listo pero falta un pequeño código CSS para que el texto esté por delante del fondo.
Para ello vamos a la pestaña Avanzado —> CSS personalizado —> Elemento principal y añadimos:
z-index:0;
Si has llegado hasta aquí tienes un precioso pie de página que puedes usar a tu antojo.
Para poderlo reutilizar sólo nos falta exportarlo para ello nos ponemos encima de las opciones de la sección y hacemos click Guardar sección en la biblioteca

Recuerda que si no tienes la plantilla DIVI aquí tienes un cupón descuento del 20% para la licencia anual o un 10% para la licencia de por vida.
Si la quires probar gratuitamente la tienes disponible en la zona premium gratis para que la puedas probar.
Espero que os haya gustado 😉