Hola chicos ¿qué tal?
Hoy os traigo un tutorial muy interesante. Puede que en más de una ocasión te hayas preguntado:
¿Cómo puedes ver tu web sin configurar los DNS?
En este tutorial veremos como hacerlo de forma sencilla y sin cambiar el fichero hosts de nuestro ordenador.
Muchas veces nos pasa que estamos trabajando en una nueva página web y no queremos que se vea hasta que esté terminada; por esta razón no configuramos los DNS.
El problema es que no la vamos a poder ver, mientras los DNS no apunten a nuestro Dominio.
¿Qué manera tenemos de hacerlo?
La forma habitual de hacerlo era modificando el fichero hosts de nuestro ordenador desde nuestro terminal. Buscamos el fichero que se llama Hosts y dentro de el poníamos la ip del servidor y el dominio al que queremos que apunte.
Es la forma normal y profesional de hacerlo pero en este tutorial lo vamos a hacer de forma más sencilla.
Aquí tienes el tutorial en vídeo:
Suscríbete a mi canal:
Vamos a ver un ejemplo para verlo más claro, imaginar que queréis añadir una página a vuestro alojamiento.
Para ello vamos a nuestro cpanel y en Dominios Adicionales añado el dominio que quiero configurar:
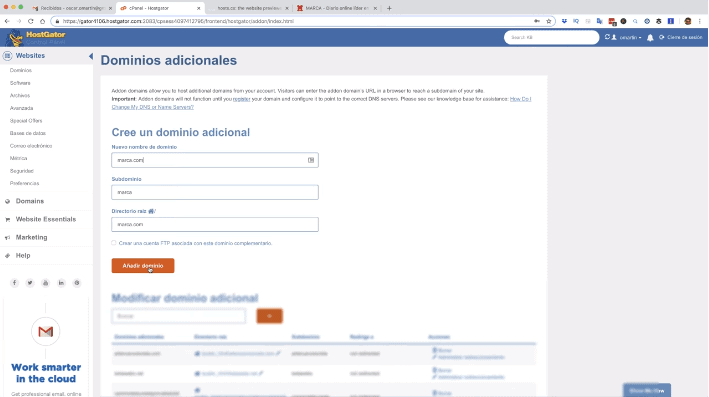
Por ejemplo pondré marca.com (es un dominio que claramente no es mío) y lo crearé en mi hosting.
Una vez creado instalaré WordPress:
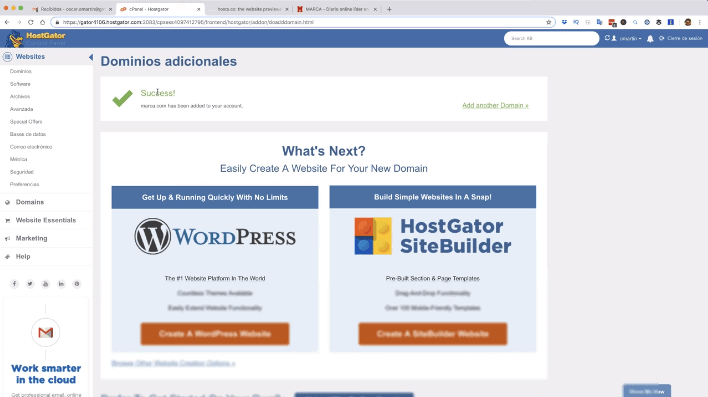
Selecciono el dominio que acabo de subir y completo todos los datos:
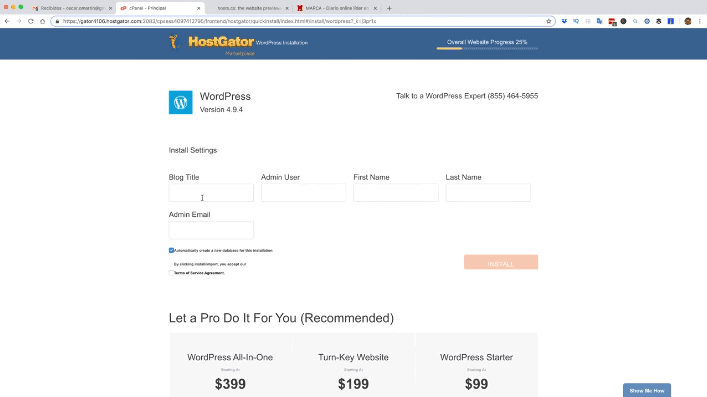
Una vez hecho esto, hago clic en instalar.
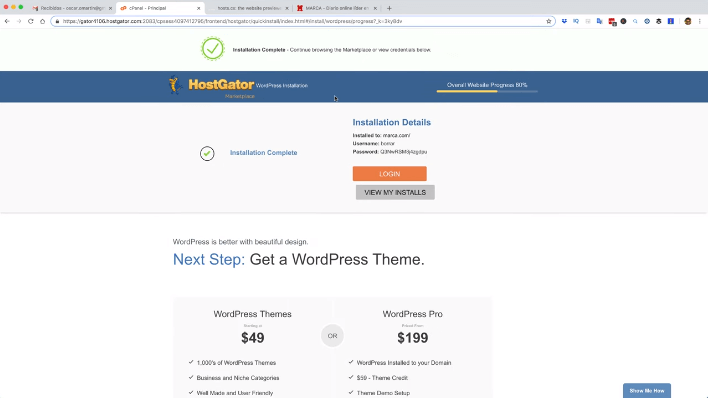
¿Te preguntarás por qué hago este ejemplo?
Porque muchas veces estamos configurando nuestra web, pero no queremos añadir los DNS que apunten al alojamiento hasta que tengamos la web terminada, pero por otro lado queremos trabajar en ella y queremos verla. Como lo haríamos?
Utilizando la herramienta Hosts.cx
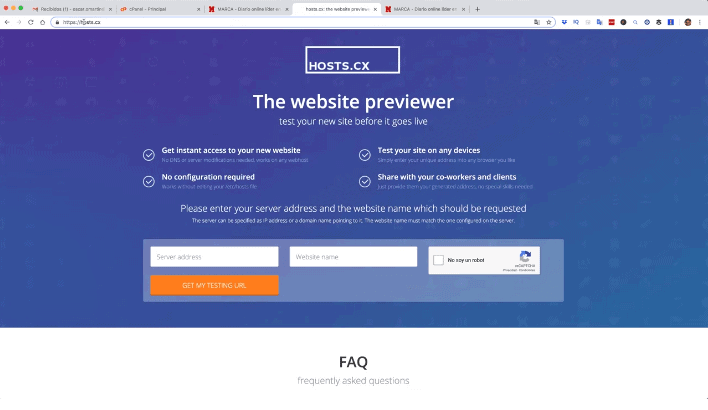
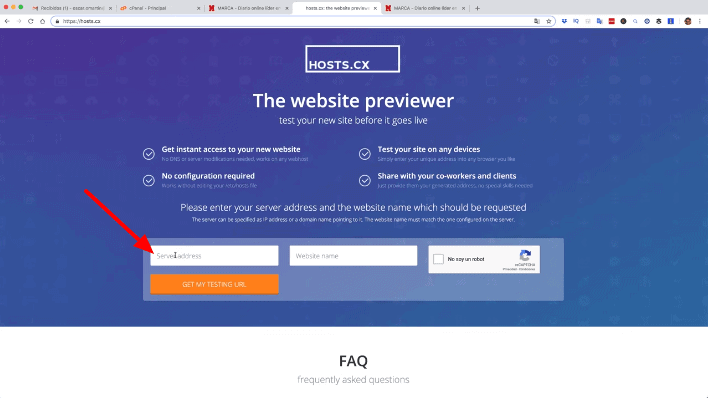
Fijaros aquí me pregunta la IP (Server Address)
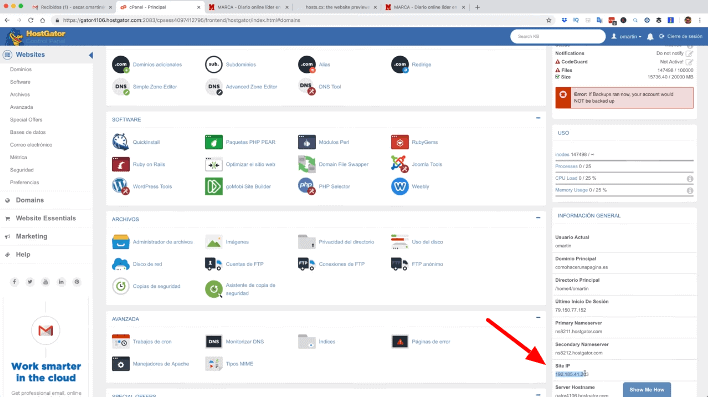
Para ello me voy al cpanel de mi web, la busco y la copio.
Me vengo a la página, pego la IP y en la otra casilla pongo el dominio, que para mi ejemplo era https://marca.com. Le digo que no soy un robot.
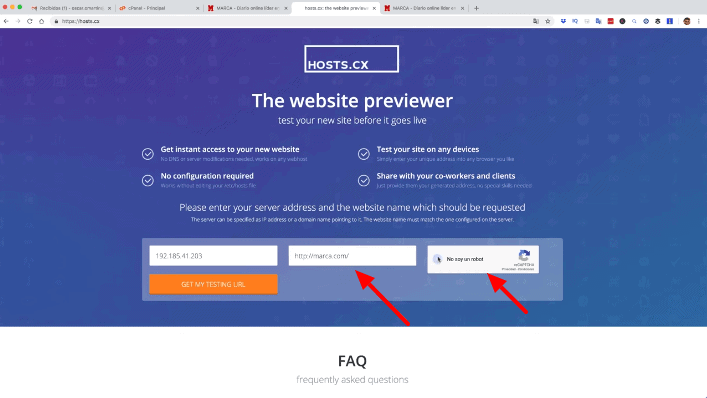
Hago clic en GET MY TESTING URL
Y ahora se me ha generado una URL que es accesible desde cualquier lugar:
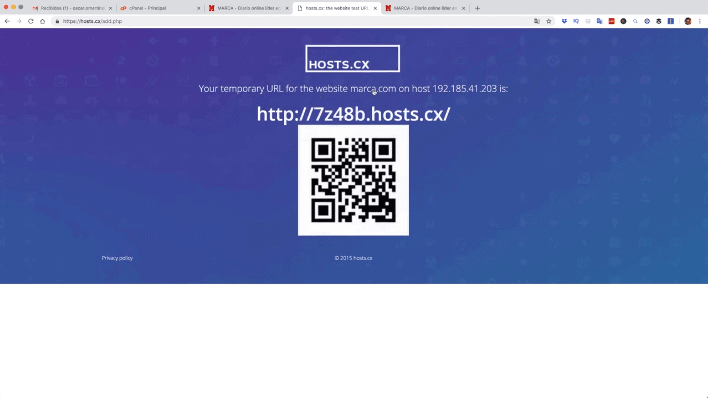
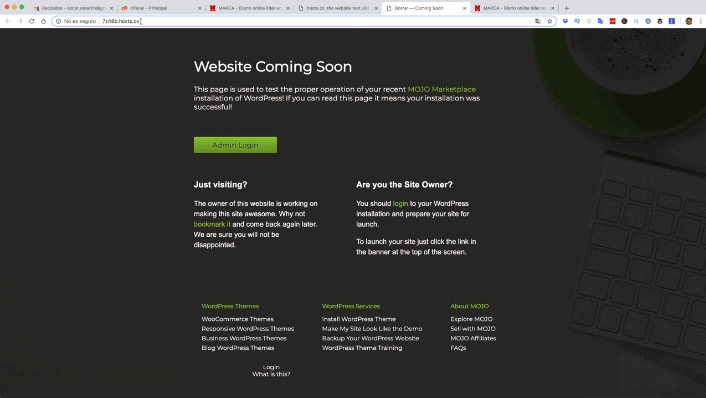
y aquí veis que está mi página, la típica página de empezar con Hostgator
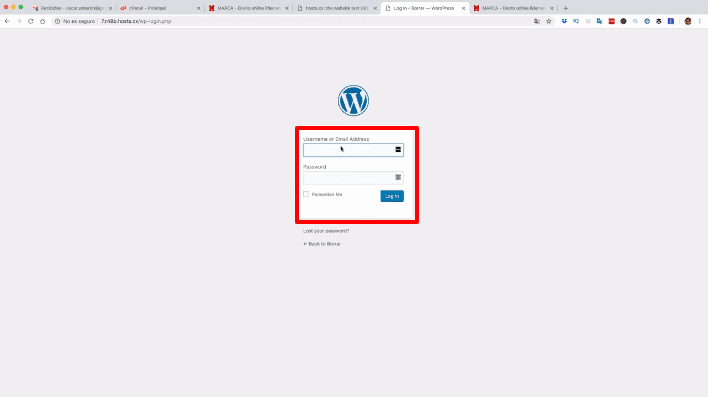
Si ingreso al administrador de nuestro WordPress, puedo colocar mi usuario, contraseña y trabajarla aunque no haya cambiado mis DNS.
Es una herramienta muy útil para este caso concreto que les estoy comentando.
Espero que les haya gustado, que os sirva y que le saquéis utilidad.
Nos vemos en el siguiente vídeo. Hasta Luego!!!