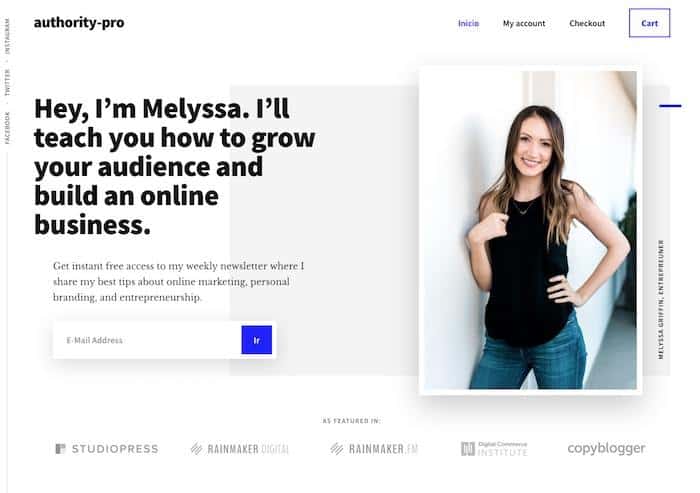
Me habíais pedido que creara un tutorial para montar la plantilla de Genesis Authority pro y aquí lo tenéis 😉
Authority pro es la última plantilla que ha sacado Genesis y tiene una pinta estupenda, haz click en la siguiente imagen para verla completa:
Authority Pro es una plantilla que está optimizada para WooCommerce y tiene toda la potencia de las plantillas de Genesis.
La plantilla la puedes comprar aquí o si eres miembro premium la tienes disponible en la zona premium 😉
Aquí tienes el tutorial en vídeo:
Suscríbete a mi canal:
Antes de instalar la plantilla:
Antes de instalar la plantilla se supone que tienes instalado WordPress en tu servidor.
Plugins necesarios
Si quieres hacer email marketing y que aparezca el campo en la cabecera para pedir el email tienes que instalar el plugin gratuito eNews Extended
Plugins opcionales
Si además, vas a montar una tienda con WooCommerce necesitarás:
- WooCommerce: Añade la funcionalidad de tienda a tu web
- Genesis Connect for WooCommerce: Añade los estilos para que tu tienda se vea bien en plantillas de Genesis
Cuando instales Genesis Connect for WooCommerce no lo actives hasta que tengas activa la plantilla Authority pro o te dará un error
Instalar Authority Pro de Genesis
Cómo todas las plantillas de Genesis primero tienes que instalar el framework Genesis y una vez que lo tengas instalado puedes instalar la plantilla hija Authority Pro.
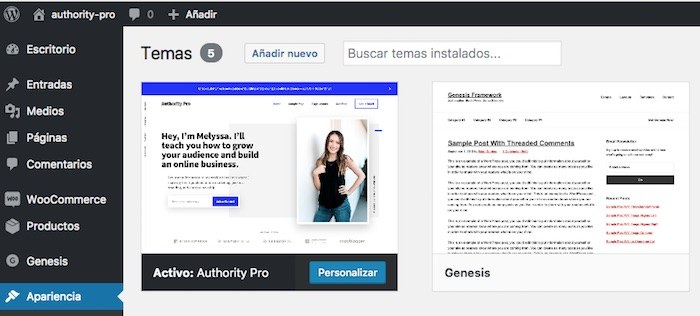
Recuerda que para instalar plantillas en WordPress tienes que ir a Apariencia –> Temas –> Añadir nuevo.
Cuando lo tengas listo verás algo como lo siguiente:
Importar Contenido Demo
Con contenido es mucho más fácil ver el como va quedando nuestra página web. Es muy difícil imaginarnos una web vacía.
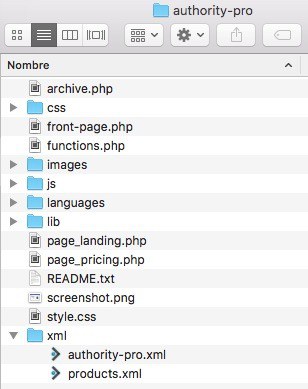
Authority pro viene con contenido demo dentro de la plantilla, para instalarlo lo primero que tenemos que hacer es descomprimir el fichero de la plantilla y dentro nos encontraremos con la carpeta XML y dentro el fichero authority-pro.xml
Para importarlo tenemos que ir a Herramientas –> Importar –> WordPress

Una vez importado, tendremos un montón de entradas y páginas para poder montar la plantilla sin problema 😉
Lo más llamativo de esta plantilla es la página principal, para obtener el resultado final que vemos en la demo tenemos que configurar los widgets necesarios de la home y personalizar algunas opciones de la plantilla.
Configurar Home de Authority Pro
Para configurar la home tenemos que configurar las opciones de Authority Pro y las zonas de los widgets Hero Section, Front Page 2, Front Page 3, Front Page 4, Front Page 5 y Footer.
Zona Hero
Llamamos Zona Hero o sección Hero a la siguiente parte de la página de inicio:
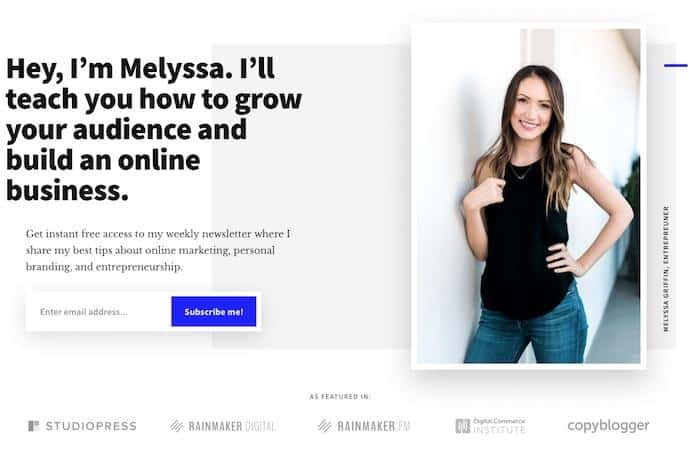
Para configurarlo se hace en 3 sitios distintos
Opciones Hero Portrait Section
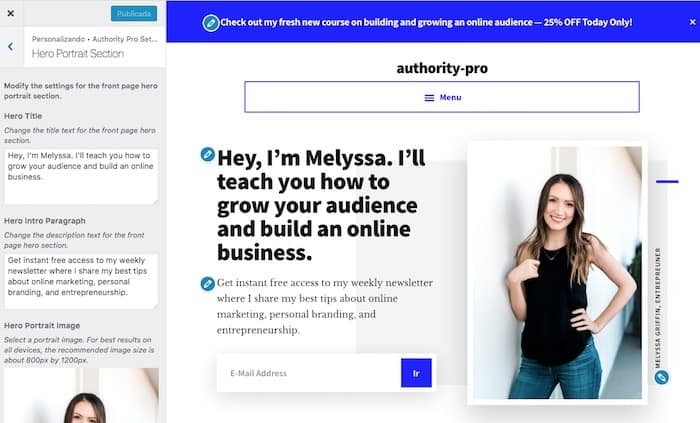
Aquí configuraremos la imagen destacada, el título y el texto que aparece encima del campo para añadir el email.
En la zona de administración hacemos click en Apariencia –> Personalizar y seleccionamos la opción «Authority Pro Settings» –> Hero Portrait Section y aquí podremos modificar el texto y la imagen de la cabecera:
Justo debajo del campo del email aparecen unos logos destacados, para añadirlos tenemos que ir a Apariencia –> Personalizar y seleccionamos la opción «Authority Pro Settings» –> Hero Logo Section y añadimos hasta 6 logos, en el caso del ejemplo 5.
Desde aquí podemos configurar todo excepto añadir el campo del Email, para ello tenemos que ir a la zona de Widgets Hero Section el widget Genesis – eNews Extended
Zona de Widgets Hero Section
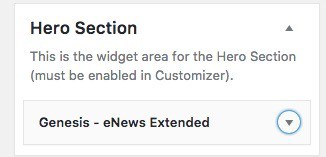
Para configurar correctamente eNews Extended depende de que herramienta usemos para hacer Email Marketing, en este tutorial explico como configurarlo con Mailchimp
Zona Front Page 1
En la zona Front Page 1 aparecerá el siguiente contenido:
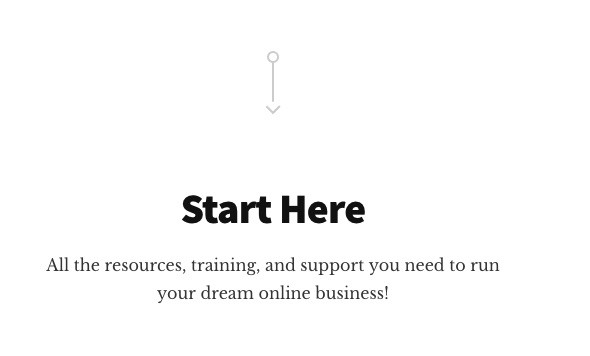
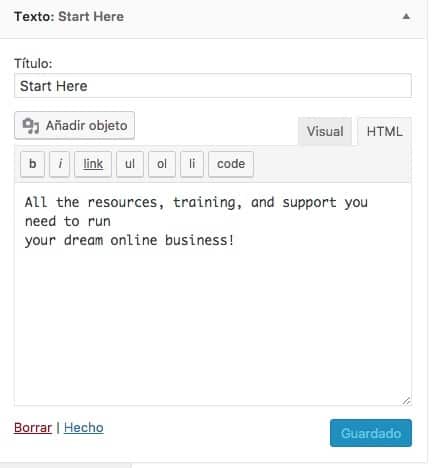
Para añadirlo tan sólo añadimos en la zona de widgets Front Page 1 un widget tipo texto, con el texto que queramos:
Zona Front Page 2
El resultado final de esta zona es el siguiente:
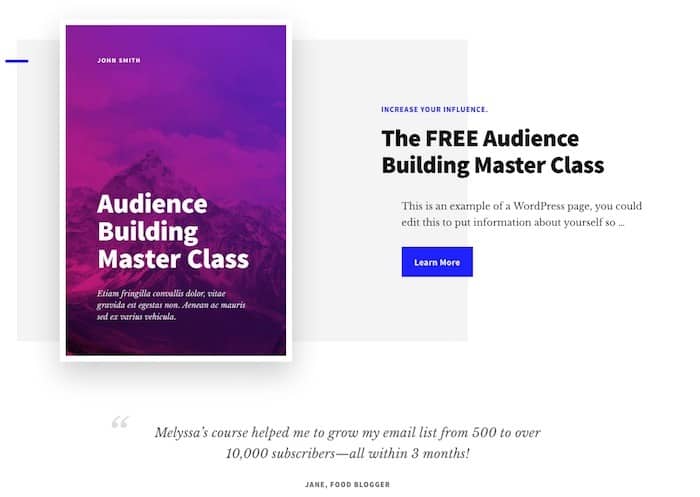
Para conseguir este resultado tenemos que añadir tres widgets:
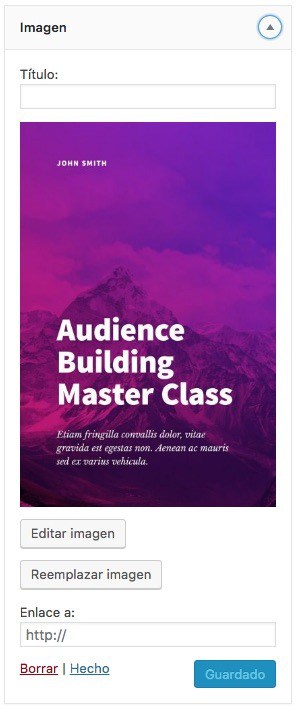
Widget Imagen
Añadimos la imagen deseada, tenemos que tener la precaución de seleccionar el tamaño Home – Featured Image para que quede al tamaño perfecto
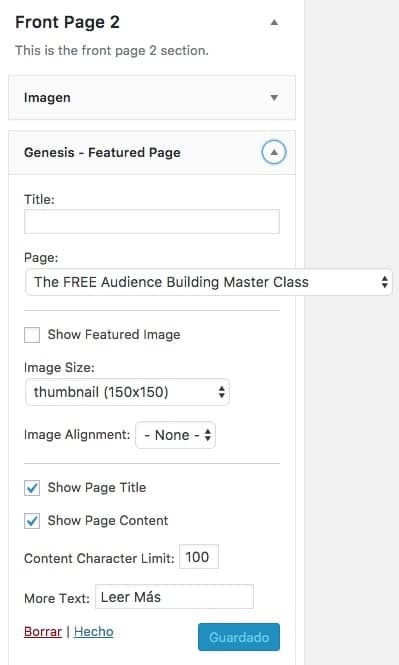
Widget Featured Page
Seleccionamos la página que queremos destacar, tenemos que marcar que aparezca el título, «Show Page Content», un límite de caracteres de 100, aquí puedes ver como:
En esta zona sólo nos faltaría añadir la frase destacada, pare ello añadimos un widget HTML personalizado con el siguiente código:
<blockquote>Melyssa’s course helped me to grow my email list from 500 to over 10,000 subscribers—all within 3 months!<cite>Jane, Food blogger</cite></blockquote>
Zona Front Page 3
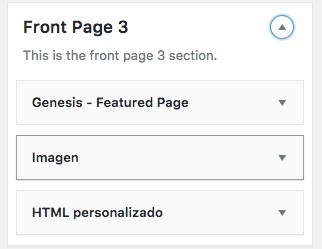
La zona Front Page 3 es la responsable de la siguiente parte de la página de inicio:
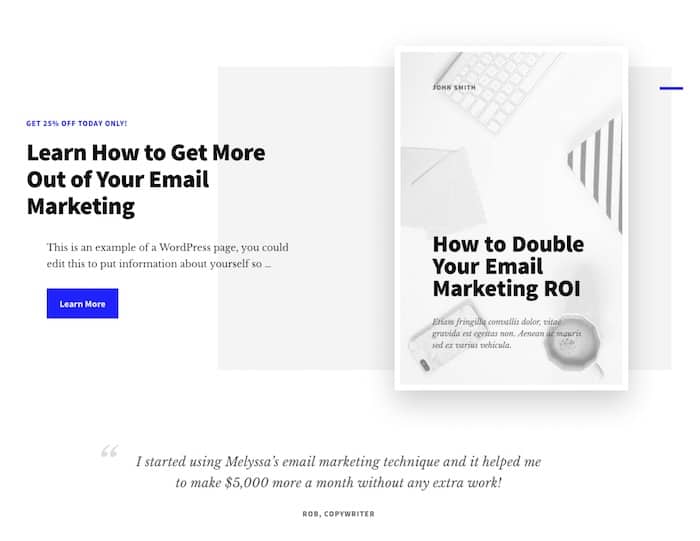
Se configura de la misma forma que la zona Front Page 2, con la única diferencia del orden de los widgets, en esta zona tenemos que añadir la página destacada por delante de la imagen, el resto es idéntico:
Zona Front Page 4
El resultado de configurar esta zona es el siguiente:
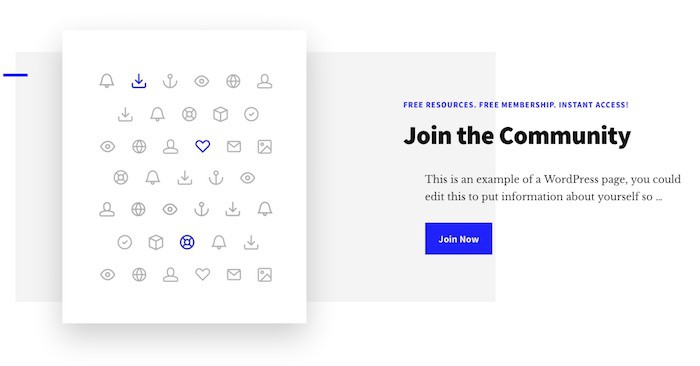
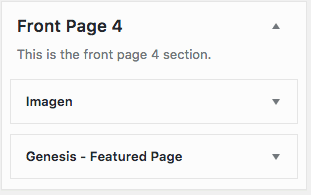
Se configura de forma exacta a la zona Front Page 2, lo único que en esta zona no hay frase destacada por lo que no hay que añadir el widget HTML personalizado.
Es decir los siguientes widgets:
Zona Front Page 5
En esta zona añadiremos los artículos destacados del blog:
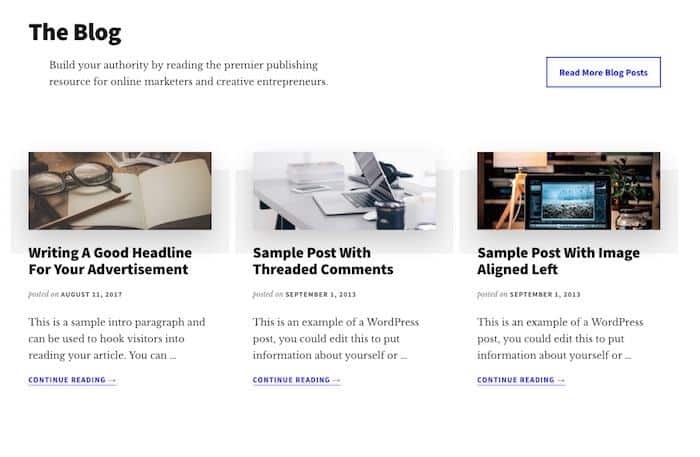
Esta zona está compuesta por dos Widgets
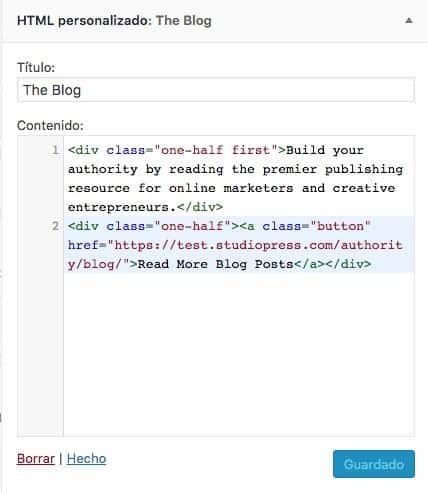
Widget HTML personalizado
En el que añadiremos el siguiente código:
<div class="one-half first">Build your authority by reading the premier publishing resource for online marketers and creative entrepreneurs.</div>
<div class="one-half"><a class="button" href="https://test.studiopress.com/authority/blog/">Read More Blog Posts</a></div>
Aquí puedes ver cómo hay que hacerlo:
Widget Featured Post
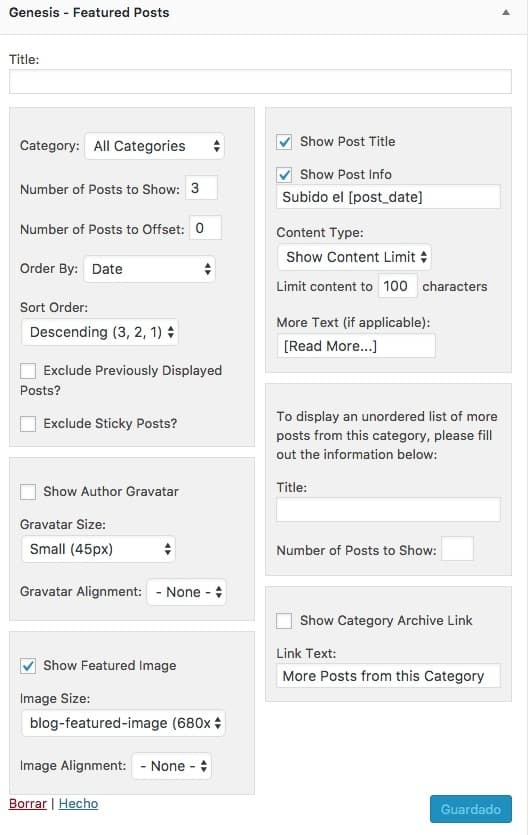
Añadimos un widget del tipo Featured Post y 3 entradas, que se vea el título, «show post info», que el contenido esté limitado a 100 caracteres y marcar que queremos la imagen destacada al tamaño: blog-featured-image.
En esta imagen puedes ver todas las opciones configuradas:
Zona Footer
El resultado de configurar esta zona es una última llamada a la acción en la página principal, aquí lo puedes ver:
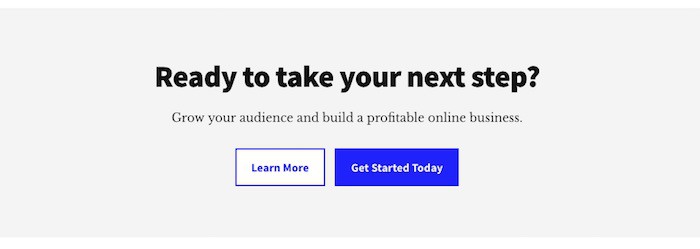
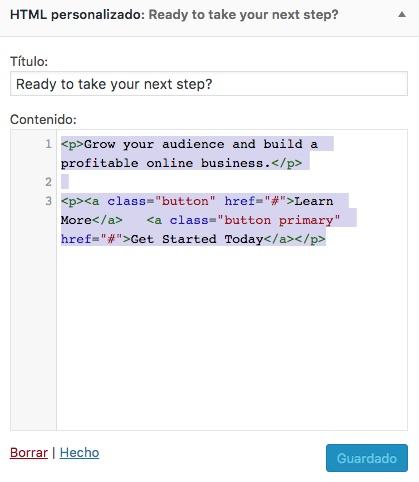
Para conseguirlo tenemos que añadir un widget tipo «HTML personalizado» con el siguiente contenido:
<p>Grow your audience and build a profitable online business.</p>

<p><a class="button" href="#">Learn More</a>   <a class="button primary" href="#">Get Started Today</a></p>
En esta imagen lo puedes ver:
Llegados a este punto tenemos nuestra web casi personalizada, tan sólo nos faltan los menús de nuestra página.
Concretamente 3 menús.
Configurar Menús de Authority Pro
Esta plantilla dispone de 3 menús, el menú principal en la cabecera, el menú vertical del lateral y el menú del pie de página.
Menú principal
El menú principal de nuestra web se verá así:

Configurarlo es muy fácil, vamos a Apariencia –> Menus, creamos un menú y añadimos los items que queramos.
Para que aparezca en la cabecera tenemos que marcar la opción «Header Menu»
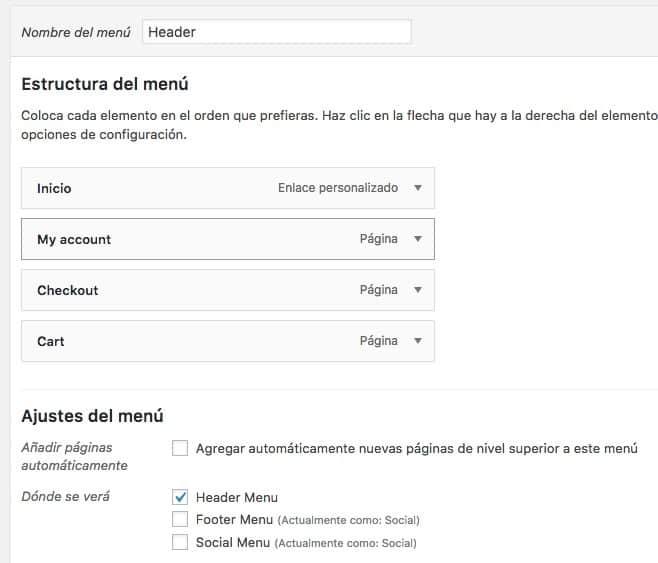
Nos falta un detalle para que nuestro menú quede perfecto.
Si nos fijamos este menú tiene un item destacado respecto a los demás, para hacerlo tenemos que añadir la clase highlight en el elemento del menú que necesitamos destacar:
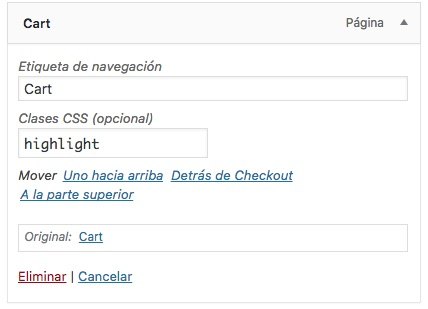
Es posible que el campo «Clases CSS» no te aparezca.
Para que el campo se muestre tienes que activar la opción «Clases CSS» en Opciones de pantalla:

Menú Social
Es uno de los elementos que más me gustan de esta plantilla.
Este menú se queda fijo en el lateral de la web y lo verás así:

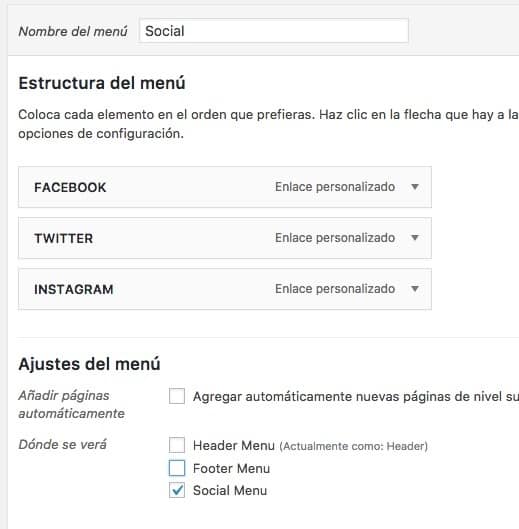
Lo configuraremos igual que hemos hecho el menú principal con la salvedad de seleccionar que se vea en Social Menu:
Menú Footer
Es el menú que aparecerá en el pie de página a la derecha:

Lo configuraremos de la misma forma pero seleccionando que se vea en el Footer Menu.
Y listo, si has llegado hasta aquí eres un valiente y lo que es más importante tendrás tu web como en la demo 😉
Espero que te haya gustado.
