Hola Chicos,
Hoy os traigo un tutorial que me habéis pedido varias veces, crear una página como la mía.
En este tutorial os explico como configurar paso a paso esta maravillosa plantilla: Newspro
News Pro, es una plantilla hija de Genesis. Si me sigues sabrás que soy un enamorado de la plantilla Genesis.
No es una plantilla tan sencilla como puede ser DIVI o cualquier otra que use un content builder pero para mi es oro puro 🙂
Para seguir este tutorial necesitas el FrameWork de Genesis y el child theme NewsPro.
Lo puedes comprar aquí o descargar gratis desde la Zona Premium.
Aquí tienes el tutorial en Vídeo:
Suscríbete a mi canal:
El resultado final que vamos a conseguir es el siguiente:
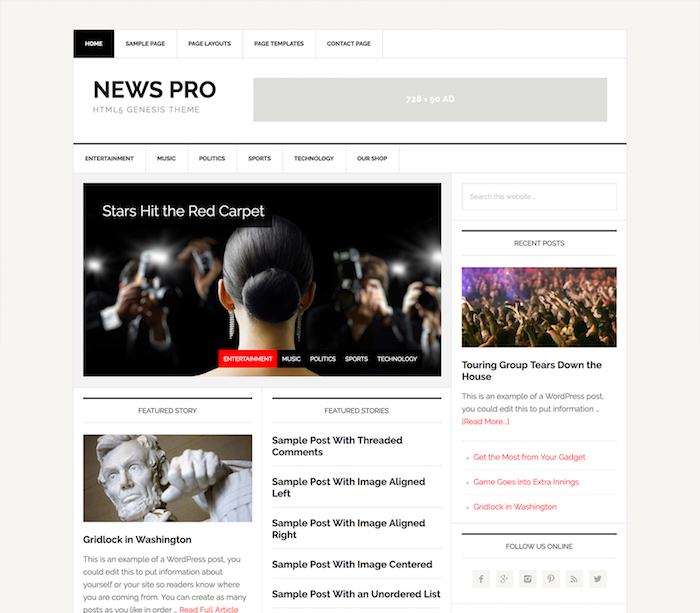
Lo primero que necesitamos es tener instalado WordPress. Si no sabes como hacerlo en la Zona Premium tienes un curso de WordPress.
Una vez que tenemos instalado WordPress, instalamos la plantilla padre Genesis y acto seguido la plantilla hija News Pro.
Para ello vamos a Apariencia –> Temas –> Añadir nuevo:
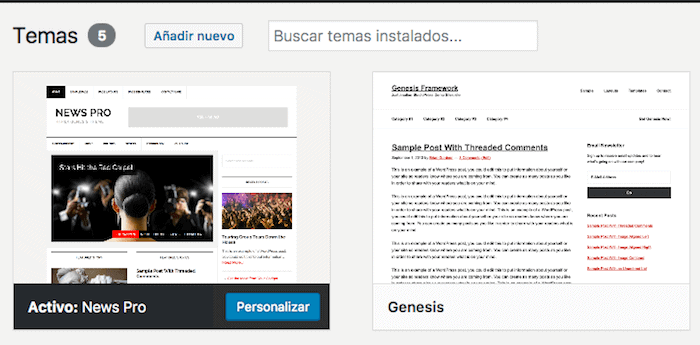
En este punto mucha gente se frustra ya que instala la plantilla y se da cuenta que la web todavía no se parece a la demo. No te preocupes, todavía tenemos mucho que configurar 😉
Lo siguiente que vamos a hacer es añadir contenido demo ya que de esta forma es mucho más fácil ver como nos va quedando la web.
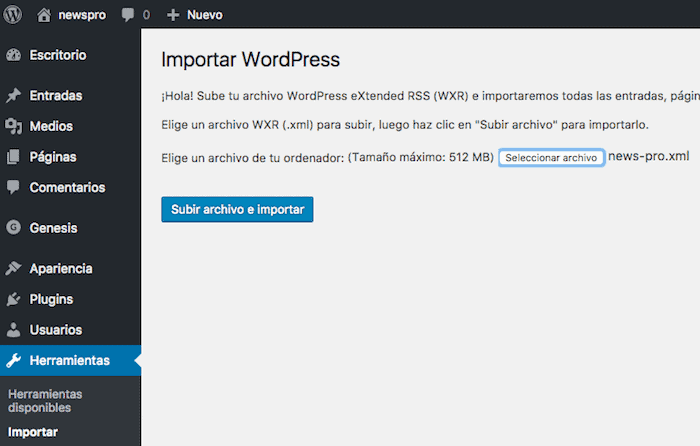
Para hacerlo vamos a Herramientas –> Importar –> WordPress y ejecutamos el importador.
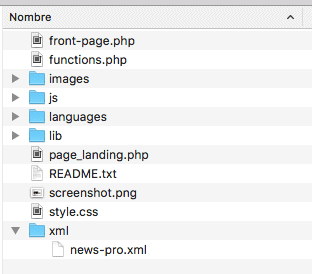
¿De dónde sacamos el contenido demo? El contenido demo viene en la propia plantilla News Pro, para encontrarlo descomprimimos la plantilla y nos fijamos que hay una carpeta que se llama XML y dentro un fichero llamado «news-pro.xml».
Al ejecutar el importador nos pedirá un fichero y añadimos ese:
Una vez importado, veremos que se han añadido un montón de entradas, páginas, menús.
Ahora lo que tenemos que hacer es colocar todo ese contenido.
Configuración de los menús
Cómo hemos importado el contenido demo, se han importado varios menús que usaremos.
Tan sólo tenemos que ir a Apariencia –> Menus y seleccionar «Secondary Navigation» hacer click en Elegir y marcar la opción «Before Header Menu»

Ahora elegimos el menú «Primary Navigation» y marcamos la opción «After Header Menu»

El resultado sería el siguiente:
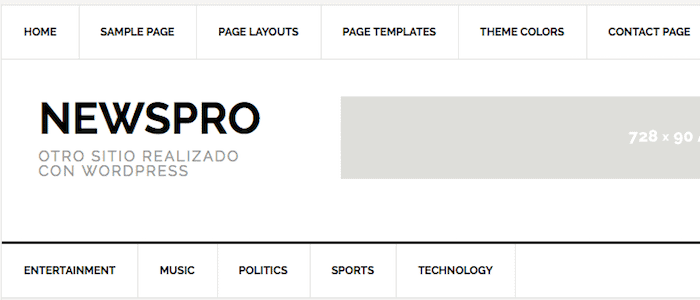
Configuración del banner de la cabecera
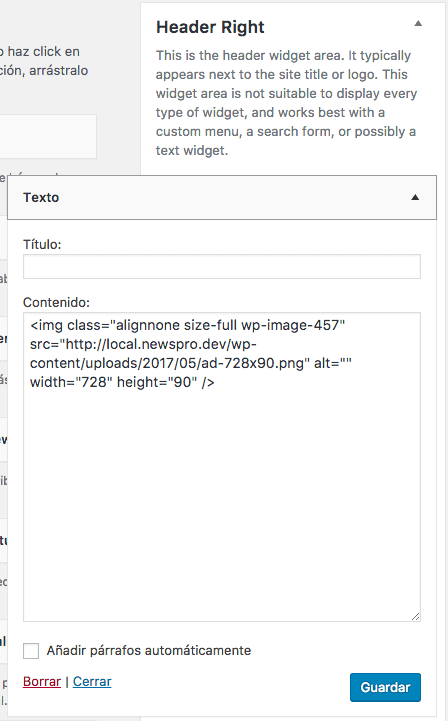
En la zona Header Right añadimos un widget texto con el banner que queramos. Para que nos quede como en la demo la imagen tiene que ser del tamaño 728×90 píxeles
Configuración pantalla principal de nuestra Web
La home está configura con los widgets.
Si vamos a Apariencia –> Widgets, veremos que hay unas zonas que se llaman: «Home – Top», «Home – Middle Left», «Home – Middle Right», «Home – Bottom».
Si no añadimos ningún widget en estas zonas lo que aparecerá en la página principal serán los últimos artículos.
En cuanto añadimos un widget a una de las zonas mencionadas se sustituirá por lo que añadamos.
Vamos a añadir los Widgets para conseguir el resultado de la demo:
Zona Home – Top:
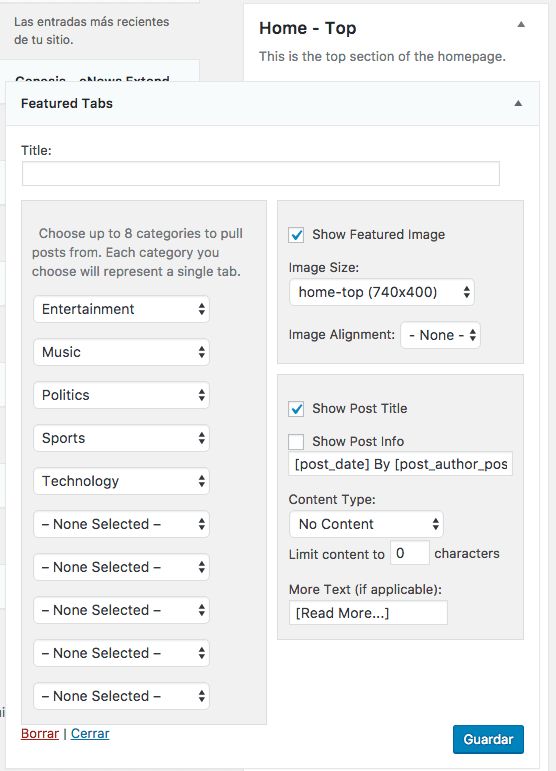
Cómo podemos ver en la imagen, en esta zona vamos a añadir el widget Fetured Tabs y vamos a elegir las categorías que queremos que aparezcan en las pestañas de la imagen principal de la web.
También vamos a marcar la opción «Show Featured Image» y vamos a seleccionar el tamaño: home-top (740×400). Además vamos a marcar «Show Post Title»
El resultado sería el siguiente:
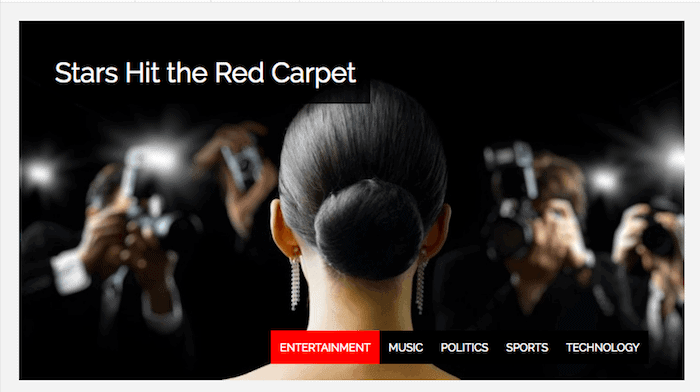
Realmente, como en la importación sustituye las imágenes por rectángulos grises lo que obtendremos será:
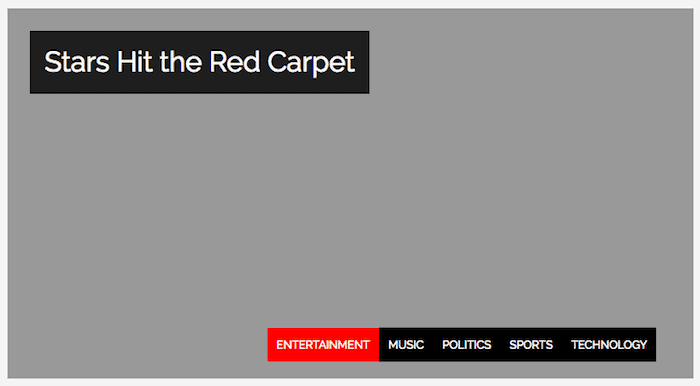
Cuando añadamos nuestras propias imágenes las sustituimos y listo 😉
Zona Home – Middle Left:
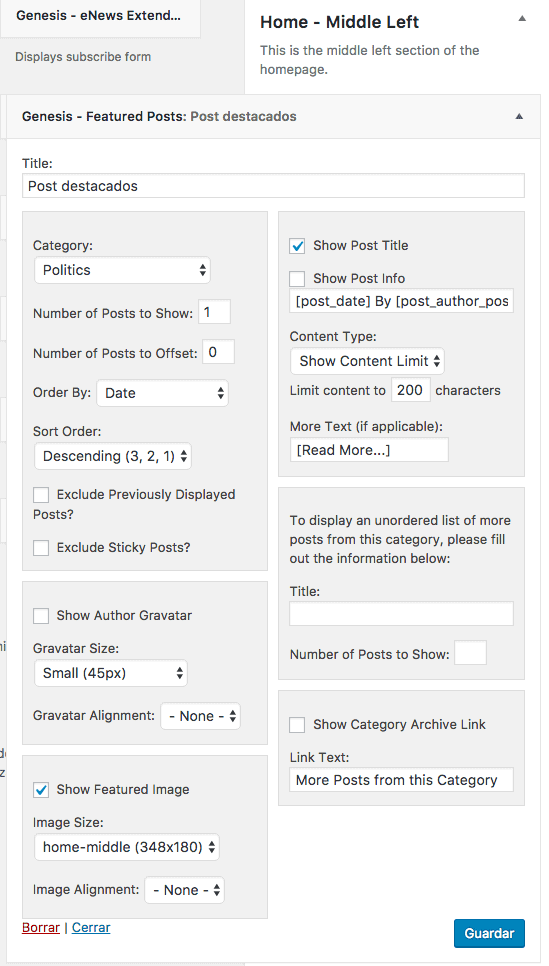
Añadimos el Widget «Genesis – Featured Posts» y seleccionamos una categoría, marcamos «Show Post Title» y seleccionamos «Show Featured Image» con el tamaño «home middle (348×180)»
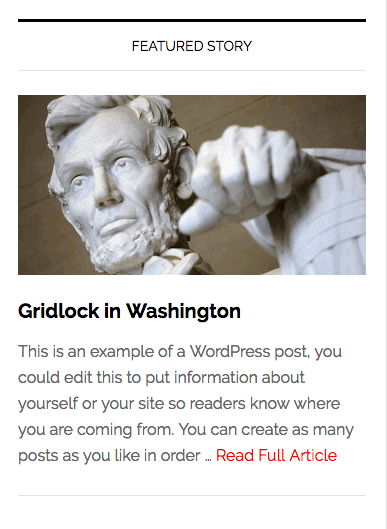
El resultado sería:
Zona Home – Middle Right:
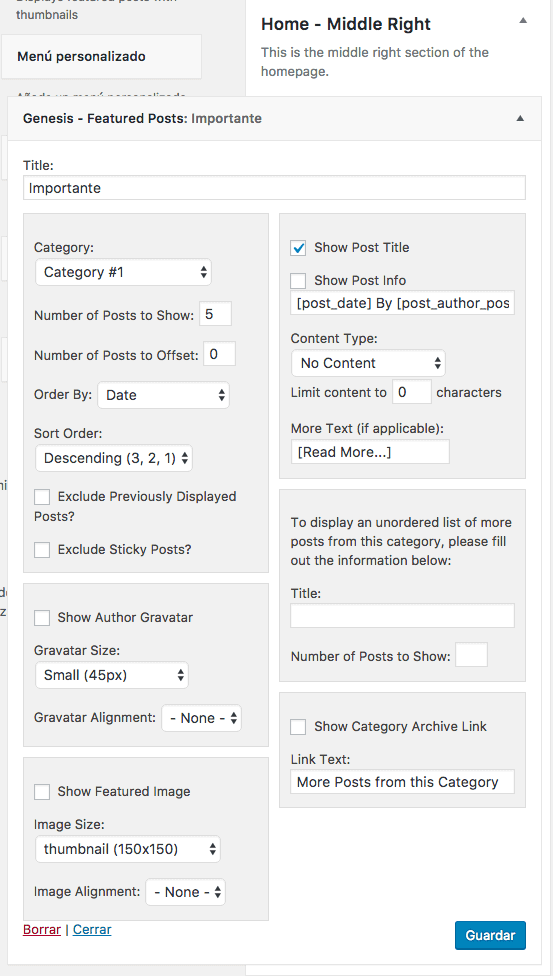
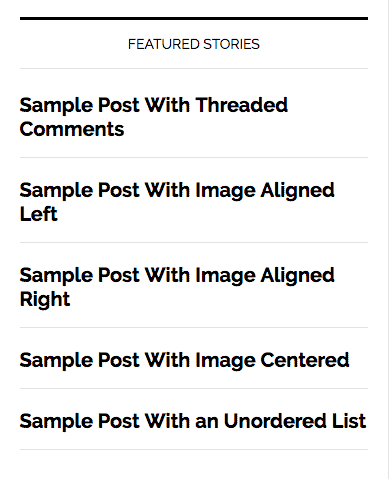
Añadimos el Widget «Genesis -Featured Posts», seleccionamos una categoría, en «Number of Posts to Show» seleccionamos 5, marcamos la opción «Show Posts Title».
El resultado que conseguimos es:
Zona Home – Middle Bottom:
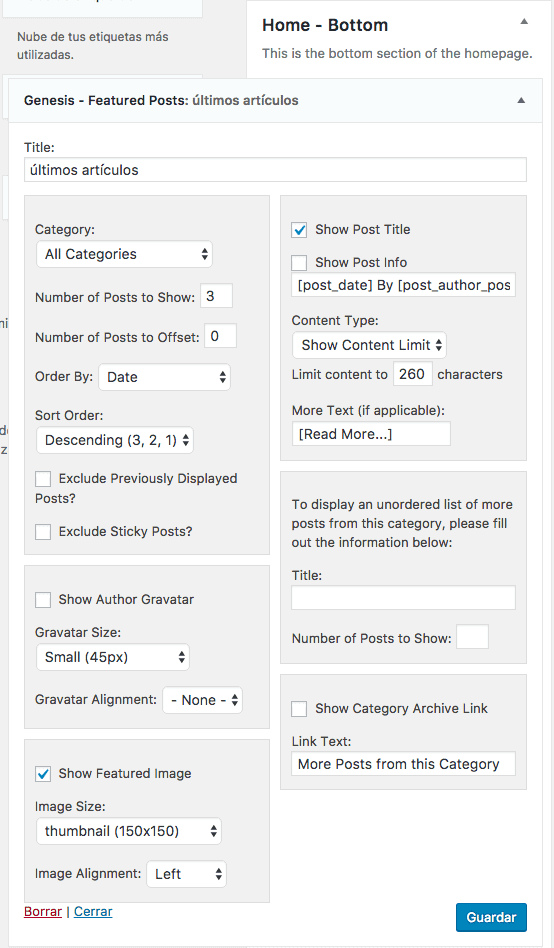
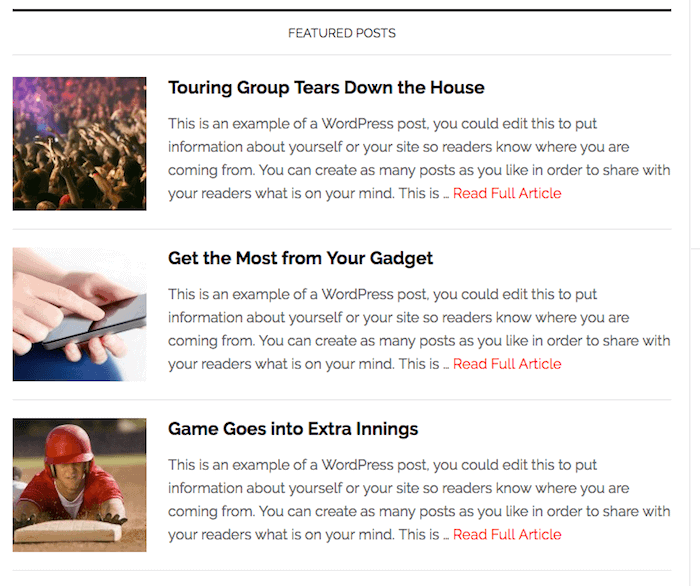
En «Number of Posts to Show» ponemos 3, marcamos «Show Post Title» y marcamos «Show Featured Image» con el tamaño de imagen: «thumbnail (150×150)»
El resultado sería:
Primary Sidebar
El lateral principal será el mismo para la página principal y las páginas interiores.
En esta zona añadiremos los siguientes Widgets:
Buscador:
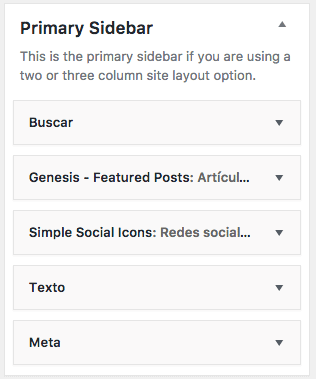
Simplemente añadimos el Widget Buscar
Genesis Featured Posts
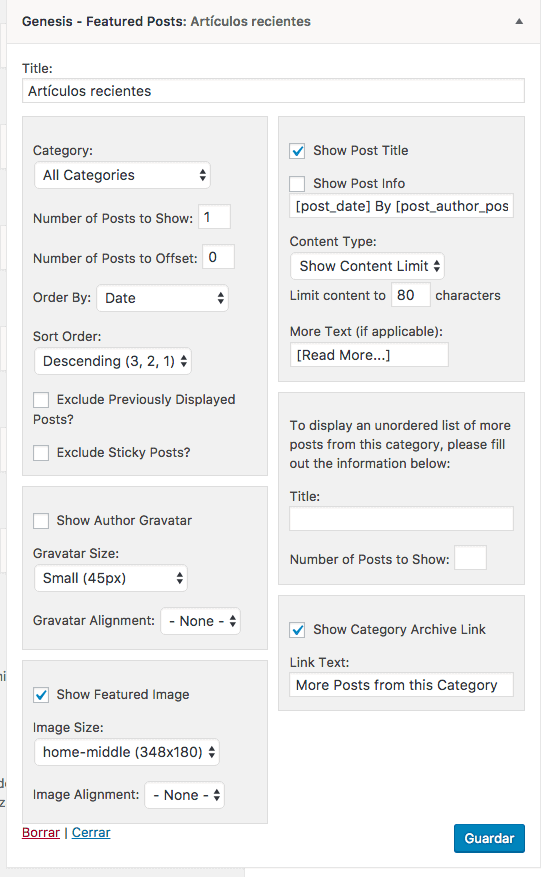
En este widget marcamos «Show Post Title», «Show Category Archive Lingk» y «Show Featured Image» con el tamaño «home-middle (348×180)»
Simple Social Icons
Aquí añadimos la url de cada red social que queramos que aparezca.
Si no pones url no aparecerá el icono de esa red social.
Banners
Los banners que aparecen en la demo se han hecho con un Widget Texto y dentro se ha añadido el siguiente código:
<div style="text-align: center;"><a href="http://demo.studiopress.com/news/"><img class="ad" src="http://demo.studiopress.com/news/files/2013/07/ad-125x125.png" /></a><a href="http://demo.studiopress.com/news/"><img class="ad" src="http://demo.studiopress.com/news/files/2013/07/ad-125x125.png" /></a><a href="http://demo.studiopress.com/news/"><img class="ad" src="http://demo.studiopress.com/news/files/2013/07/ad-125x125.png" /></a><a href="http://demo.studiopress.com/news/"><img class="ad" src="http://demo.studiopress.com/news/files/2013/07/ad-125x125.png" /></a>
Tendrías que sustituir esas imágenes por las tuyas propias.
Para rematar la página nos falta configurar el pié de página.
El resultado que buscamos es el siguiente:

Disponemos de 6 zonas para el Footer.
En las 5 primeras añadimos un menú personalizado, con el menú que queramos, te muestro el ejemplo de dos pero lo tienes que hacer en Footer 1, Footer 2, Footer 3, Footer 4 y Footer 5
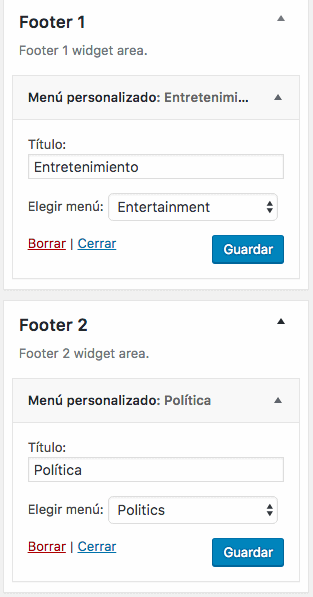
En el Footer 5 vamos a añadir el formulario de suscripción, para ello vamos a usar el widget «Genesis – eNews Extended»
Si quieres configurar eNews Extended con Mailchimp aquí tienes un tutorial
Espero que te haya gustado 😉