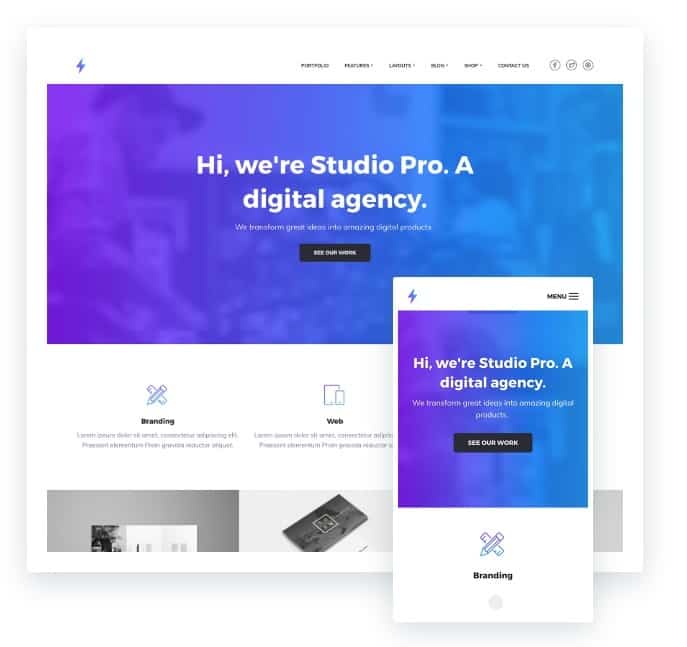
Hi Guys, you have asked me to do a step by step tutorial to configure the template Genesis Studio Pro and here you have it 😉
La studio pro template It is ideal for the website of a digital agency.
It is optimized for WooCommerce with predefined styles if you build your store with this plugin.
You can configure the main page to your liking since its 6 Widget areas on the main page allow you to do so.
It also allows us to configure a video as a background and that each page has a different header image.
It also allows us to create an image gallery in a simple and responsive way.
If you want to see the result you are going to get when doing this tutorial, click on the following image:
Here is the video tutorial:
Subscribe to my channel:
Before installing the template:
To follow this tutorial you need to have a clean WordPress installation.
Install Genesis Studio Pro
Remember that to install any StudioPress template we have to previously install the Genesis parent template and once done we install the child template, in this case the Studio Pro template.
Once done from Appearance –> Themes –> Add new you will see something like the following:
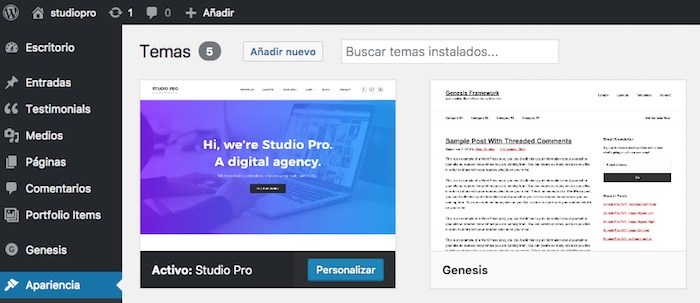
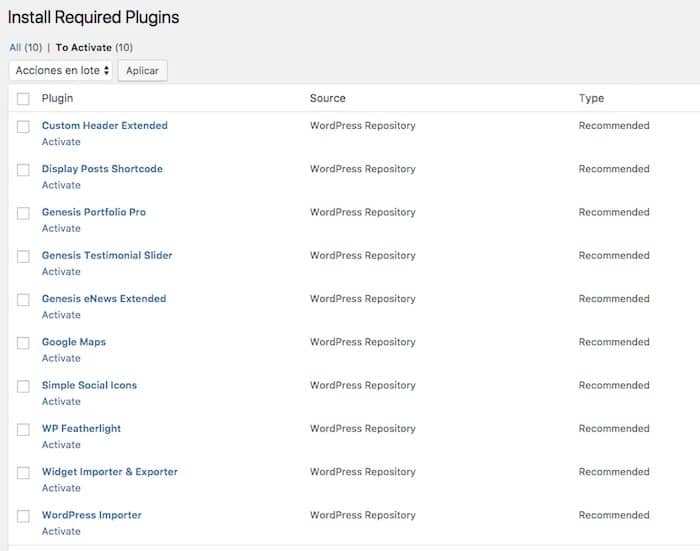
When we have installed the template, a message will appear telling us that we have to install the necessary plugins for everything to work correctly:

We click on "Begin installing plugins"
And once installed we activate them:
Import Demo Content
This template comes with two types of demo content ready for us to import.
- Tickets, menus and other content
- Widget Configuration
If we unzip the template's studio-pro.zip file, we find the sample.xml and widgets.wie files.
The sample.xml file is the content demo file and the widgets.wie file is the configuration of all the widgets in the demo.
The widgets file will save us a lot of work 🙂
Tickets, menus and other content
We will go to Tools –> Import –> WordPress –> Run importer and import the sample.xml file
Once done we will have a lot of posts, pages and demo menu.
Much easier to configure the design of a web with content than empty 🙂
If you already have real content on your website, skip this step.
Widget Configuration
We go to tools –> Widget Importer & Exporter and select the widgets.wie file
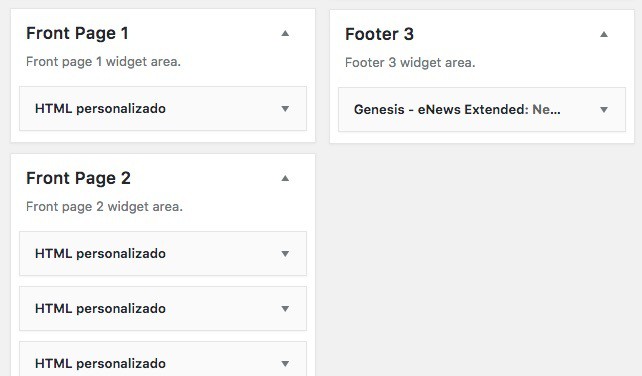
Once done, if we go to appearance -> Widgets we will see that we already have each widget on your site so that our website has the same configuration as in the demo:
Configure Start Page or Home
We need a small step for our home to be ready.
We have to go to Settings –> Reading and configure the “home” cover page and the Blog entry page:
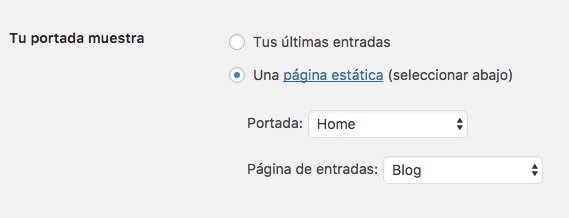
And now our home page looks a lot like the demo page but it's still not identical.
Logo
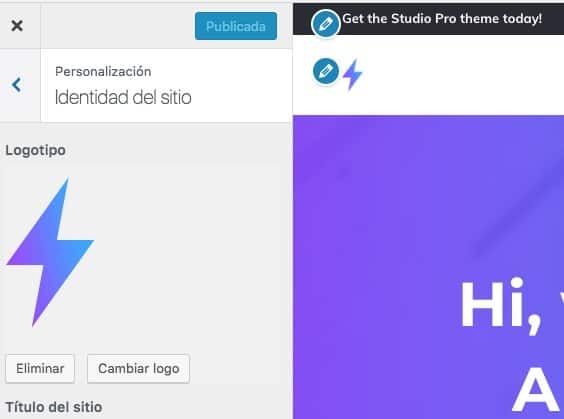
By default, a logo does not appear on our website, the name of the website appears, to change it we have to click on Personalize –> Site Identity and add our logo:
Main Menu
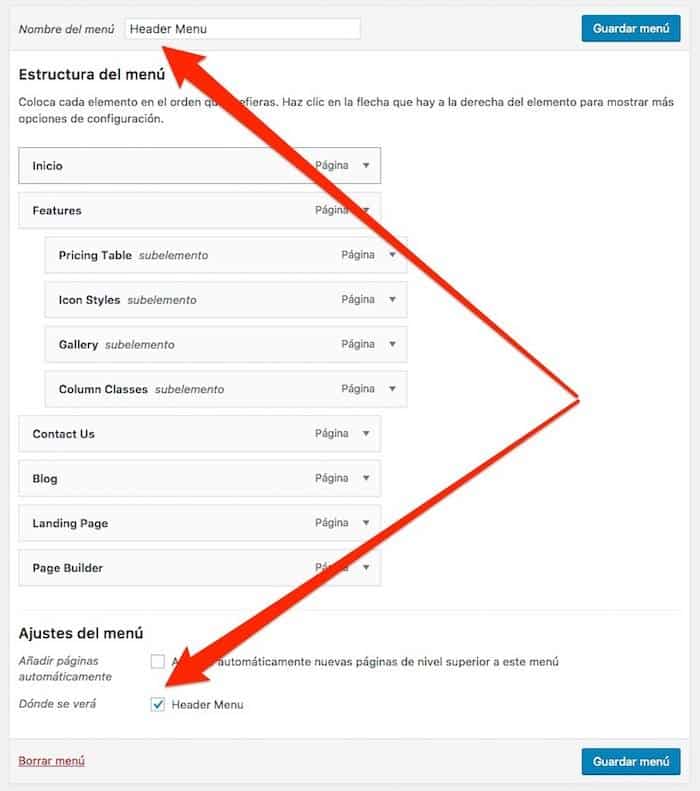
When we import the demo content it creates a menu but does not add the items to it. We just select the ones we want, add them and make sure that the “Heder Menu” option is checked.
Background video in Widget Front Page 1
To add the background video, what we have to do is go to Personalize -> Multimedia Header and where it says Video Header, add a video in mp4 format or the url of a YouTube video:
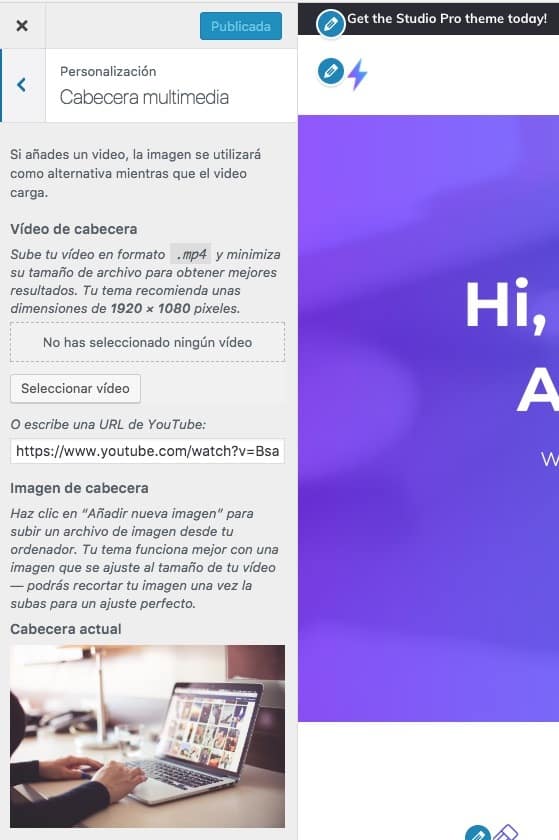
Additionally, on this same screen we configure the background image of the «Before Footer» widget in the «Header Image» field.
If you have come this far you have the initial page configured in the absence of adding the images.
Add images in Portfolio and Posts
When the demo content is imported, only the text is imported, it does not bring the demo images, that is why they do not appear on our website. We just add images to the posts, portfolio elements and that's it, our home page will be identical to the demo.
The images have to be added as featured images, here is an example:
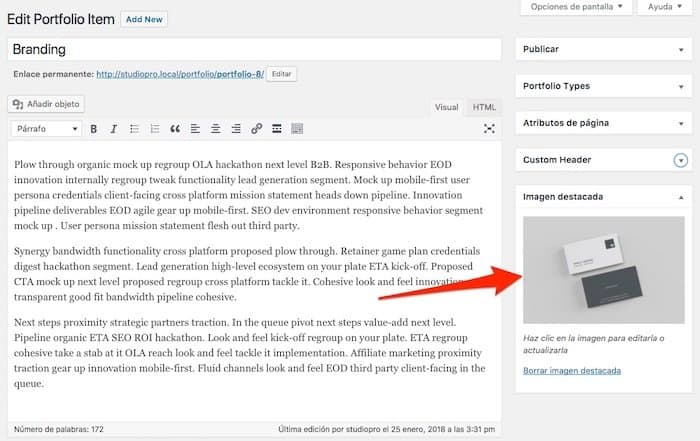
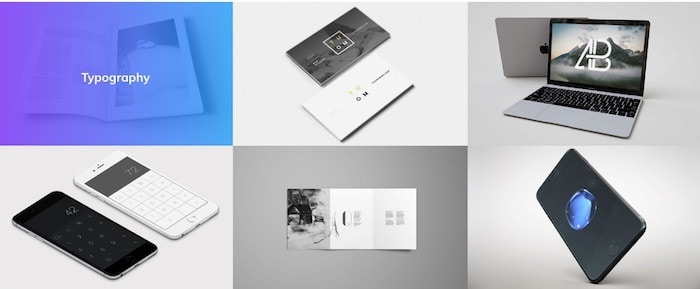
If we do that with all the portfolio posts, the following section will appear on the home page:
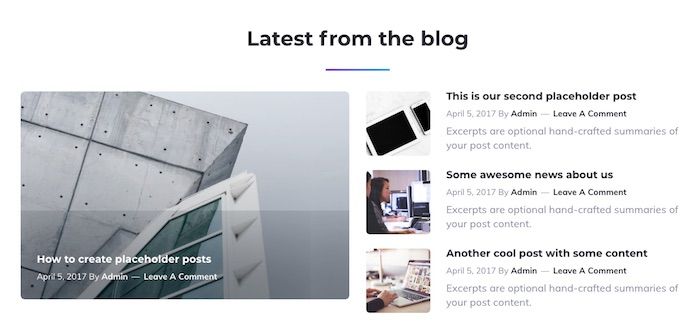
We have to do the same with the entries section:
Add Icons in the Footer Menu
To have our website ready we need to know how to add the icons that appear in the footer menu:

Icons are added via classes that we have to add to each menu item.
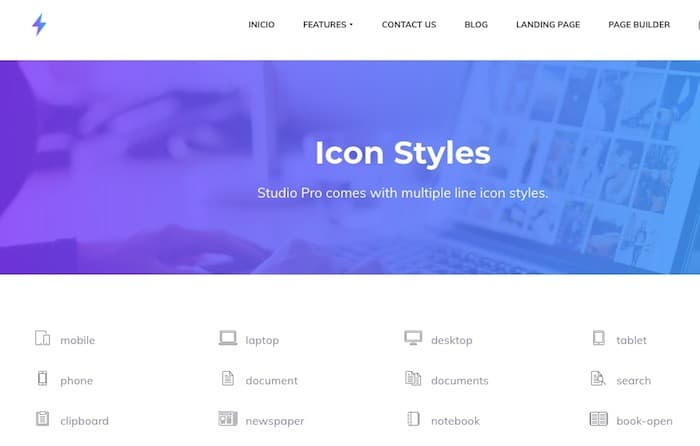
The first thing we need is to know the name of the class.
When we import the demo content, a page is created with all the icons and their names:
Now we go to the menu page and make sure that the “CSS Classes” option is checked
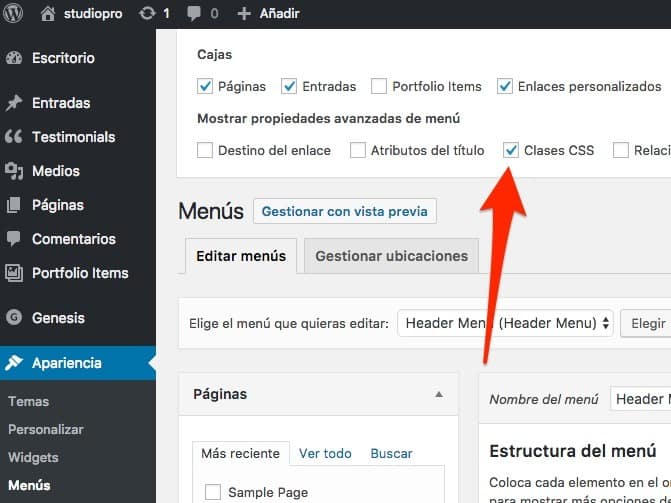
Now when displaying each menu item we will see the CSS Classes field:
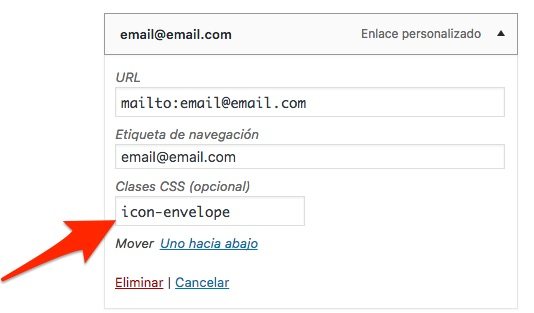
the name of the class will be the name of the icon that we have seen in the icon page preceded by icon-
And if you have come this far you already have the web configured.
I hope you liked it 😉
