Hello guys,
Today I bring you another tutorial of the Divi 3 template.
The template is one of the easiest and most advanced templates that exist for WordPress.
Divi in its version 3 has added the possibility of editing directly in the visual environment, that way it is much easier to apply the desired format since we are seeing the result directly while we are editing it.
Here is the video tutorial:
Subscribe to my channel:
If we create a new entry or page we find a screen similar to the following:
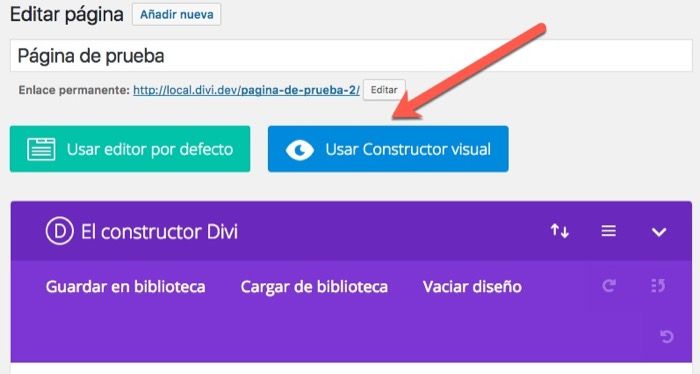
We can edit from this same screen with the magnificent editor of Divi itself, which is light years away from the one that WordPress brings by default, as we will see in other tutorials.
But if what we want is to use the Divi 3 visual builder, we click on "Use Visual Builder" and it takes us to the page as it is displayed but with the possibility of editing it directly.
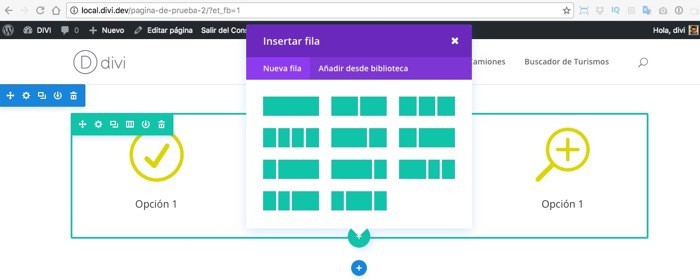
Divi uses the following hierarchy when creating content:
Sections: It is a block of information that can be composed of several rows of information. Normally each block of information related to each other goes in the same block.
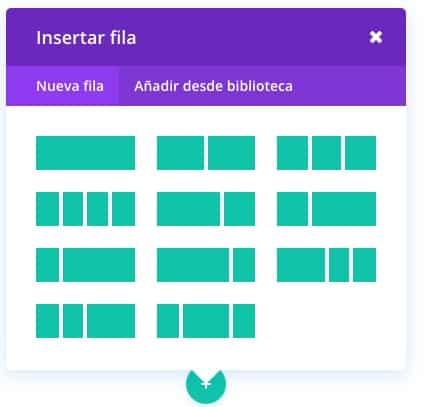
Rows: Each row can have its own information layout as you can see in the image above.
Modules: In each layout box we can add specific content, we add each specific content with a module:
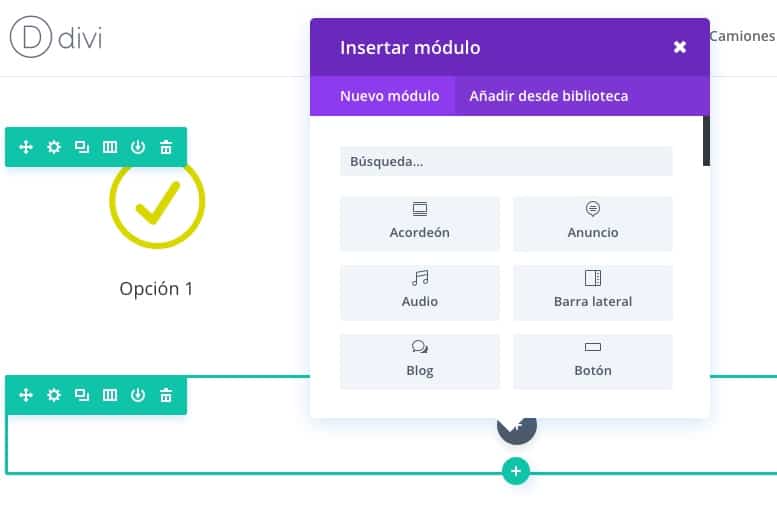
And as you can see, it brings a lot of modules to add different types of content depending on our needs.
As you type in the "search" field, the modules are filtered.
In this example I am going to add a video slide or as it is translated "Video slider":
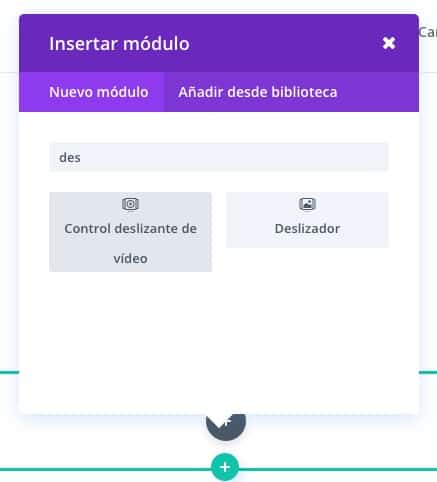
When we click we have a lot of customization options and a button where it says "Add new element", this is where we are going to add the url of the video we want:
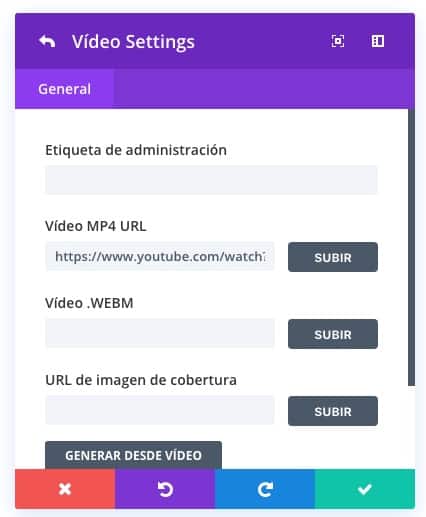
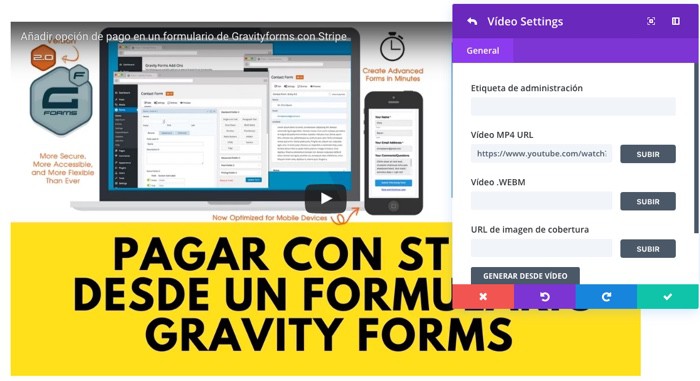
And if we save by clicking on the green button we can see in real time the result we are getting:
If we click on the green circles we add rows and if we click on the blue circles what we add are new sections.
We have 3 types of sections:
Types of sections in DIVI 3
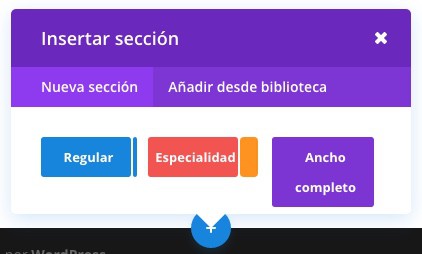
Regular: They are the normal sections, the ones that we are going to use the most. Generate a space for you to add your rows and your modules.
Special: Unlike the regular one, it leaves a space for you to add a sidebar or sidebar within the section. In this way when you create a row you have less space to display the modules since you also have a space to add modules in a new sidebar that is generated:
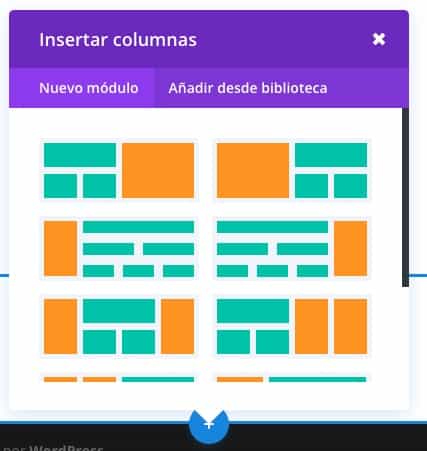
The orange space is where the sidebar would go within the section itself.
Full Width: Generates a space that occupies the entire width, with no margins. This type of section looks great adding an image in the background that occupies the entire browser. In this type of section, it asks you directly which module you want to add:
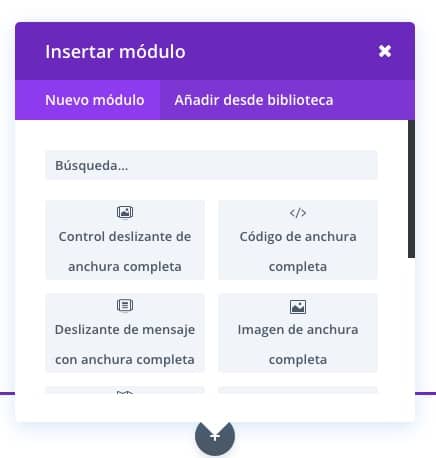
And finally, while we are editing with the visual constructor we have a purple circle at the bottom that if we click on it we have the general options:

From here we can choose several options:
Display format: In the icons on the left we can choose to preview the page in computer, tablet or mobile format and thus we can modify the design in specific formats.
We can save the design, exit and an option that I really like is the change history to be able to return to any previous version of the ones we have used. It is the clock icon option:
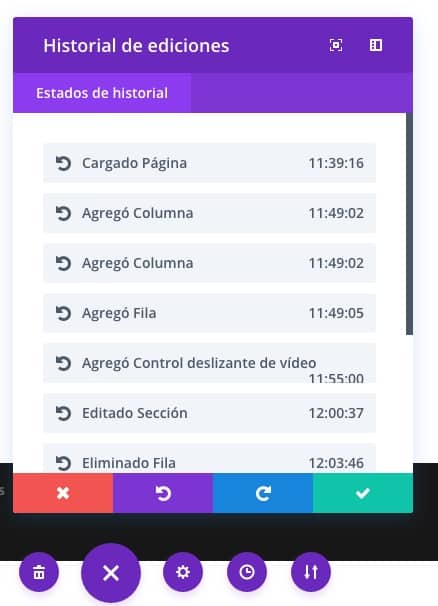
So far the tutorial on the DIVI visual builder or visual builder.
I hope you liked it 😉
regards
Oscar