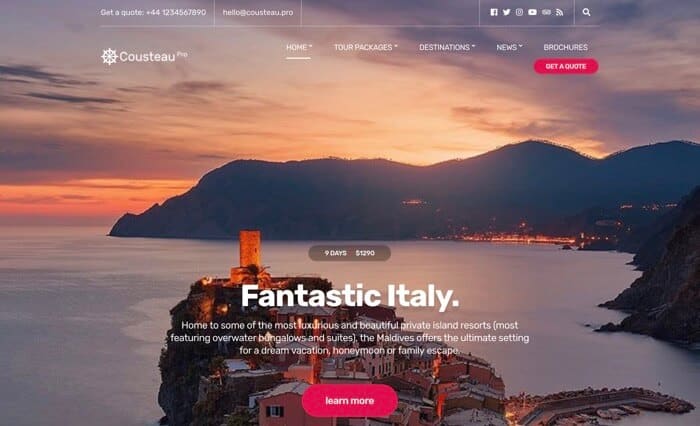
In this tutorial we will see step by step how to make a website if you business niche is tourism or travel.
We will see step by step how to do it with the Cousteau Pro template.
You can buy the template here or if you are a premium member you have it available in your user area.
This template is specially designed to create websites for travel agencies, tour operators and adventure travel blogs.
The final result that we are going to achieve is the following (Click to see the complete image)
If you prefer to see it live, here is the demo:
Among the features of this theme are:
- Advanced filter of price, place, dates
- Very visual and complete files of each of the trips, with the itinerary, navigation through the different parts of the file, boxes with a design to highlight information, etc...
- Reviews of the trips by the users themselves
- Flexibility in layout options
- Custom widgets to view content in your different widget areas
- Support for Elementor
- Support Video and slider
- And much more that we will see throughout the tutorial
To do this tutorial you will need:
- Domain and hosting: In hostgator you have it super cheap with the coupon: createyourwebeasy
- WordPress: Free 😉
- Cousteau Pro Template: 49$ and the [wps_highlight background=»#eeee22″ color=»#000000″]you can buy here[/wps_highlight] or you have it available in the Premium Zone
Video Tutorial
Subscribe to my channel:
Hire Domain and Hosting
If you already have a domain and hosting you can skip this part, if you can't hire it at Hostgator with the discount coupon createyourwebeasy
Install WordPress
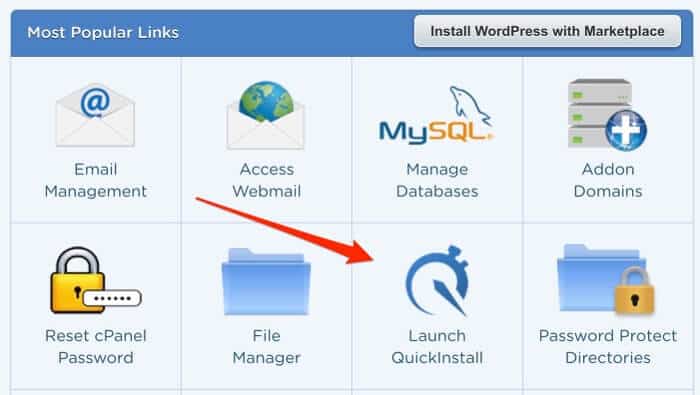
In harasser it is really easy to install WordPress, once we are inside our account we just click Hosting and enter Launch QuickInstall
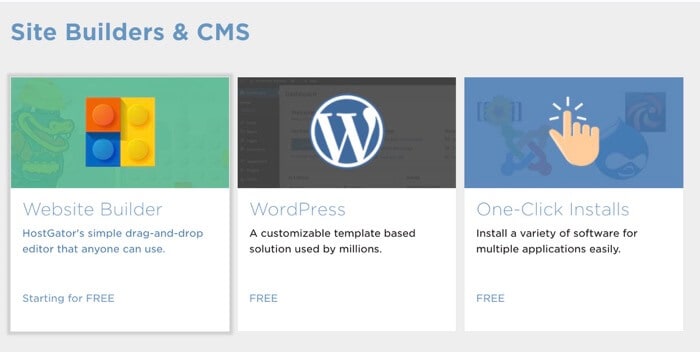
Here we select WordPress
We select the domain where we want to install it:

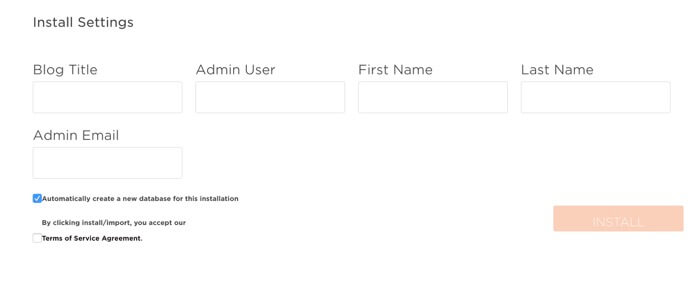
We fill in the title of the blog, user, email and our name and surname and that's it, we already have our WordPress installed
If you have come this far you will already have WordPress installed with the template that comes as standard.
Put WordPress in Spanish
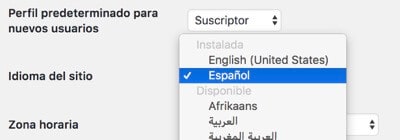
By default in Hostgator install WordPress in English, to put it in Spanish we just go to Settings —> General and put WordPress in Spanish:
Install the Cousteau Pro template
Once we have the template purchased o downloaded from premium zone we go Appearance —> Themes —> add new —> Upload theme and install and activate it.
By doing so we arrive at the following screen
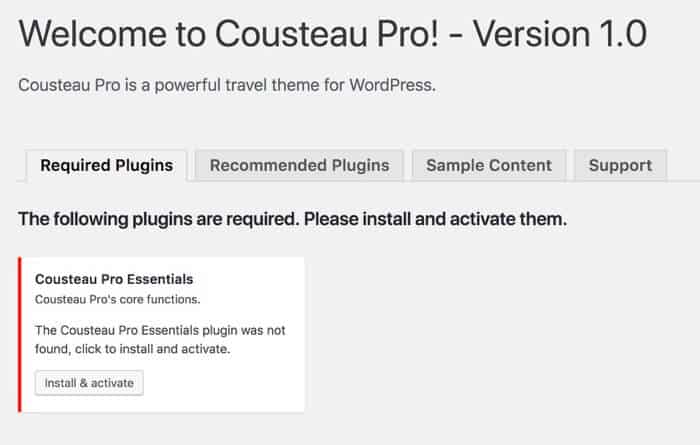
And we are installing and activating each plugin that tells us:
- Cousteau Pro Essentials
- max slider
- One Click Demo Import
- Elementor
And beware, we also installed the Contact Form 7 plugin that, although it does not tell us, we will need it.
Install Demo Content
In the Sample Content tab we click on Get Started for us to install the demo content.
It takes a while but it's worth it because the template automatically configures itself to have it the same as in the demo. I love it 💪 💪 💪
The first thing we detect is that the page is the same as in the demo but with the images out of focus Do not worry, it is on purpose for the copyright of the images but we really do not care since we will change the photos for ours.
Home
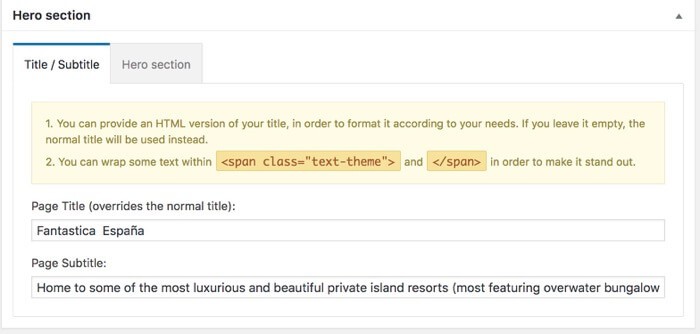
The home is configured mainly through Widgets, so if we edit the main page we will find very little to edit, the main field is empty and we only have to add the title, subtitle and the price of the featured package:
We have the rest of the components that appear on the main page in the widgets, in the section Front Page
How we have imported the demo content, everything appears configured but we could modify it without problem:
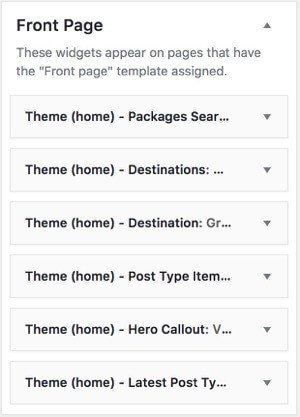
We have at our disposal custom widgets with destinations, packages and calls to action.
Create destinations
We have seen that widgets can be added to the main page with the destinations of our travel blog or packages that we sell on our travel agency website.
To create or edit the destinations we can do it from Packages —> Destinations:
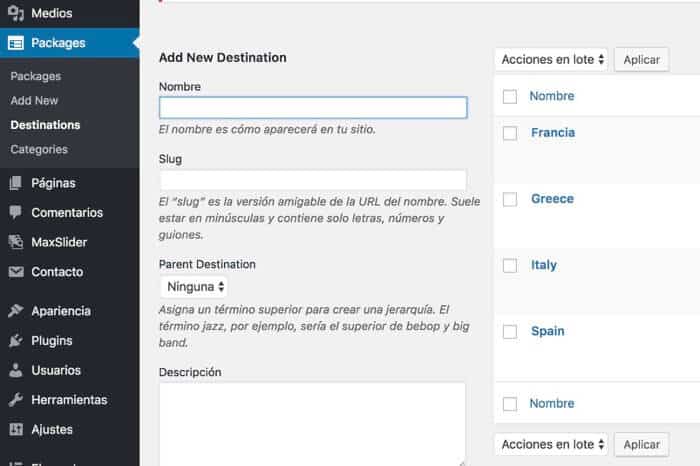
Create vacation packages or tourist destinations
Here lies much of the grace of this template, the tour packages that we can create.
The final result is very visual and to achieve this we have two ways of doing it:
- Automatic with Elementor
- Manually
Automatic with Elementor
Elementor is an amazing visual builder that allows us to design our website without having knowledge of html or css.
It also allows us to save the work we do in template format.
What I have done is create a template with all the manual work that you will see below in order to save me from doing all those steps and have it ready to do automatically.
The template I have created is available for premium students in the download area.
In order to use Elementor in the Packages we have to go to Elementor —> Settings and select the type of content Packages
Once you have created a template in Elementor, using it is very simple.
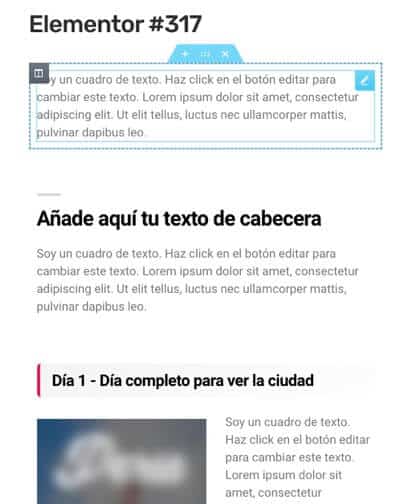
We create a new tourist package, we click on Edit with Elementor and on the screen that appears we click on the icon with the shape of a folder:
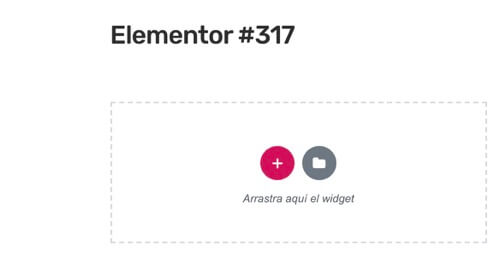
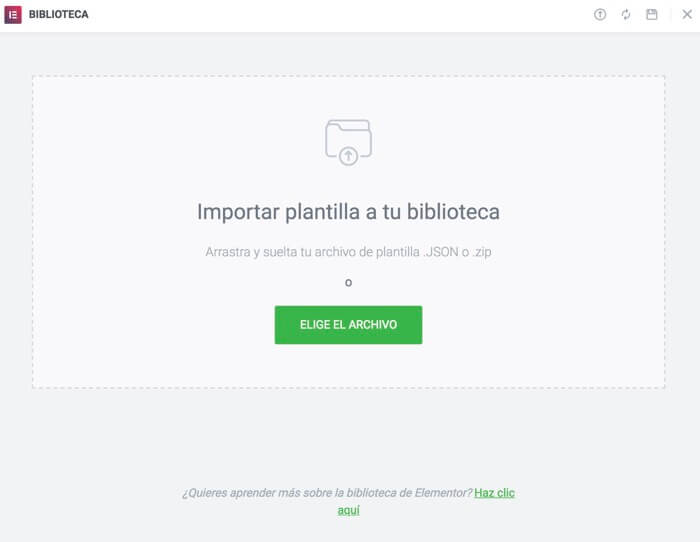
On the next screen that appears, click on the arrow that points up

We import our template from this template:
Once imported you have it available to use whenever you want from the tab my templates
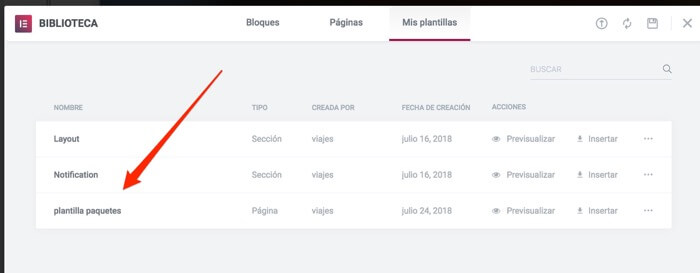
By clicking import, Elementor will do all the work for us:
Manually
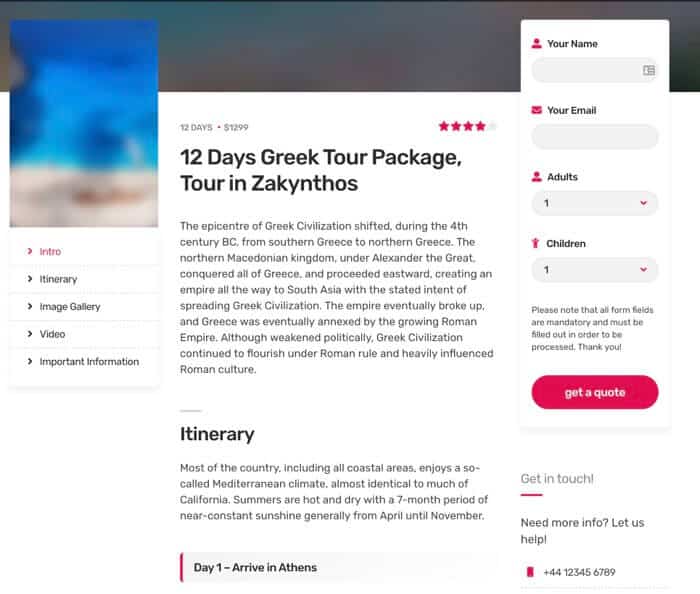
The package or tourist destination has several elements that we have to take into account:
- Side Featured Image
- Tour package navigation menu and featured headlines
- Itinerary days
- Contact form
- image galleries
- Box with highlighted information
- Reviews
Side Featured Image
The featured image is the image that appears on the left and as we go down to see more information it remains fixed so that we do not lose sight of it.
It is the following image on the left:
To add it we just add a featured image from the side of the WordPress editor
Tour package navigation menu and featured headlines
If we look at the previous screenshot below the featured image a navigation menu appears
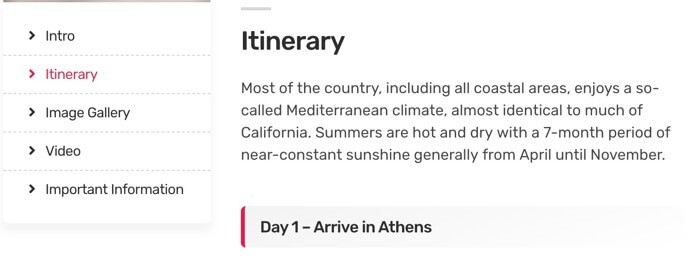
It is the menu that has the items:
- Intro
- Itinerary
- Image Gallery
- Video
- Important Information
If we realize they are the same items that we have highlighted in the list.
To build it we just have to add a class to the titles h2,h3,h4,h5
<h2 class="anchor-title">Itinerary</h2>
That way it will appear highlighted and in the side menu
Itinerary days
It appears as follows:

And we create it as follows:
h3 class="boxed-title">Day 1 - Arrive in Athens</h3>
Contact form
The contact form on the right appears automatically if you installed the Contact Form 7 plugin before importing the demo content thanks to the zone widget Packages with the following html code
<div class="theme-form content-elevated">
	[contact-form-7 id="190" title="Contact form 1"]
</div>
Remember to change the id number if it is different in your case.
image galleries
We add an image gallery the same way we would on any WordPress page:
Add Object —> Create Gallery and select the images.
Box with highlighted information
We can add featured boxes like the following:
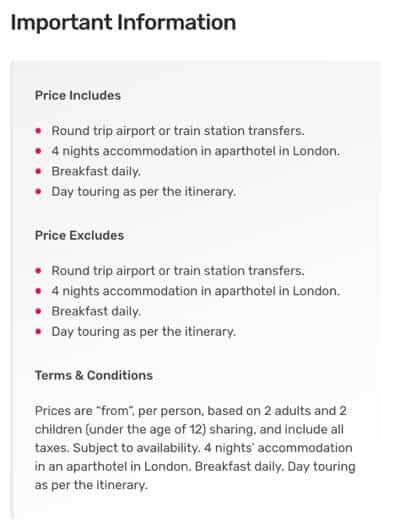
To do so we have to add a div with the following class:
<div class="box-styled">
<strong>Price Includes</strong>
<ul>
<li>Round trip airport or train station transfers.</li>
<li>4 nights accommodation in aparthotel in London.</li>
<li>Breakfast daily.</li>
<li>Day touring as per the itinerary.</li>
</ul>
<strong>Price Excludes</strong>
<ul>
<li>Round trip airport or train station transfers.</li>
<li>4 nights accommodation in aparthotel in London.</li>
<li>Breakfast daily.</li>
<li>Day touring as per the itinerary.</li>
</ul>
<strong>Terms & Conditions</strong>
Prices are "from", per person, based on 2 adults and 2 children (under the age of 12) sharing, and include all taxes. Subject to availability. 4 nights’ accommodation in an aparthotel in London. Breakfast daily. Day touring as per the itinerary.
</div>
You can change the content to whatever you want.
Reviews or Reviews
The result is as follows:
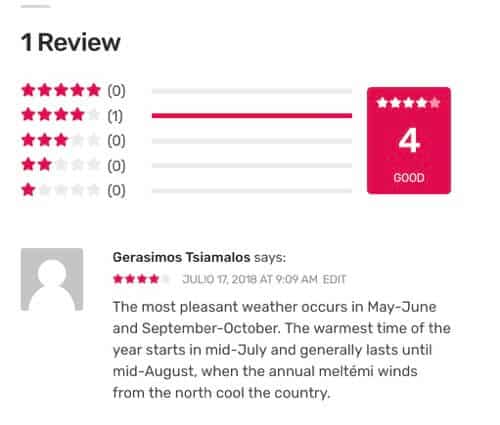
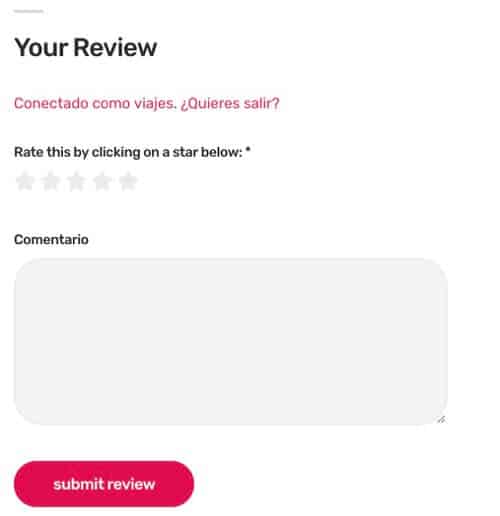
To get it you just have to add a comment in the form below:
How you can see creating a professional travel blog is within your reach with a little work and this template 😉
