Hi guys,
In this video we are going to configure the template Genesis Academy Pro.
I love this template and it seems ideal to set up your own course website or online academy.
It is a really attractive template and with the quality that Studiopress has accustomed us for Genesis templates.
Here is a screenshot of the result we are going to get:
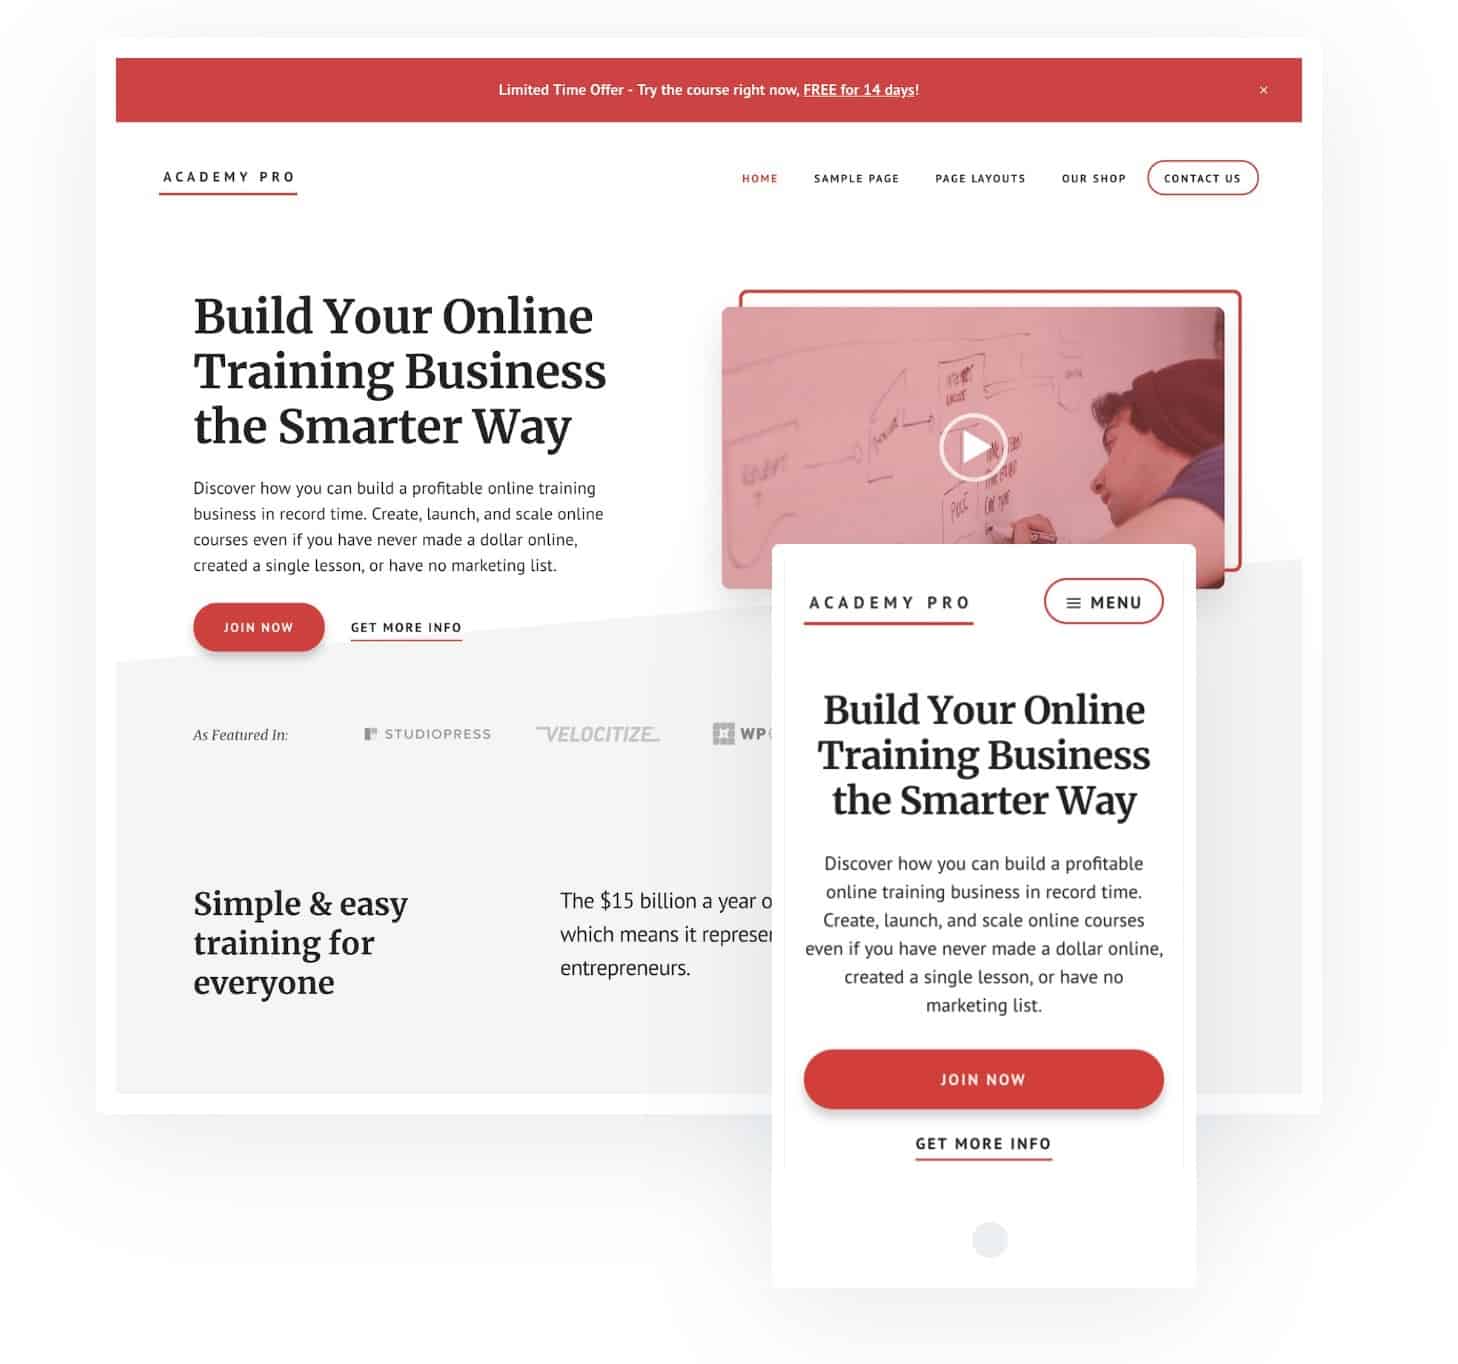
Academy Pro is ready to set up your store as we will see in the demo. It is great for us to sell our own courses or physical products.
Here is the video tutorial:
Subscribe to my channel:
Without further ado, we get to work 😉
Academy Pro Setup
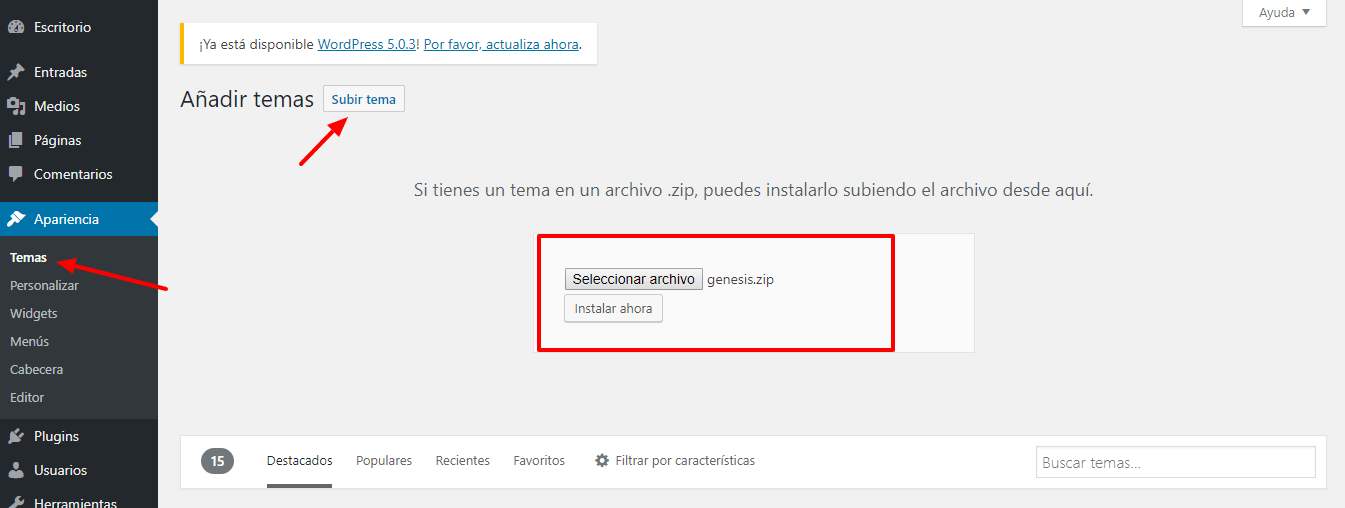
The first thing we are going to do is install the Genesis parent template and the Academy pro child template, for this we go to the desktop, appearance, themes, add new, upload theme and here we are going to add the parent template.
We click on install:
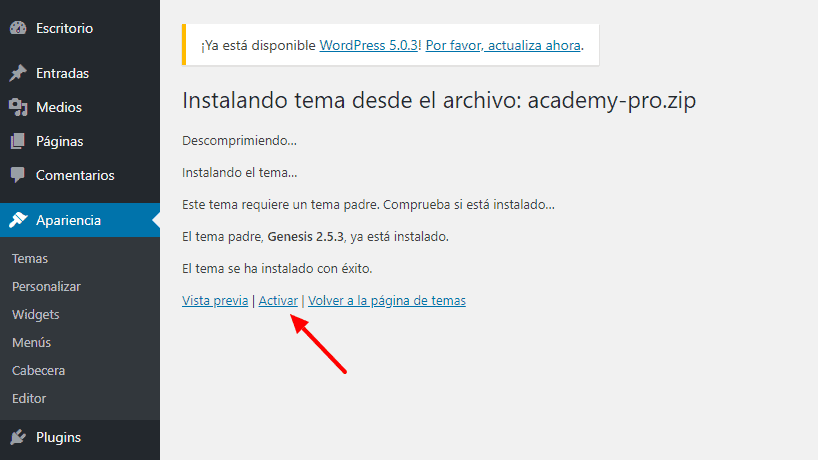
We install the child template, that is, the Academy Pro template.
We activate
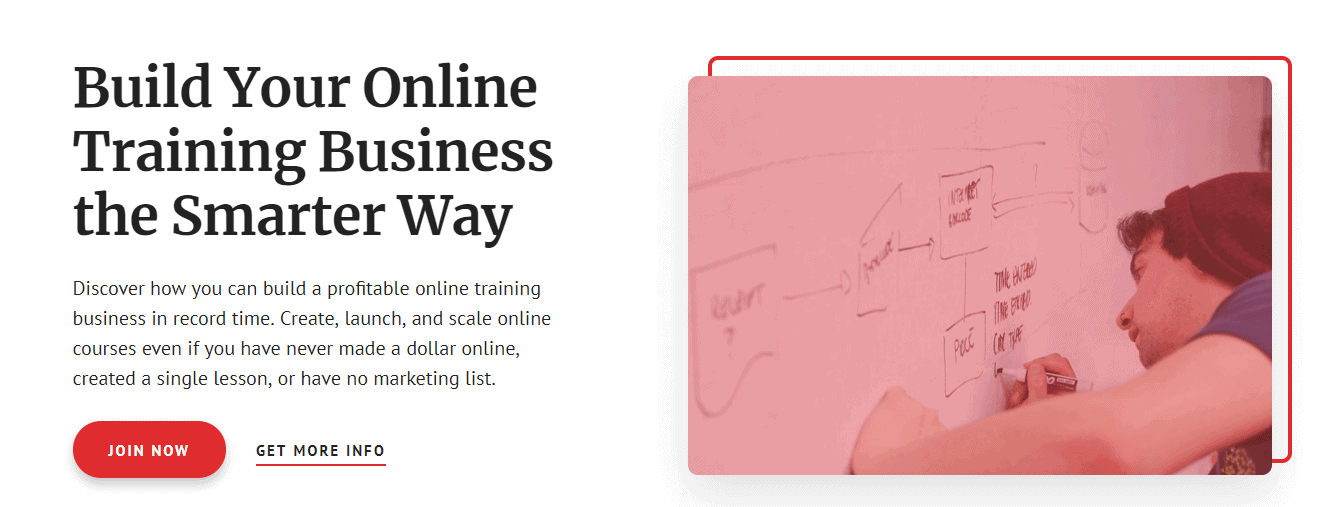
Notice that our page already looks good, although we still have a lot of work to do 😉
What is the next thing we have to do?
Now we have to install a few plugins so that our template has the same behavior as in the demo.
We are going to Plugins, add new and we are going to add two:
The first is Genesis Enews extended, this plugin will help us when we want to build our email list.
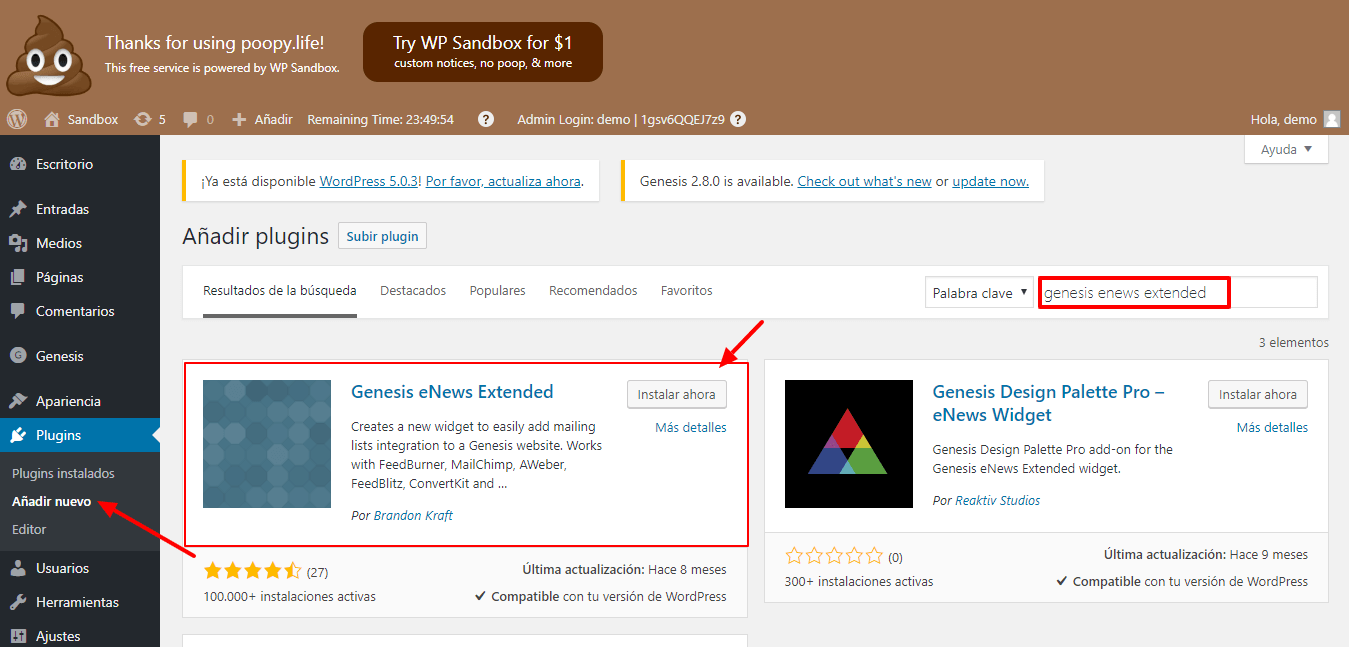
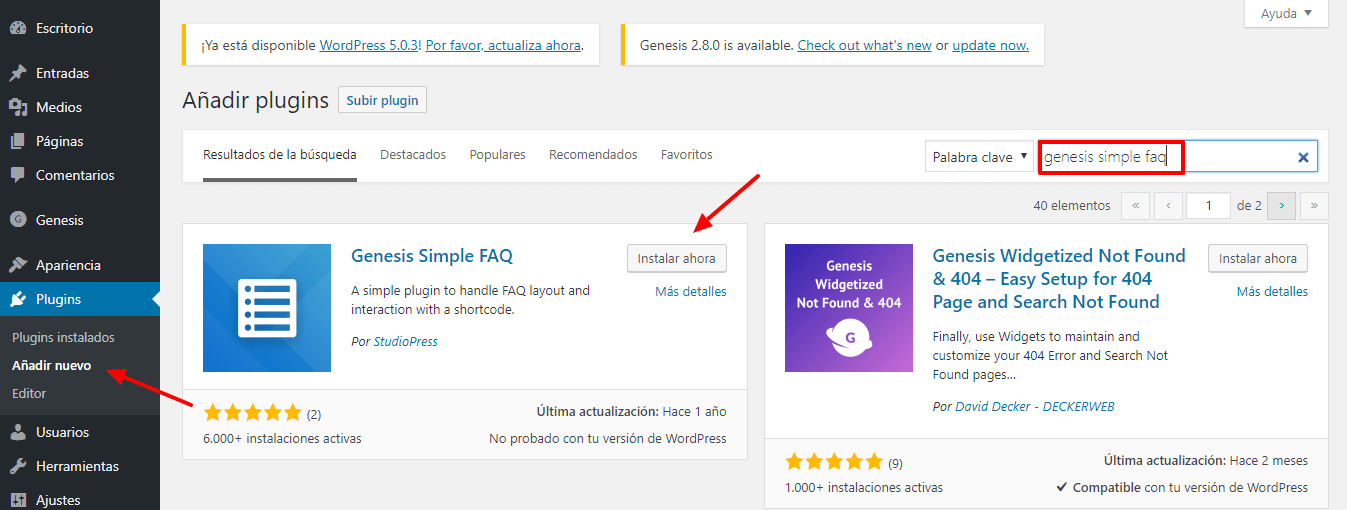
The second is a plugin to be able to assemble the drop-down questions, for this we install the plugin: Genesis Simple FAQ , we install and activate it.
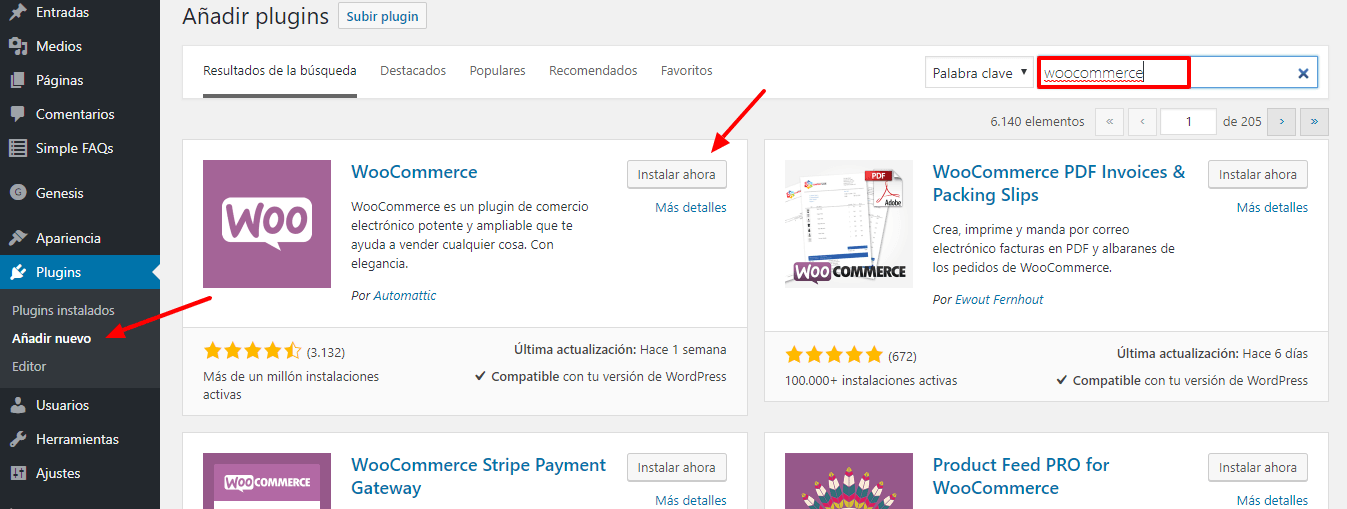
Now, if we need our website to be a store, we are going to install the plugins WooCommerce y Genesis Connect for WooCommerce.
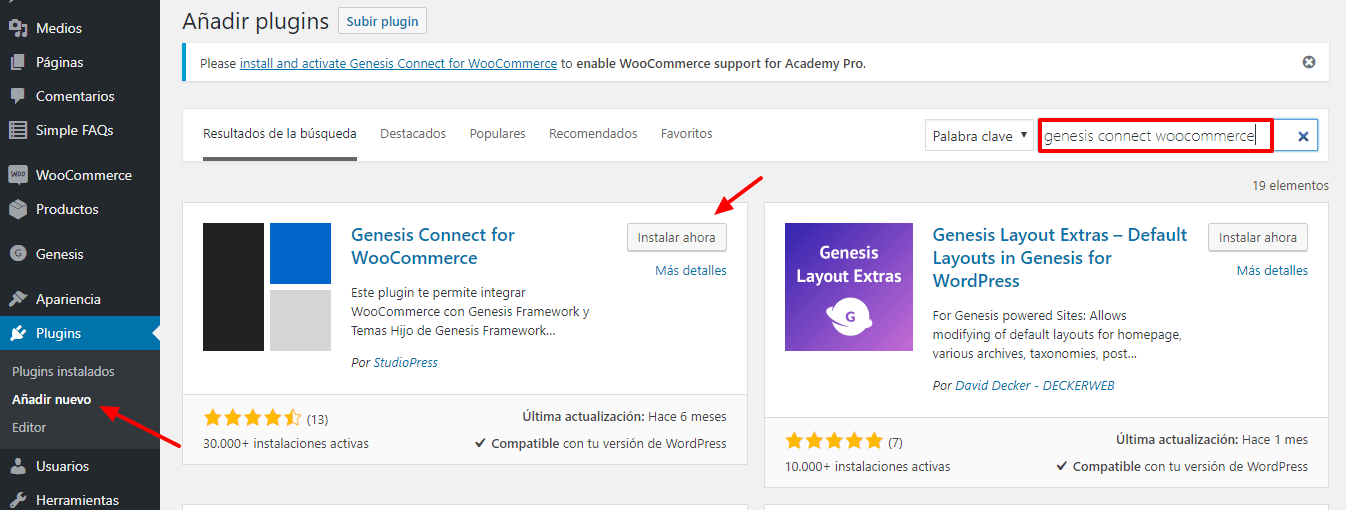
La Genesis Connect for WooCommerce feature is that the styles in our store look good. Gives compatibility of Genesis templates with WooCommerce.
To install it, as always: Plugin, add new and in the search engine we write WooCommerce. We install and activate:
Before configuring WooCommerce we are going to install the plugin Genesis Connect for WooCommerce:
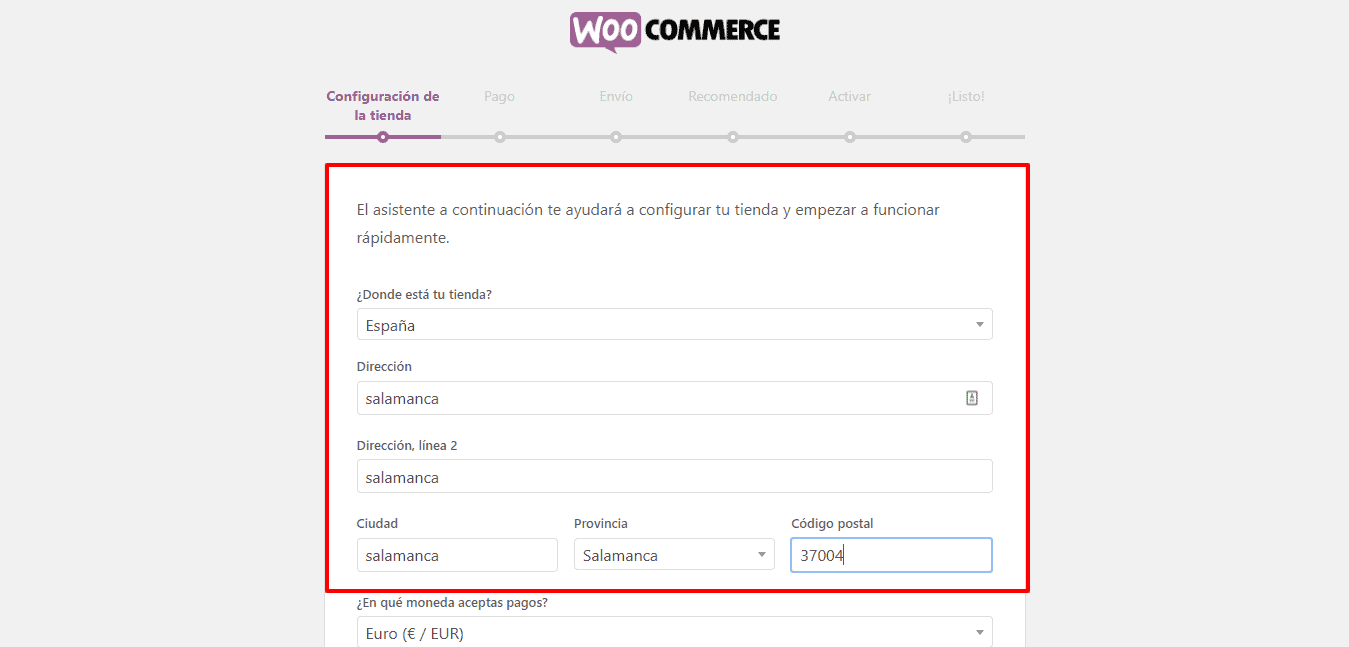
Now yes, we are going to execute the assistant of our store.
We are completing the data as it is requested: country of sale, address and postal code:
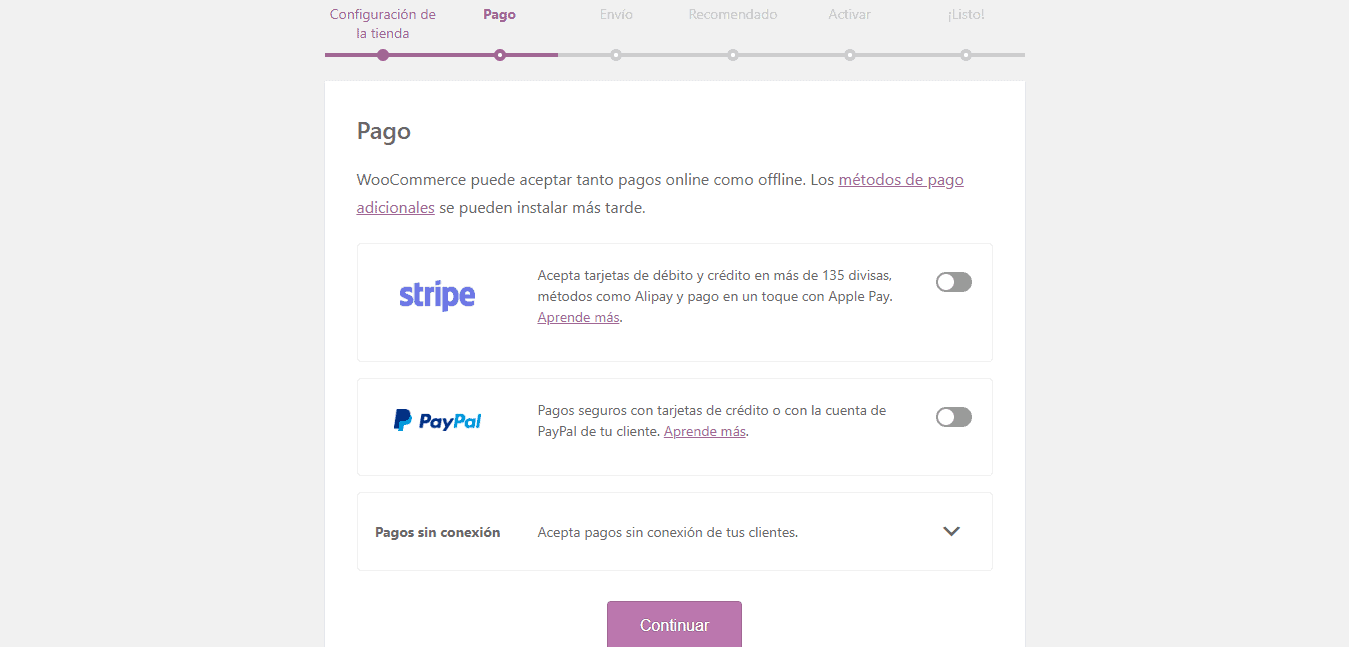
We continue with the forms of payment:
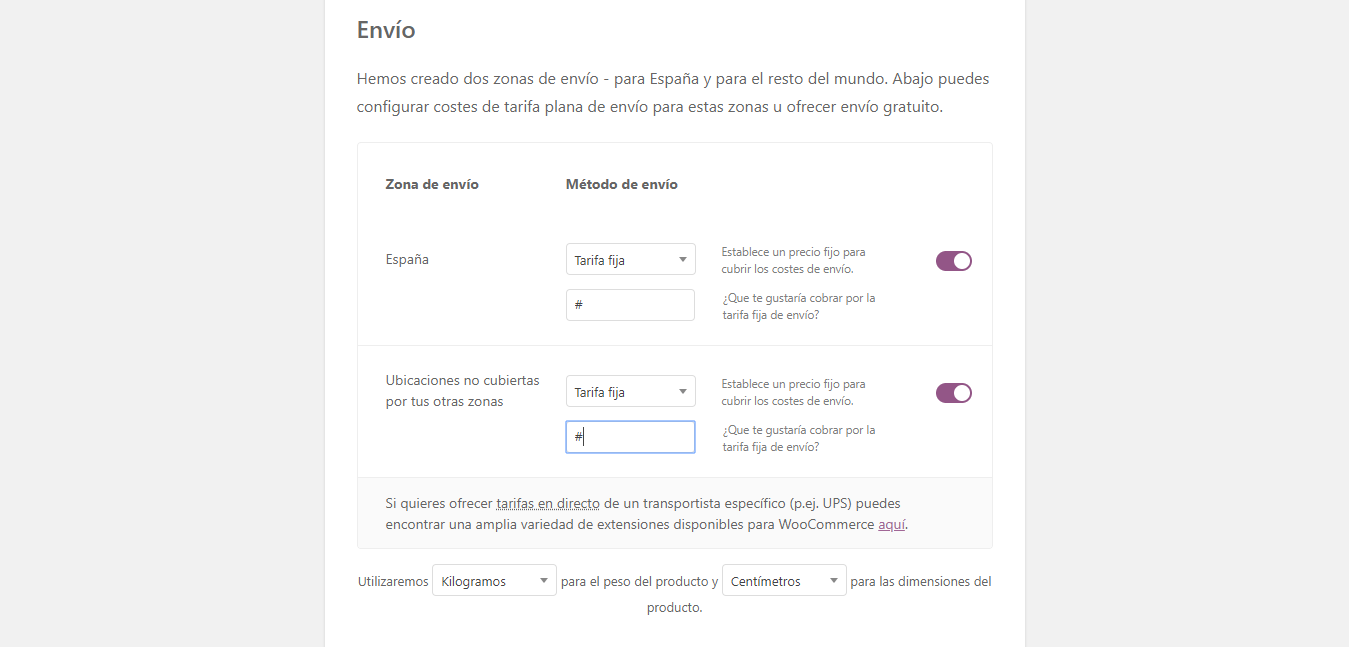
Shipping costs if we sell physical products:
I skip the next two steps and go back to the desktop:
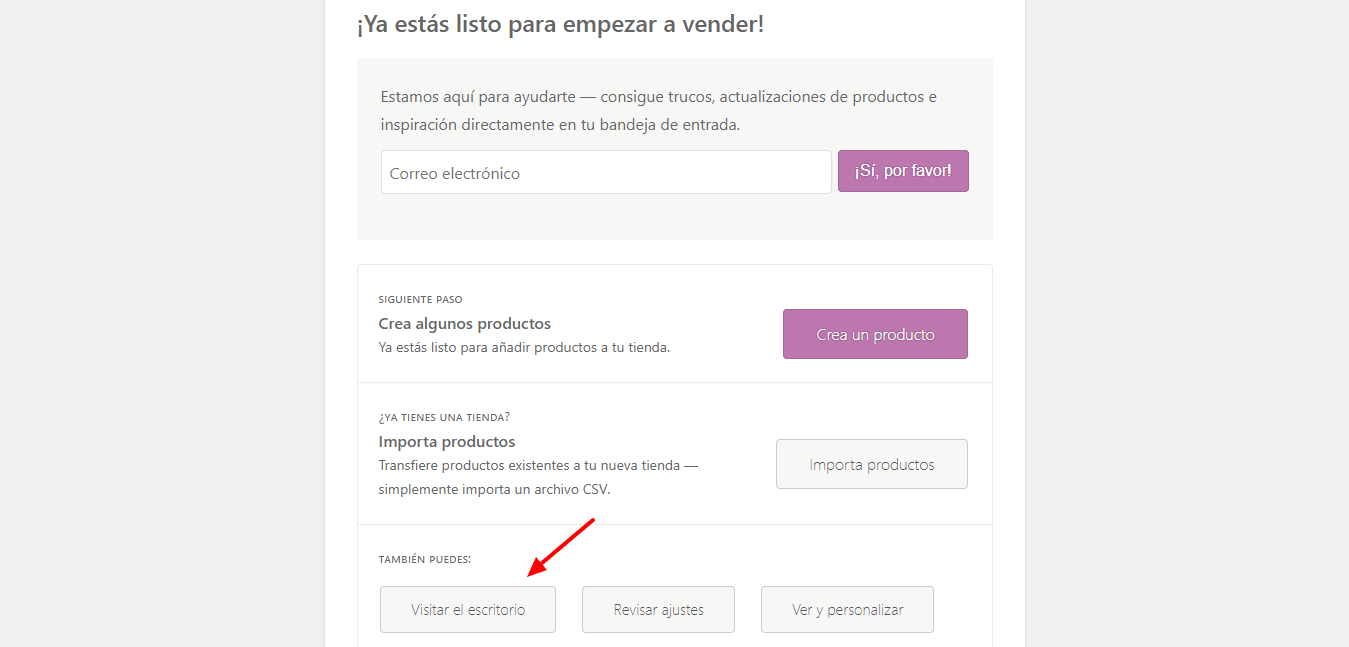
Now if I already have WooCommerce configured and installed.
What am I missing?
If we realize, my page has no content, so we are going to import Demo content, so that the page looks like in the demo. The demo content helps us to get an idea of the final result.
When we download the template Academy Pro, we see that there is a folder called XML and inside there are two files that we will use to import the content.
To do this, what we have to do is go to Tools, import and in the last WordPress option, we click on install now:
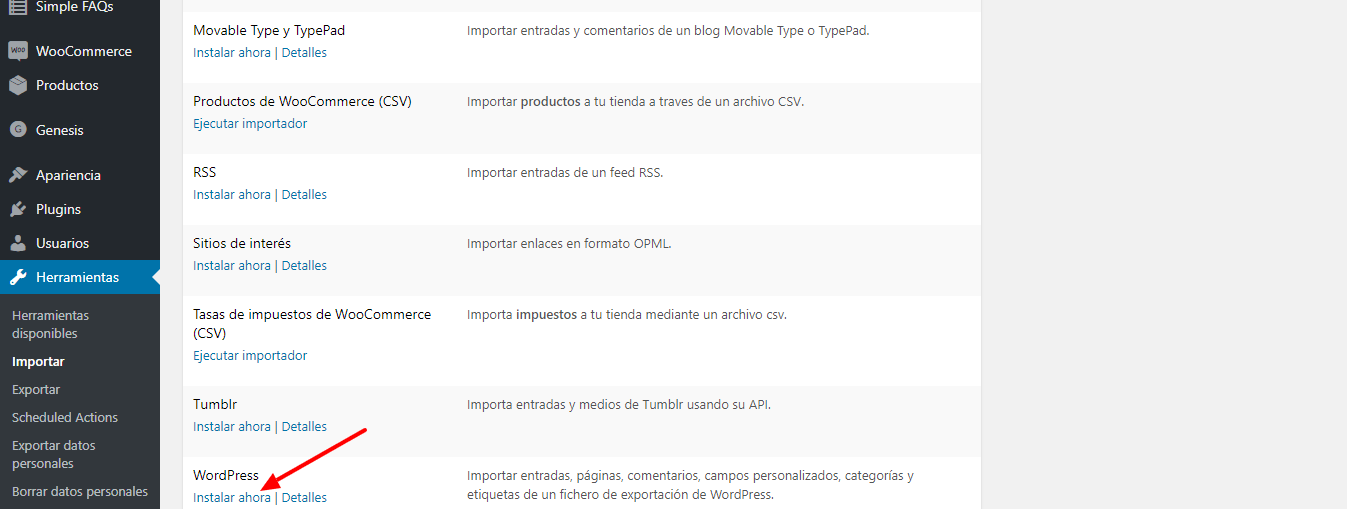
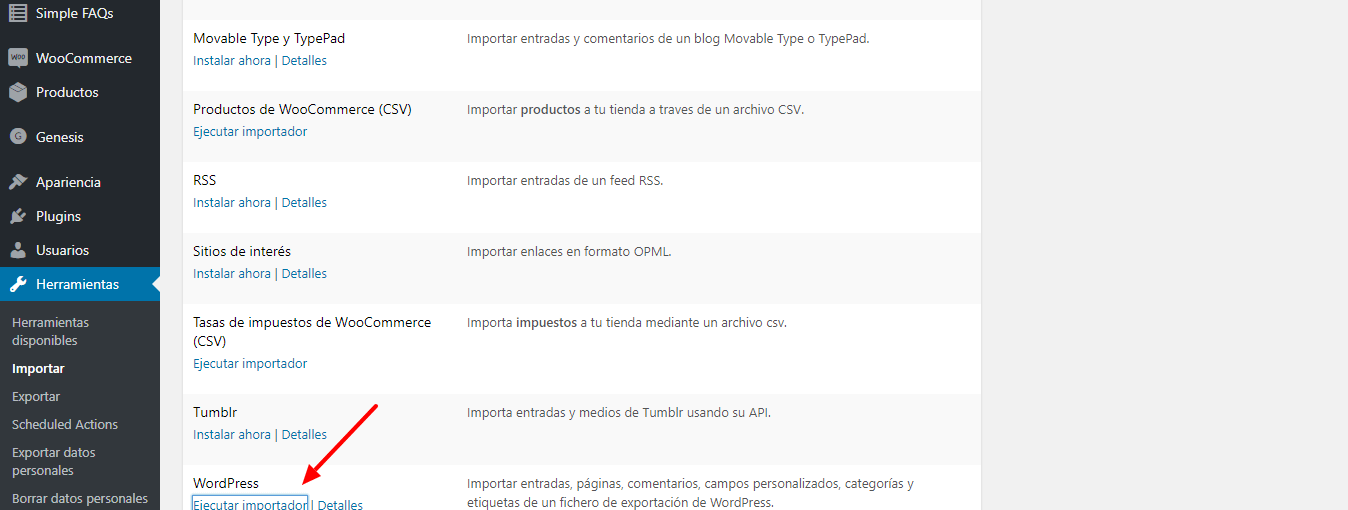
We run the importer:
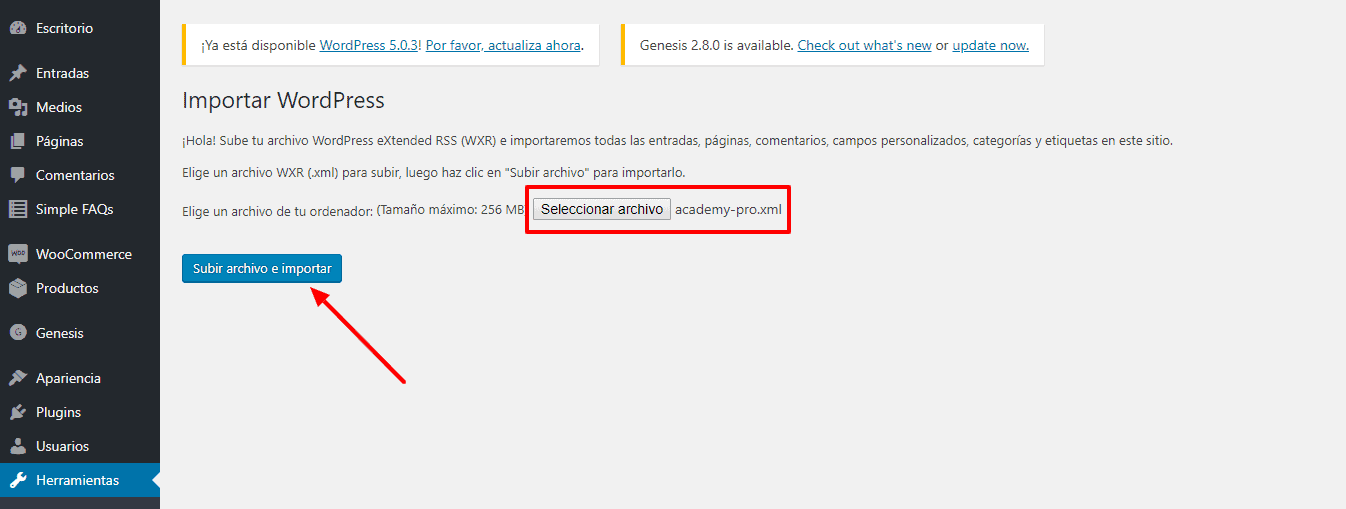
Now it asks us for a file, I upload the one I have in the demo content folder.
We click on upload file and import:
It asks us which user we want to import it, we select our user and mark the option: Download and import attachments. We click “Send.”
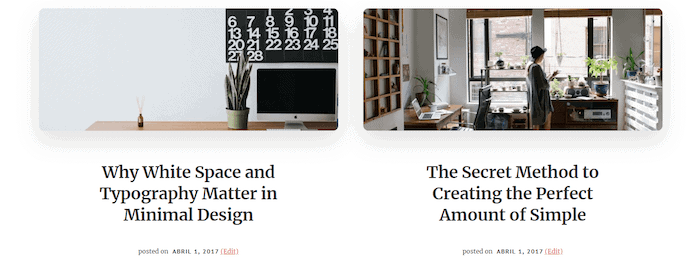
If we are going to see how the page is going, although it is still not the same as in the demo, it is already looking good:
Ok, what would we need?
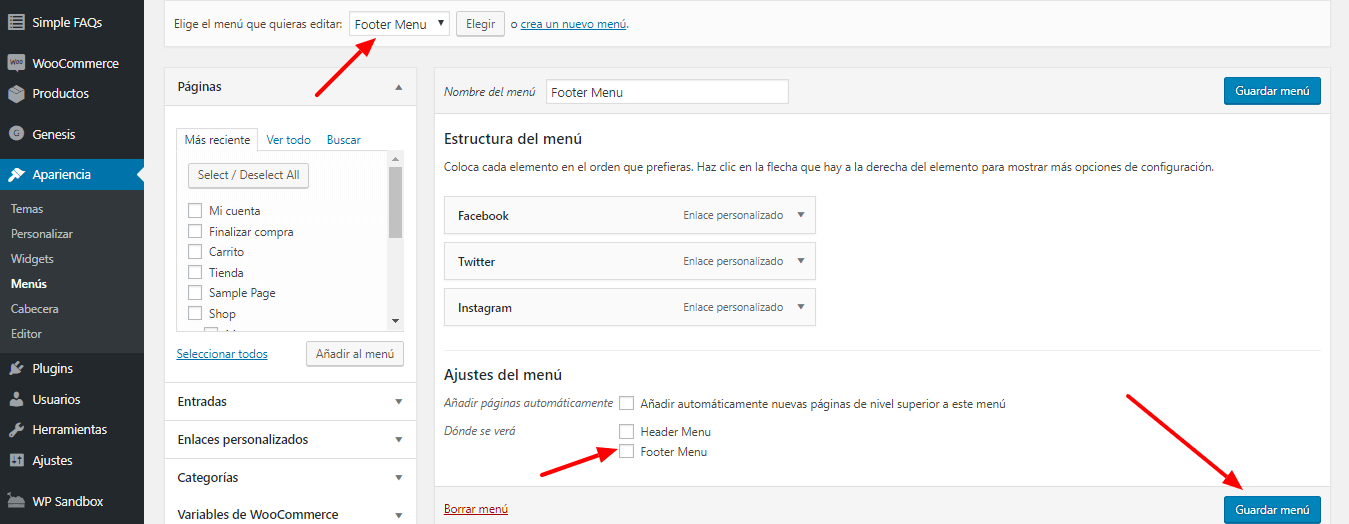
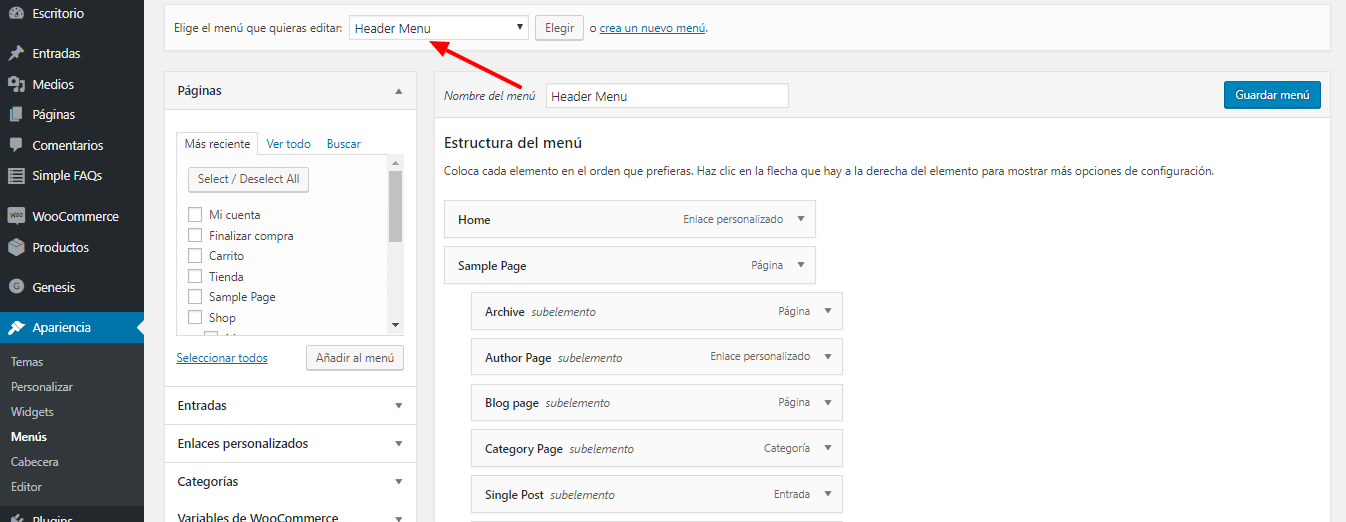
The first thing we realize is that I don't have the menu. To do this, what I have to do is go to the Menu option on our desktop.
We put the footer Menu at the bottom of the page, checking the option footer menu at the bottom.
This is the social media menu:
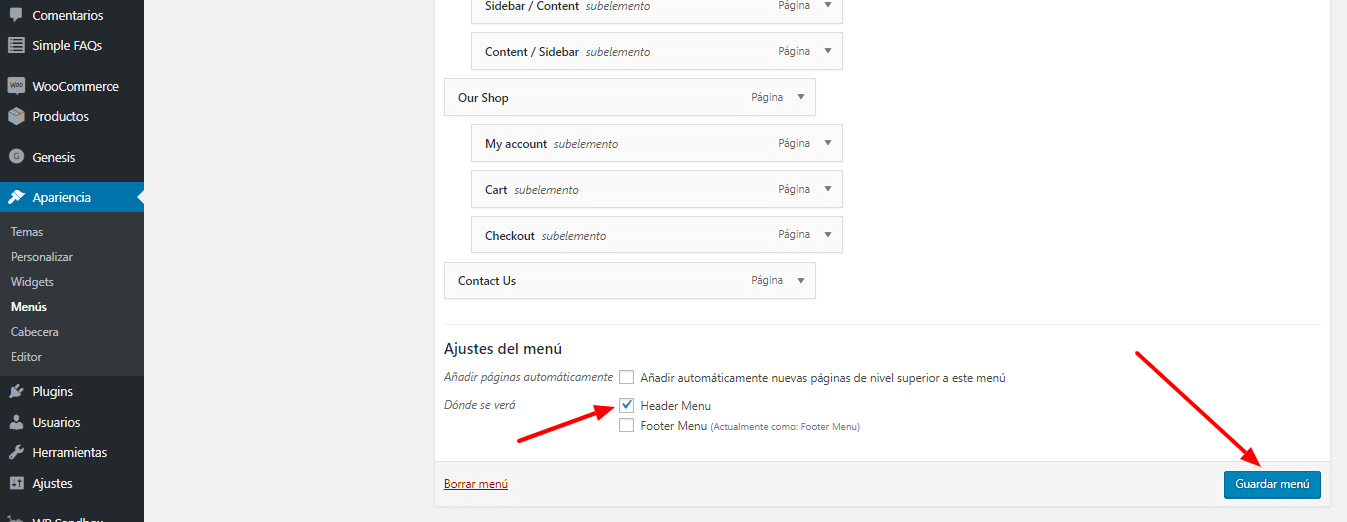
And the one at the head menu header, let's tell it to be in the header:
We click on save:
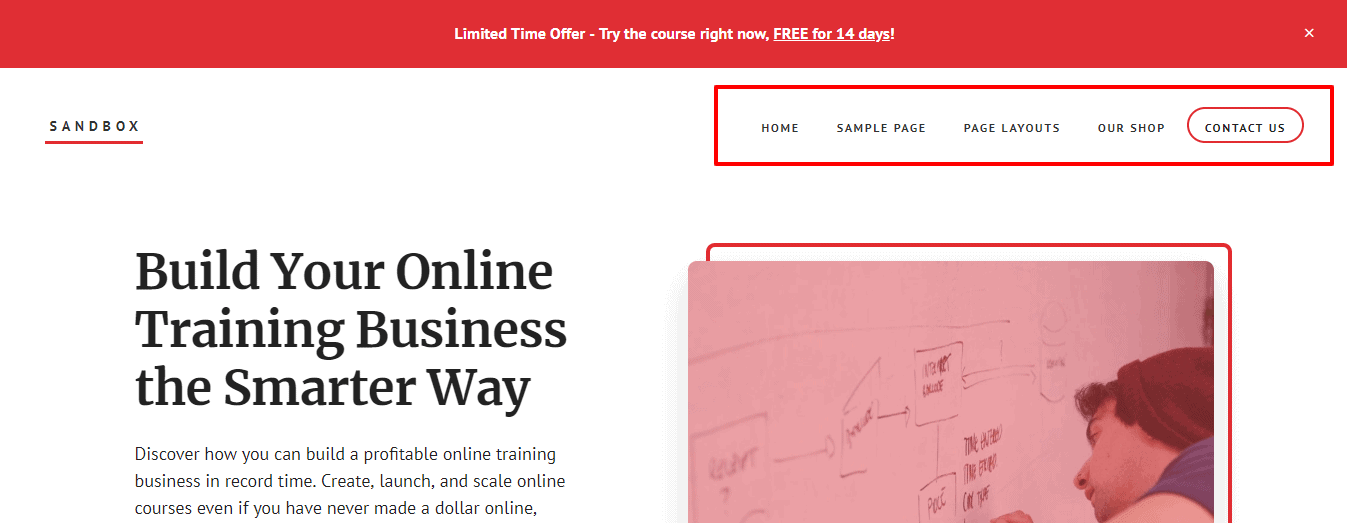
And if I go back to my page, I will see that I already have the menu at the top:
And if I go to the bottom, I also find the menu that we have placed there:
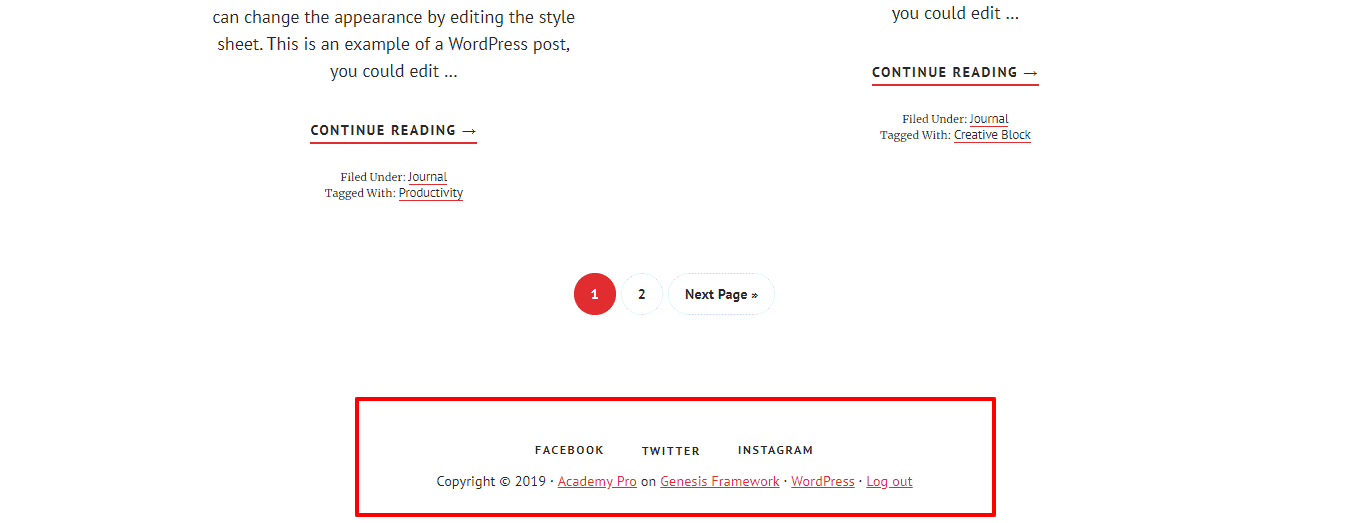
This template, like many of the Studiopress templates, has almost all settings in Widgets.
Almost all of the homepage is done from the widgets, except for the area above the homepage, which we will not do with the Widgets.
This is done from the customize option, Academy Pro Setting:
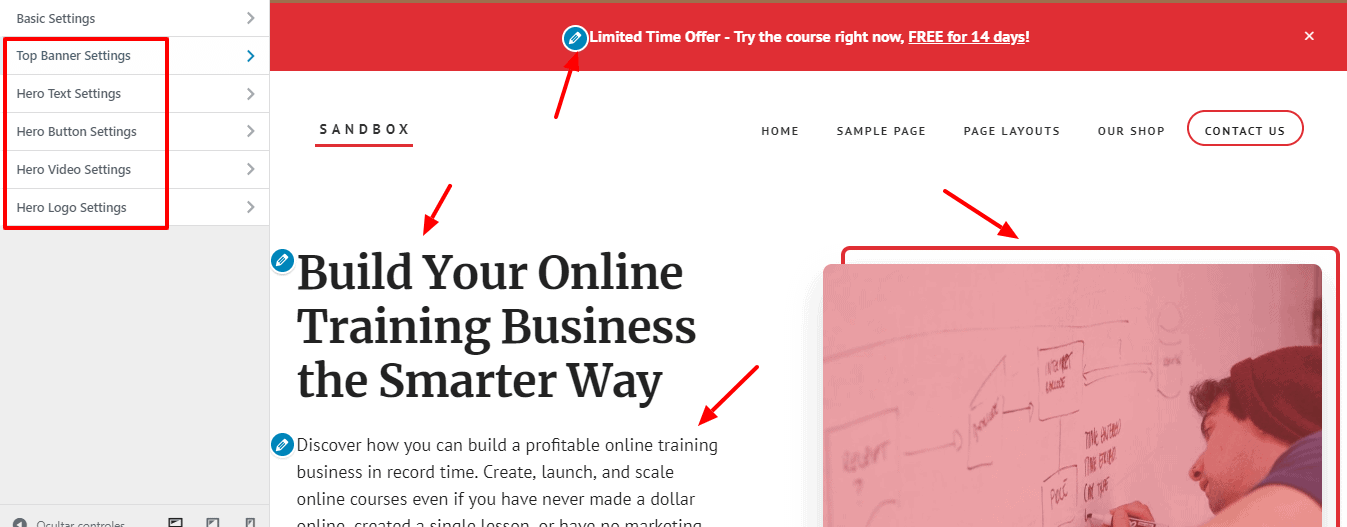
Now yes, the rest of the home page will be done with the Widgets.
To do this we go to the Widgets section to configure the main page.
Front Page 1
We will start with the main page for this we configure the section Front Page 1.
Almost the entire home page is set up with HTML or Text Widgets.
Going back to our Front Page 1 widget, the first thing we need to add is some custom HTML.
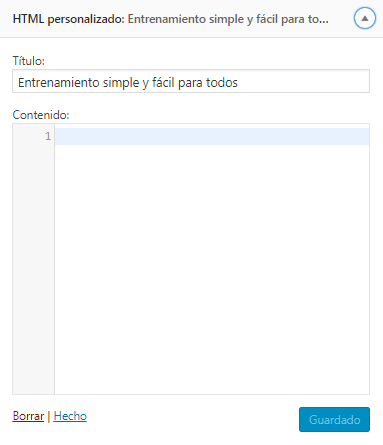
The second would be another custom HTML, I copy the code to add:
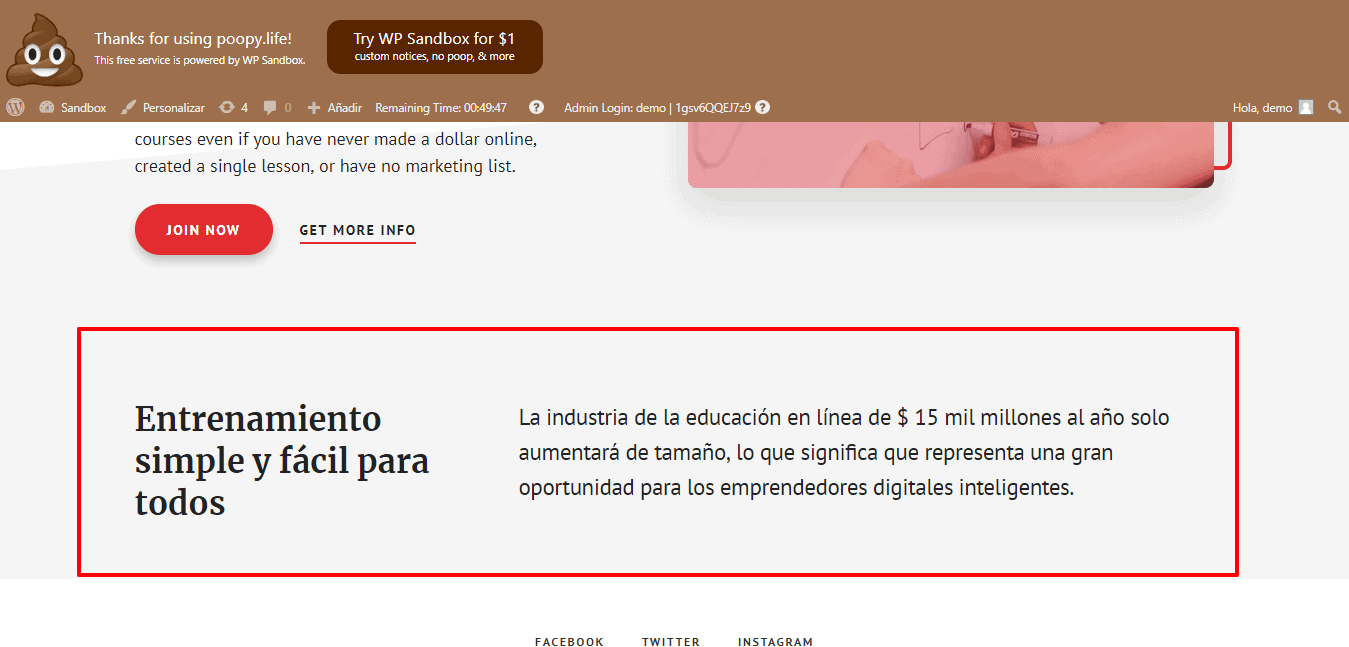
<div class="intro">The $15 billion a year online education industry will only get larger, which means it represents a huge opportunity for savvy digital entrepreneurs.</div>
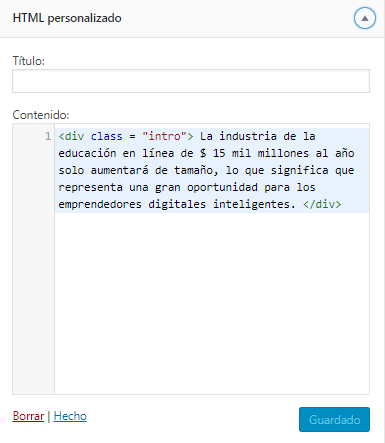
We click on save and if we are going to see how it looks, I find that I already have the first paragraph:
Now we go to the next area.
Front Page 2
We go to Widgets and display Front Page 2, we'll also configure it with a custom HTML widget.
We drag the widget to its area and add the following code with the necessary icons and texts:
<i class="sp-icon-video"></i>
<h3>46+ Video Lessons</h3>
<p>Simple, step-by-step, bite-sized video lessons so you make real progress, starting today!</p>

We will do the same for each of the following widgets with the text and the icons.
In total there are 6 widgets and we will make each of them custom HTML.
Next I will show you the necessary codes:
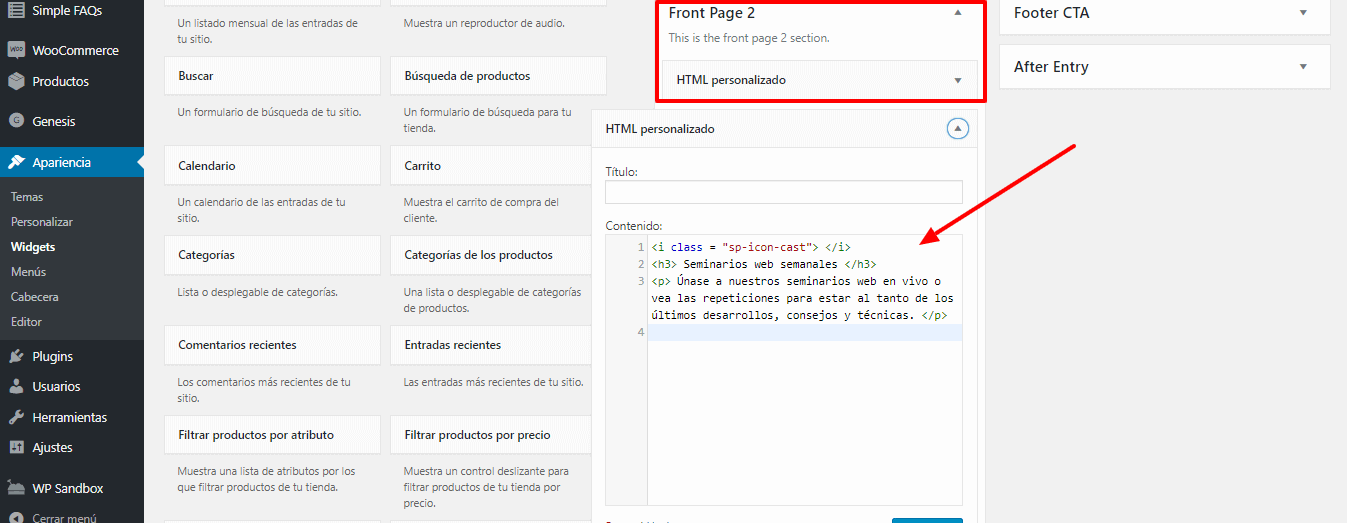
El Second block would be the following:
<i class="sp-icon-cast"></i>
<h3>Weekly Webinars</h3>
<p>Join our webinars live or catch the replays to keep abreast of the latest developments, tips, and techniques.</p>
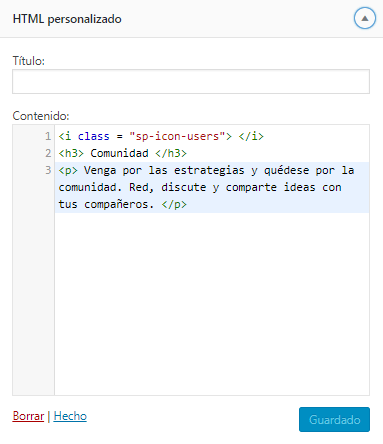
El third blocke:
<i class="sp-icon-users"></i>
<h3>Community</h3>
<p>Come for the strategies and stay for the community. Network, discuss, and share ideas with your peers.</p>
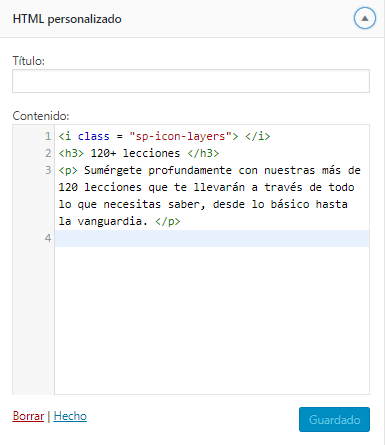
Fourth block:
<i class="sp-icon-layers"></i>
<h3>120+ Lessons</h3>
<p>Dive deep with our 120+ lessons that take you through everything you need to know, from the basics all the way to the cutting edge.</p>
Fifth block:
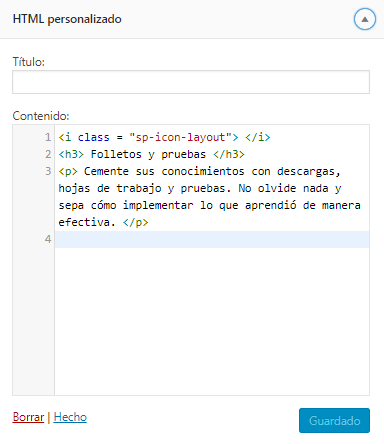
<i class="sp-icon-layout"></i>
<h3>Handouts and Quizzes</h3>
<p>Cement your knowledge with downloads, worksheets, and quizzes. Don't forget a thing and know how to implement what you learned effectively.</p>
And the last block of Custom HTML:
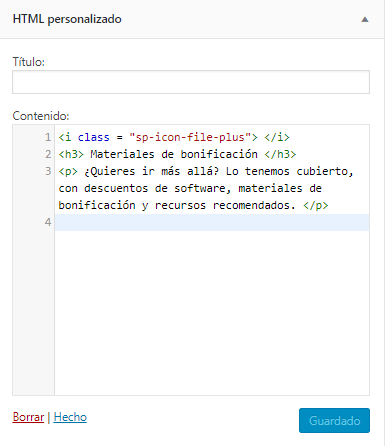
<i class="sp-icon-file-plus"></i>
<h3>Bonus Materials</h3>
<p>Want to go further? We have you covered, with software discounts, bonus materials, and recommended resources.</p>
We save and let's see how the page is going:
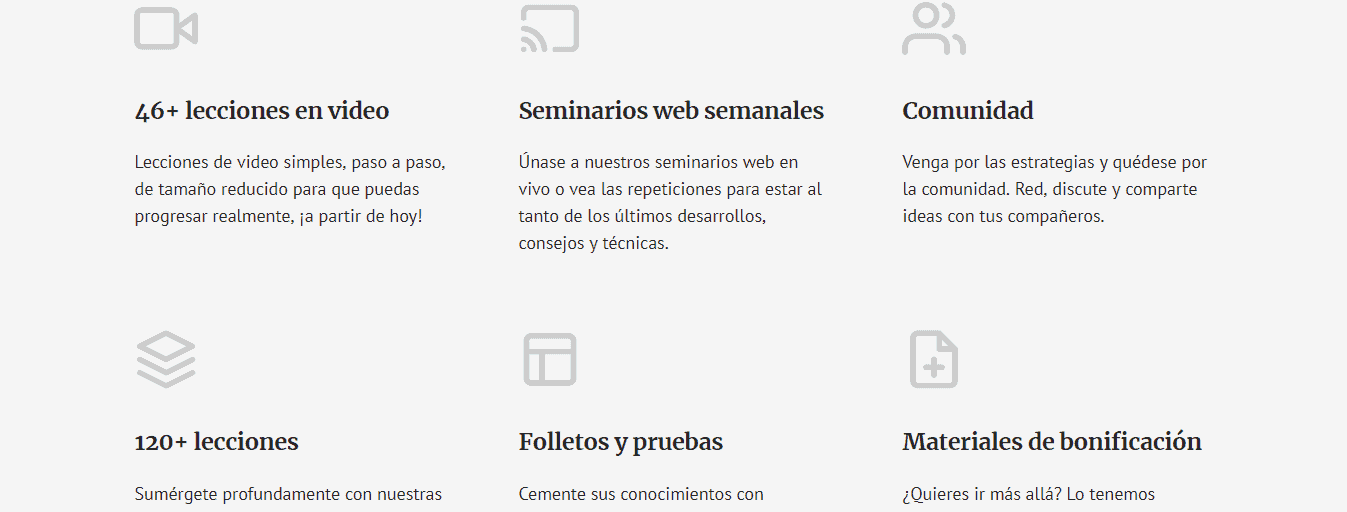
I can already see how my main page is taking shape.
Front Page 3
To continue with the next structure, I go back to the widgets and in the section Front Page 3 add a custom HTML.
On one side, I'm going to place the title. And on the other the HTML of the buttons.
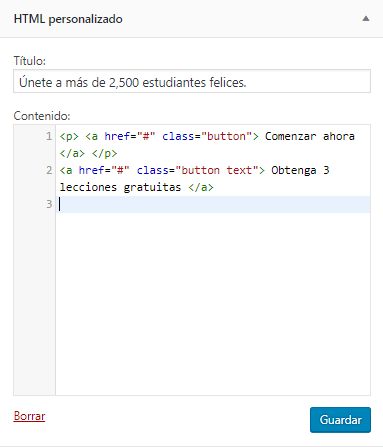
<p><a href="#" class="button">Get Started Now</a></p>
<a href="#" class="button text">Get 3 Free Lessons</a>
If I click save we will have this result:

What is the following?
Well, elaborate the structure where the user testimonials.
How are we going to do it?
With other Custom HTML Widgets 😉
Front Page 4
For this we go to Front Page 4 and let's add Custom HTML and Text.
The text for the top title:
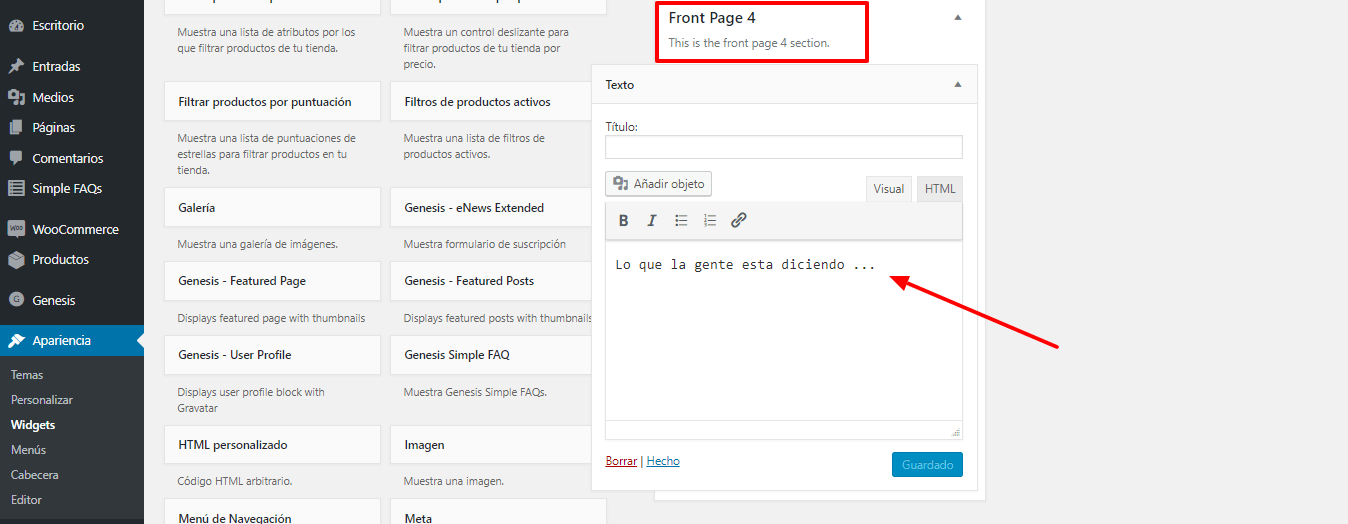
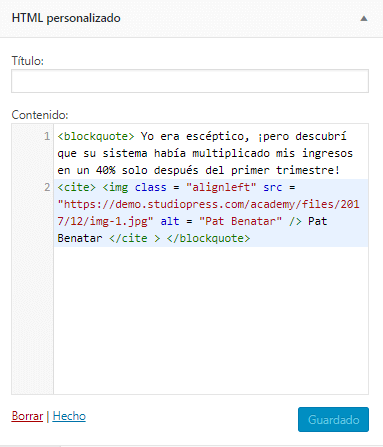
and for the Testimonials with Custom HTML:
<blockquote>I was skeptical but I found that your system had multiplied my revenue by 40% after just the first quarter!
<cite><img class="alignleft" src="https://demo.studiopress.com/academy/files/2017/12/img-1.jpg" alt="Pat Benatar" />Pat Benatar</cite></blockquote>
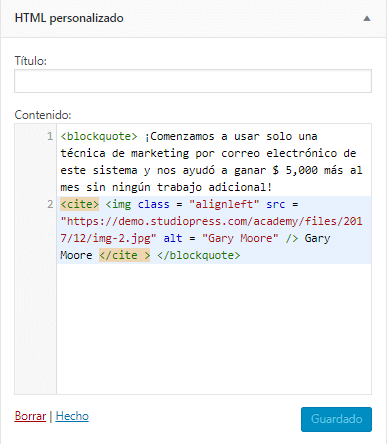
In the same way with the second widget:
<blockquote>We started using just one email marketing technique from this system and it helped us to make $5,000 more a month without any extra work!
<cite><img class="alignleft" src="https://demo.studiopress.com/academy/files/2017/12/img-2.jpg" alt="Gary Moore" /> Gary Moore</cite></blockquote>
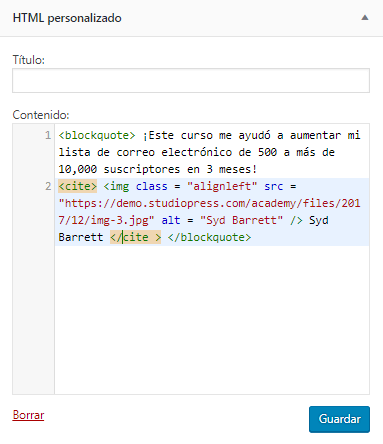
And the third widget:
<blockquote>This course helped me to grow my email list from 500 to over 10,000 subscribers within 3 months!
<cite><img class="alignleft" src="https://demo.studiopress.com/academy/files/2017/12/img-3.jpg" alt="Syd Barrett" /> Syd Barrett</cite></blockquote>
We save and we will have that part also prepared.
Let's see it:
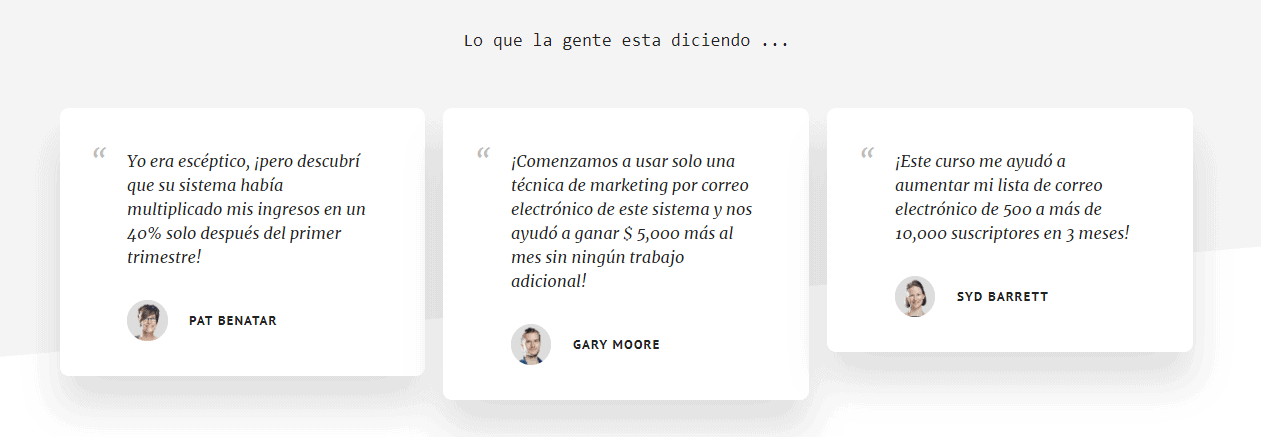
If we look at what this HTML does, it gives it the testimonial format and at the bottom we have the URL of the image, next to the name of the person.
Since we have done this part, we go to the next one, which is the image of the teacher.
Front Page 5
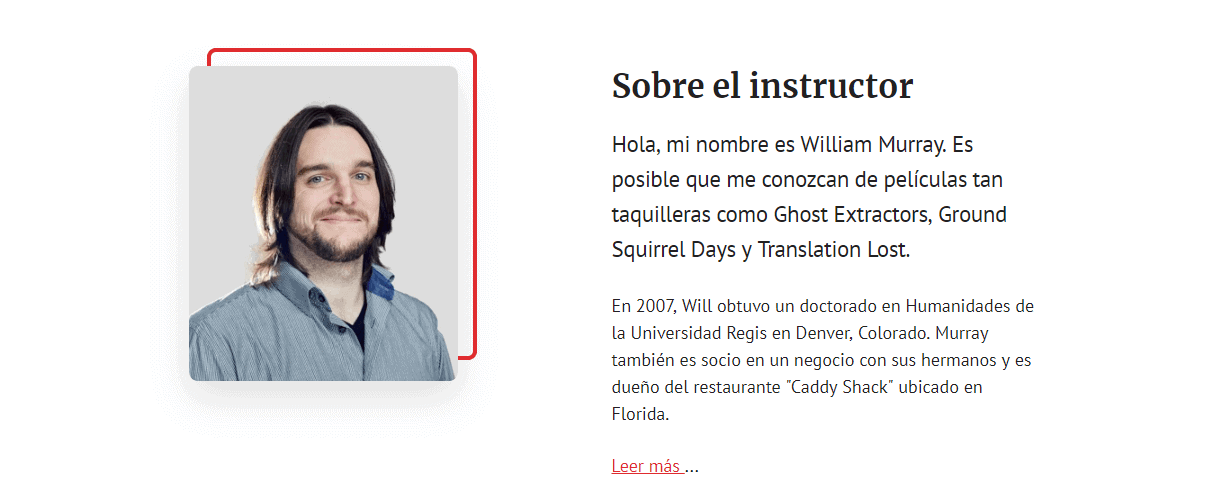
We enter Widgets Front Page 5. And inside we are going to add 2 things.
On the one hand the image of the person and on the other hand, the text.
We start with the image and for that we are going to add the IMAGE Widget, I drag it and select the image to display:
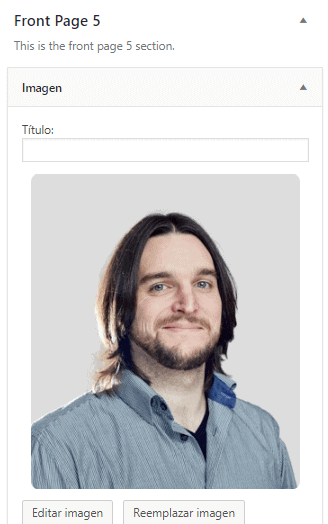
I click Replace Image and change the Size Per Home - Large
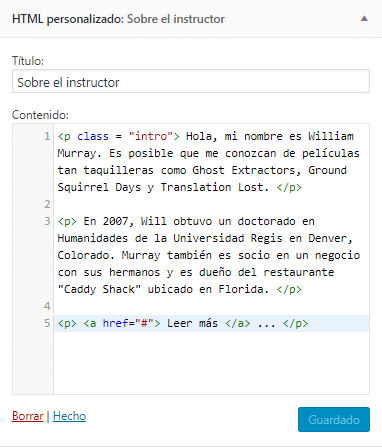
Next we need to add Custom HTML:
<p class="intro">Hello, my name is William Murray. You might know me from such blockbuster movies as Ghost Extractors, Ground Squirrel Days, and Translation Lost.</p>

<p>In 2007, Will was awarded a Doctor of Humanities degree from Regis University in Denver, Colorado. Murray is also partner in a business with his brothers, and owns the "Caddy Shack" restaurant located in Florida.</p>

<p><a href="#">Read More</a> ...</p>
I click save and I'm going to see how it turned out:
Now the following structure is on the one hand that people can subscribe to a Newsletter and on the other the drop-down with the lessons.
Front Page 6
For this we go to the Widgets we open Front Page 6 and we select Genesis Enews Extended.
We complete the information on the form:
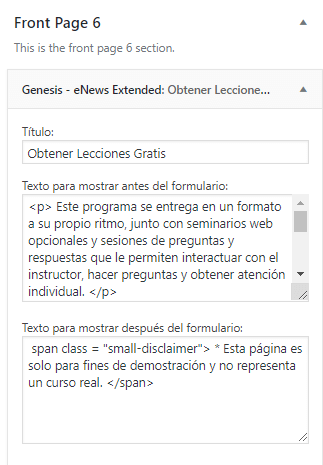
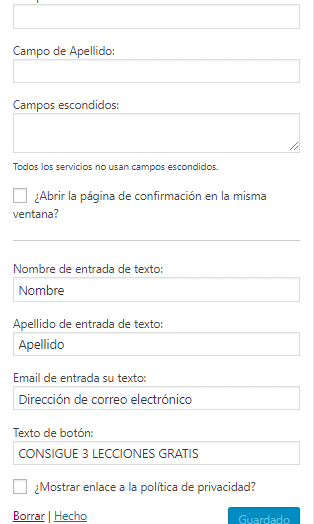
If I save and go to see how it is looking, I find that the first column is spanning the entire width of the page:
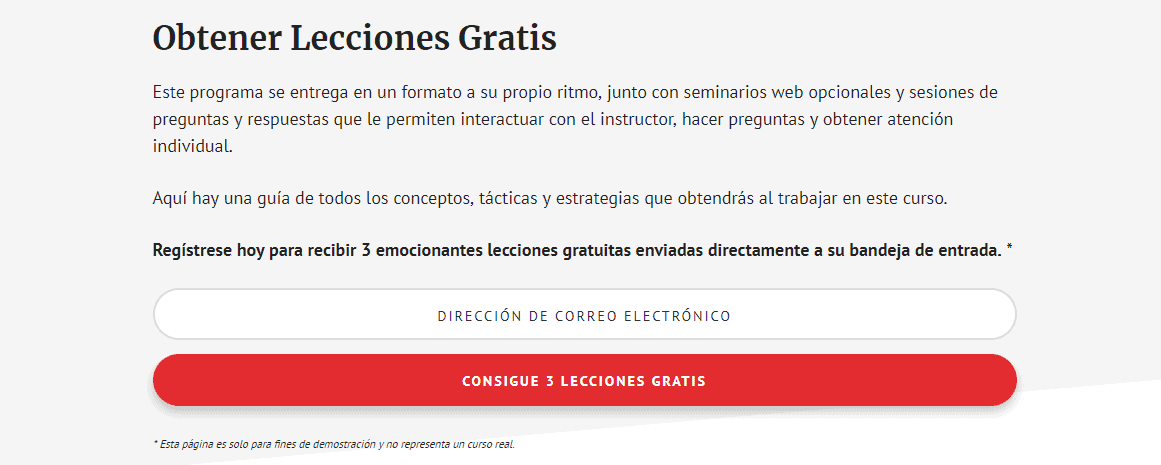
It is because I have not added the lessons on the side, as soon as we add it, this form will go to your site.
We are going to add this widget inside the Front Page 6, the widget we will add is Genesis Simple FAQ
If we remember, at the beginning we installed the Genesis Simple FAQ plugin and with the content we give its content.
We put the title and save.
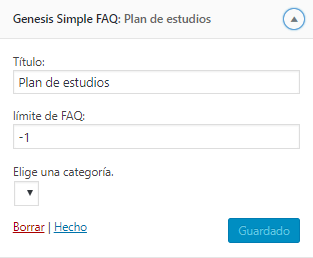
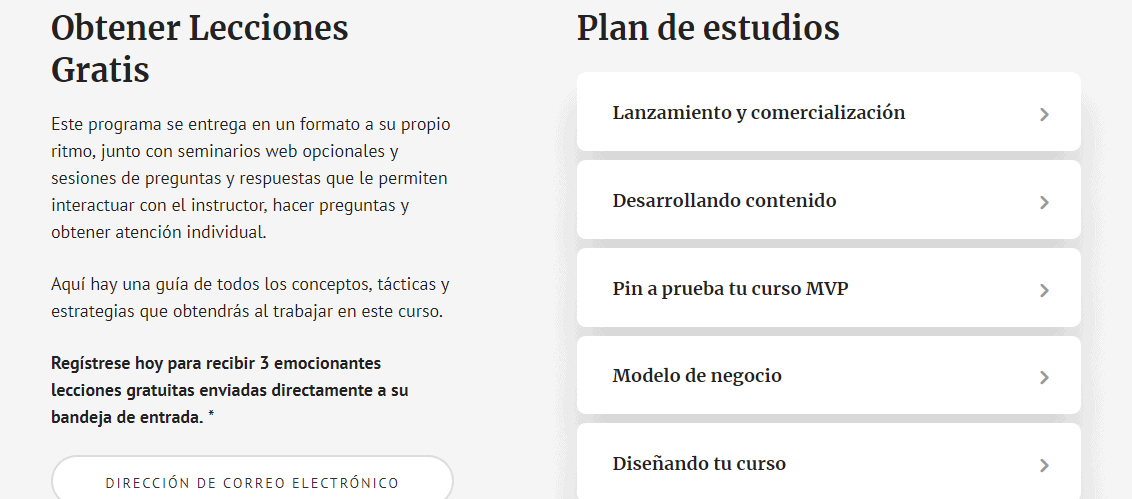
If I go to view the page, I have the following output:
I almost almost have the main page, I only need the last structure.
How will it be done?
Well, with another custom HTML widget 😉.
Footer CTA
We select the widget area Footer CTA To add the button in the footer:
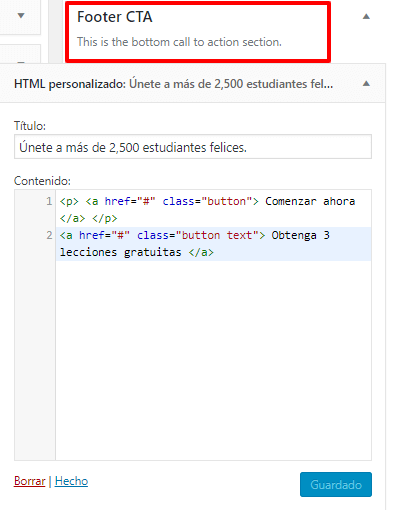
We save and we will see how it turned out:
<p><a href="#" class="button">Get Started Now</a></p>
<a href="#" class="button text">Get 3 Free Lessons</a>

The truth is that I love this template, the result is brutal.
I already have my main page just like the demo. What I would be missing would be that in the pages that have a side like in the Sidebar Content, add the same widgets as in the demo.
With the genesis template I can choose where I want the side to look, it can be on the left or on the right, I just choose the option I want and that would be it.
Now to have it identical to the demo I would need to place the newsletter form.
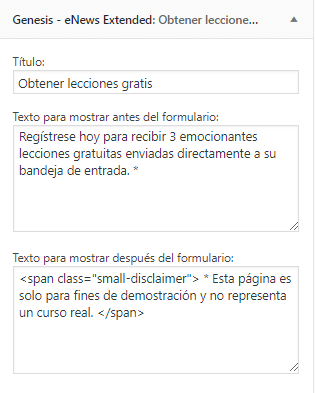
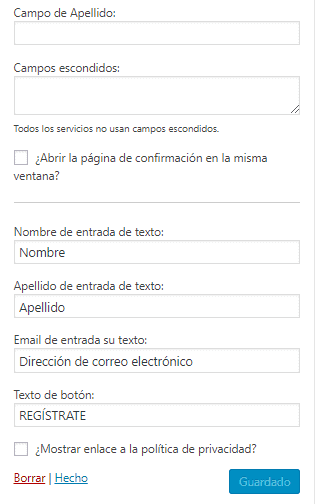
For this I come to the widgets in this case Primary Sidebar and add Genesis Enews Extended
Complete the information:
I save and if I'm going to see how it turned out, here I have it:
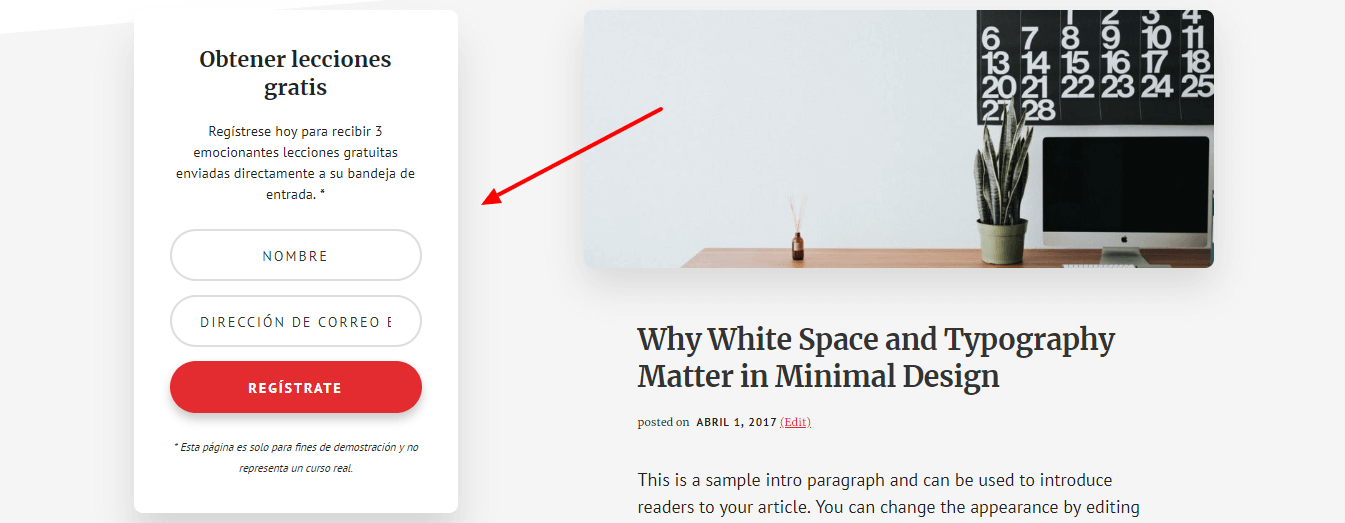
Here I have my Widget so that people can register.
As you can see, this template is ideal to be able to make our own academy.
Any questions you have you can ask me.
Add more logos in the Home section As Featured In:
In the header of the home we have an area where we can add 5 logos as we see in this image:

To add the logos we have to click on customize and click on the pencil:

And the possibility of adding 5 logos will appear:
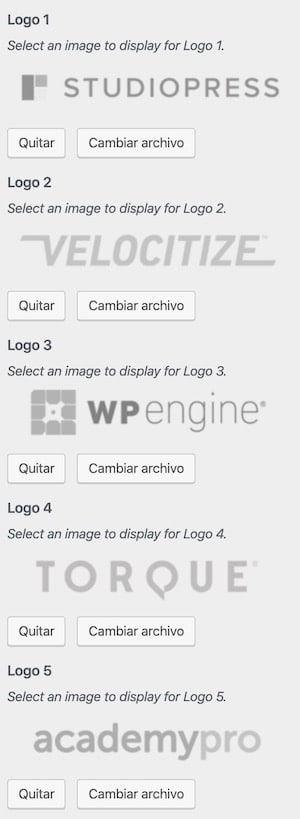
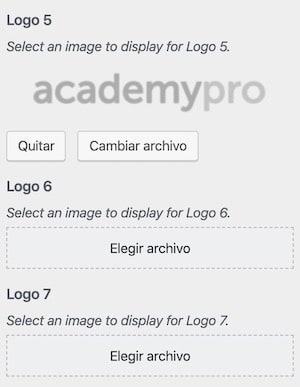
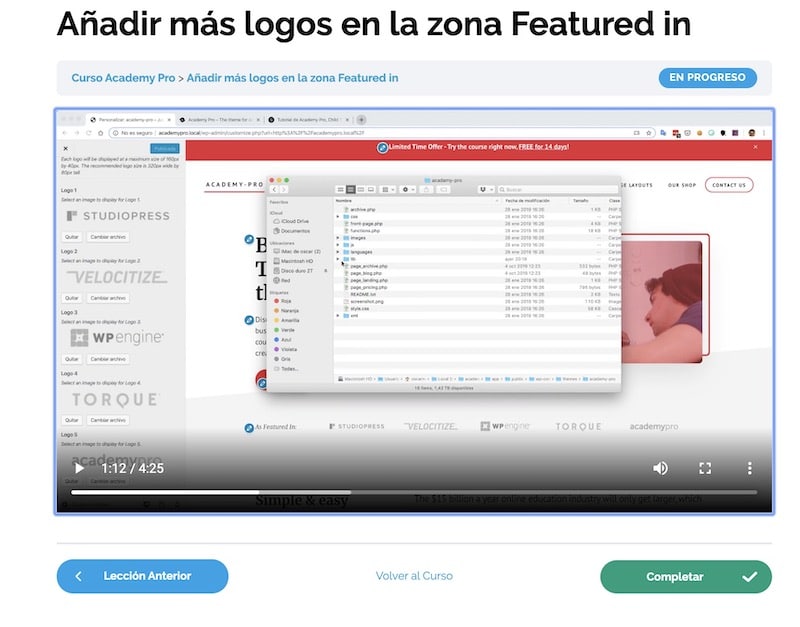
To add more images we need to modify a template file, in this video you can see it if you are a premium member:
Once done, as many logo areas as you want will appear:
I hope you liked it, see you in the next video.
Hello, good afternoon! Congratulations for the excellent post you shared, I wanted to ask you if academy pro is easy to configure with woocommerce subscription since I am going to use this plugin to create a membership site, Thank you very much!
Hello Adrian,
This template is perfect to use in conjunction with WooCommerce Subscription 😉
Regards!!!
What if I remove WooCommerce and put Lesrndash on it to make a course academy? Is there some kind of incompatibility between them?
Thanks for your answer.
You can do it perfectly 😉
There is no incompatibility
Regards!!!
Thank you very much Óscar, you are a crack.
Thank you very much!!!!
Greetings 😉
Thanks for the post! Very good. It is difficult to find information in Spanish for Genesis, but now I have found you!!
Thank you very much 😉