Input Options and Blocks in Gutenberg
Subscribe to my channel:
In this basic WordPress course we are going to look at every WordPress element that you might find useful.
Just because it is a basic course does not mean that we are not going to go deeper and see each element of WordPress so roll up your sleeves that we really started with WordPress.
Gutenberg
If you are new to WordPress you will find the WordPress editor very simple and natural.
On the other hand, if you already have experience with WordPress, it is very possible that you have disowned the new editor. At least it has happened to me 😉
We are animals of customs and we don't like changes, even if they are for the better 🙈
Before explaining more advanced concepts of WordPress, we are going to create an entry (we will see what it is) to have a first impression of the options that we have to create and modify the content.
Parts of a Post in WordPress
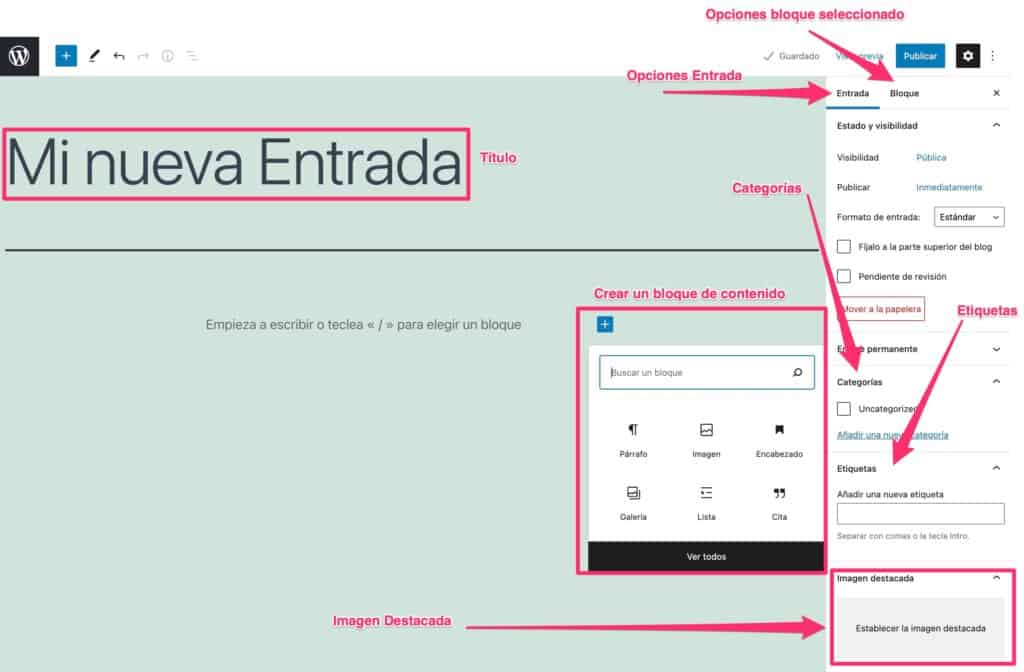
Title
It doesn't require much explanation.
It is what gives name to the content that we are going to create. For search engine positioning it is very important since Google understands it as a summary of what we can expect from the content.
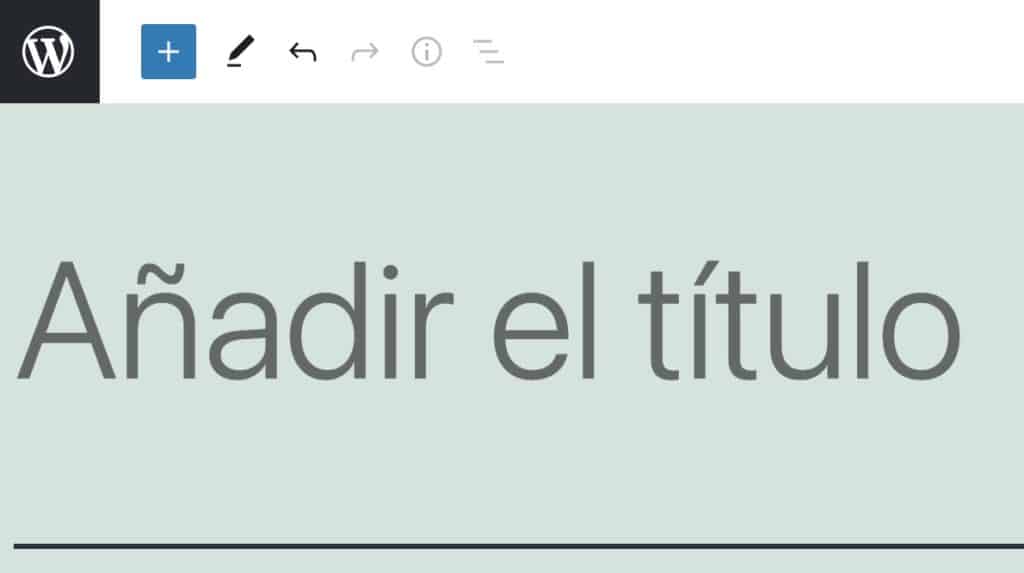
Creating a title in WordPress is as simple as starting to write where it says add title.
Blocks
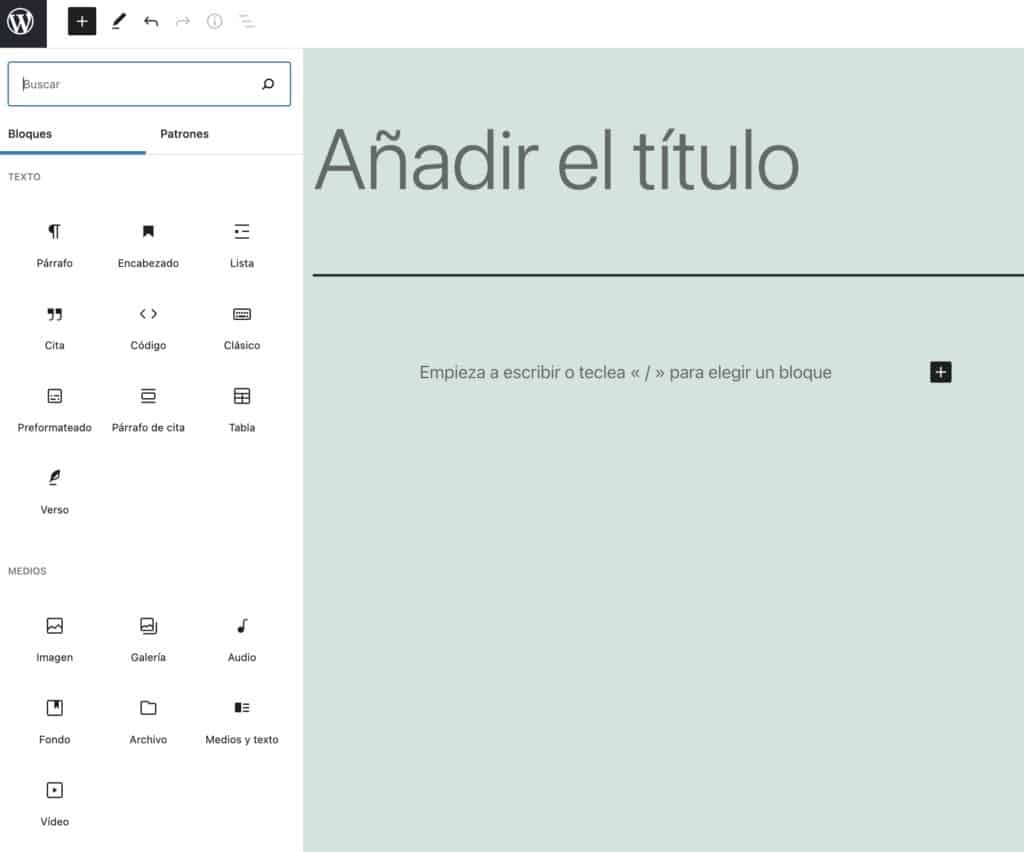
When you have created the title if you click on the key intro of your computer you will see that a plus sign will appear so that you can create your first block and if you click on it you can see the following options:
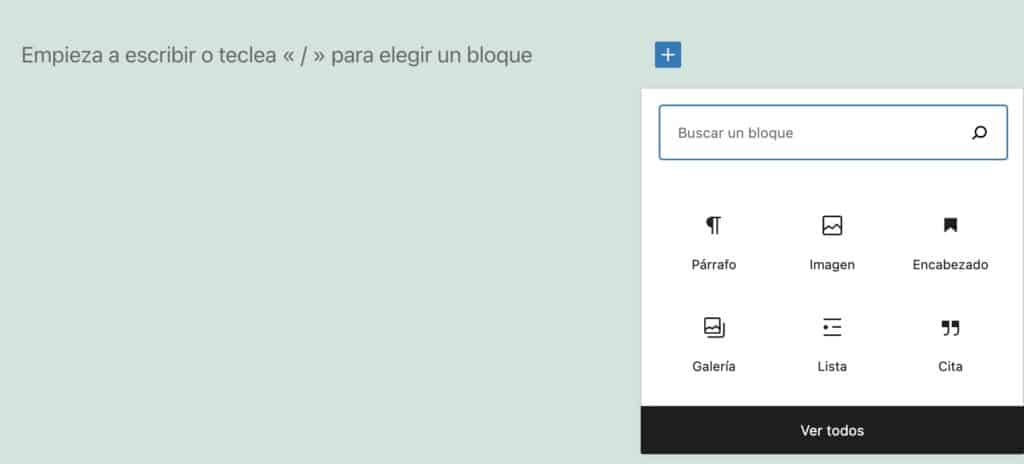
At a first glance you don't see all the blocks, you see the most used blocks.
To search among all the blocks you have two options:
Reorder the blocks
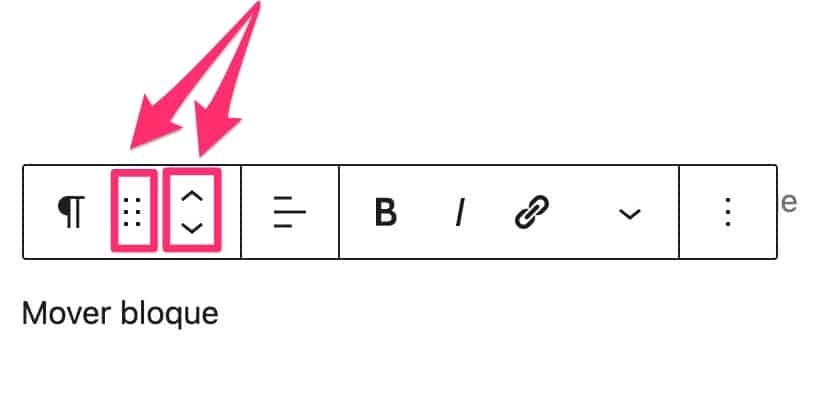
We have 2 possibilities to move a block:
If we pass the mouse over a block we will see that there is 2 arrows that allow us to move the block up and down.
We can drag the block to the place we want inside the editor. To do so we have to drag from the icon that has 6 dots.
Navigate between the blocks
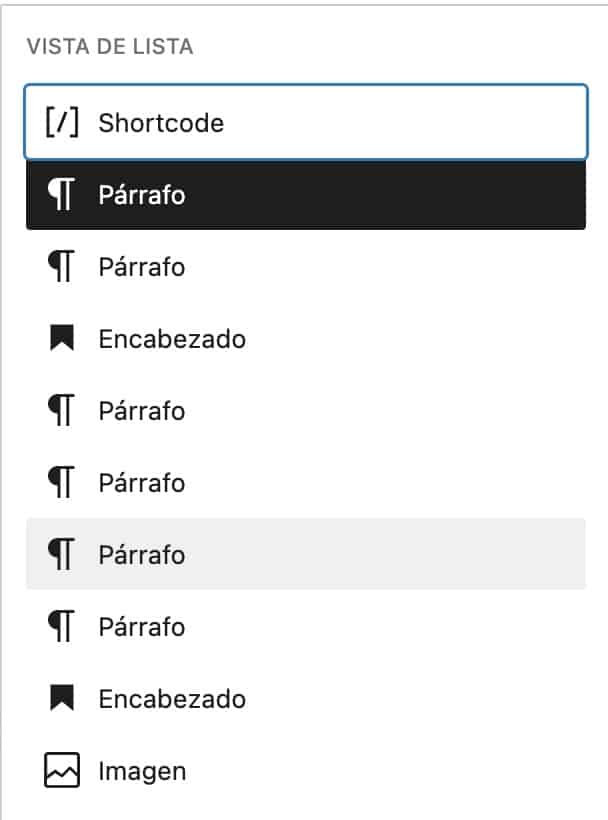
When we create long content, we may have difficulties when navigating between the different blocks.
For these cases we have a very interesting option in the edit menu:

If we click on the icon with the 3 dots, a menu appears with all the blocks of our content:
Block Options
Each type of block has different options. I recommend that you keep an eye on it from time to time because they do not stop adding new options. It is one of the parts of WordPress that is improving the most.
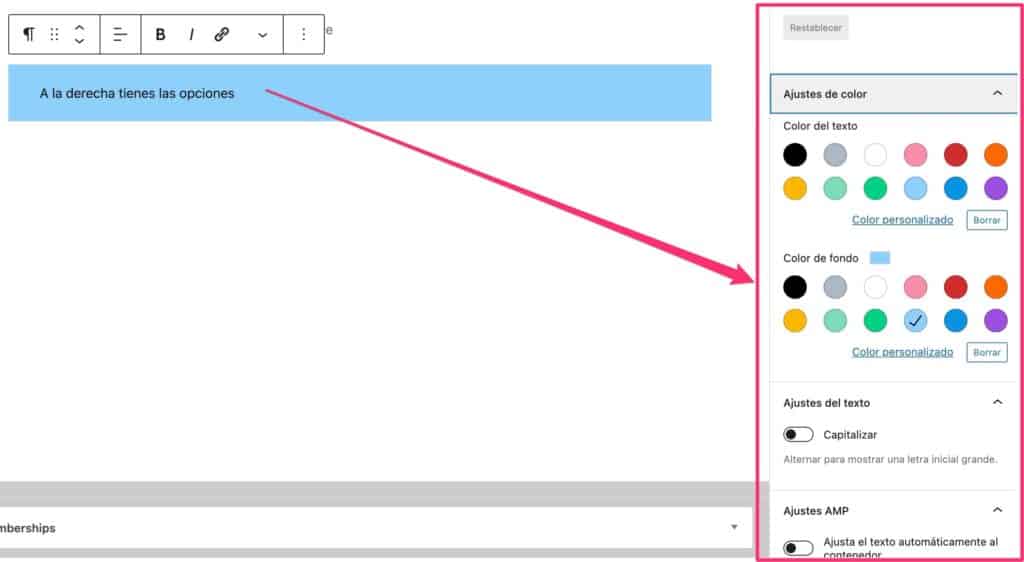
To see what options a block has, we just have to select a block and all its options will appear on the right:
Options of a block and options of the input
You don't have to confuse the input options in general and the options of each block:
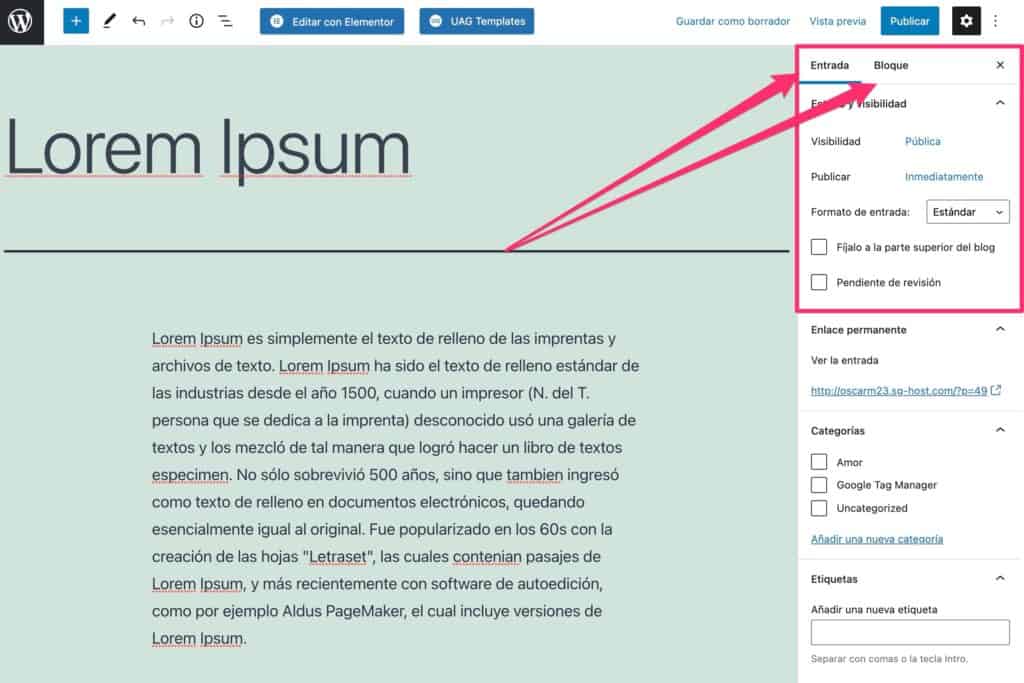
To the right of the entrance you have the 2 options.
It is very common that we look for general options of the input and we do not find them because we are looking at the specific options of a block.
You can always switch between block options or general ticket options by clicking Ticket or Block.
Post Featured Image
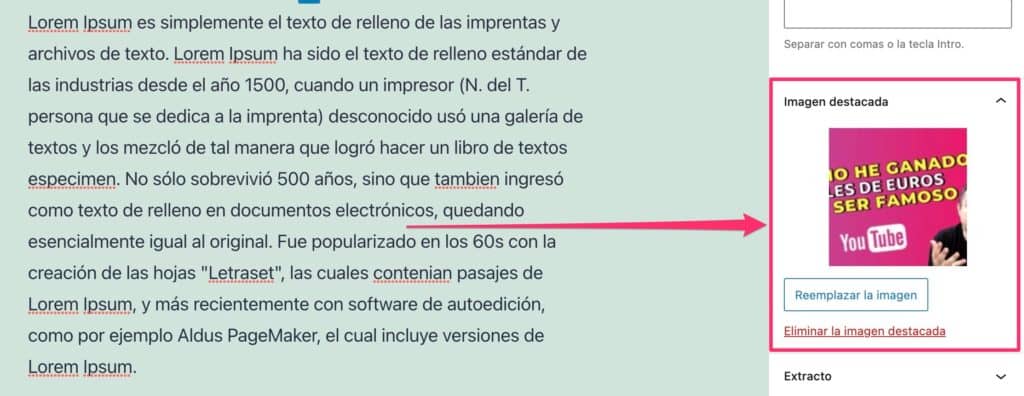
Another common mistake is not putting a featured image from the field enabled for it.
Adding the image in the editor is not enough to enable the featured image options.
Many templates use the featured image to build the listings so it is an issue to keep in mind
Manage Gutenberg with the keyboard
When I went from using the classic editor to using Gutenberg, the first thing that bothered me was that I thought that Gutenberg was designed for layout and not for concentrating on writing.
To create each paragraph or title you have to release the keyboard to add a block with the mouse.
Well, this is not true, but I did not know it 😉
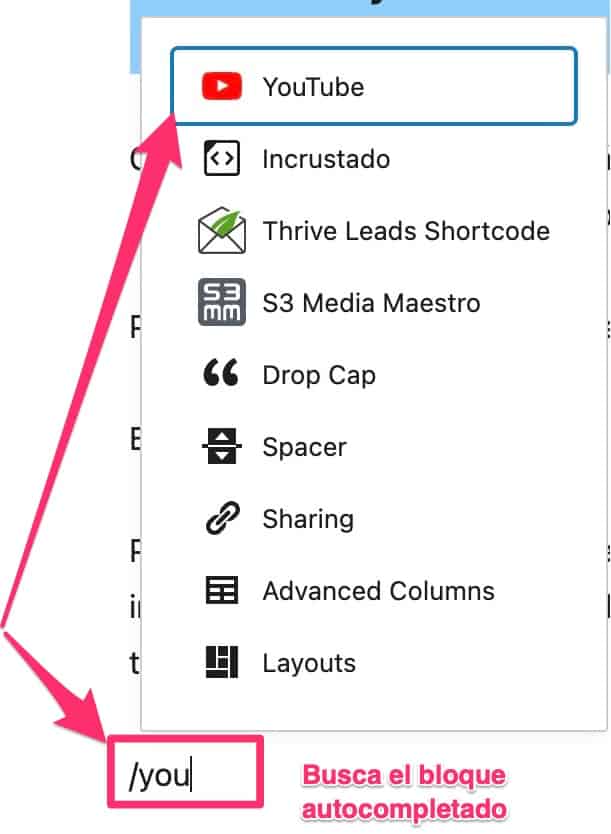
To create a new block you don't have to take your hands off the keyboard, you just type a slash "/" and the different types of block appear for you to choose from. In addition, it autocompletes with the text you write:
Categories
If we want users of our website to find our content easily, it is very important that we categorize it well.
Do not put categories to put, use those that you really think help the user.
content details
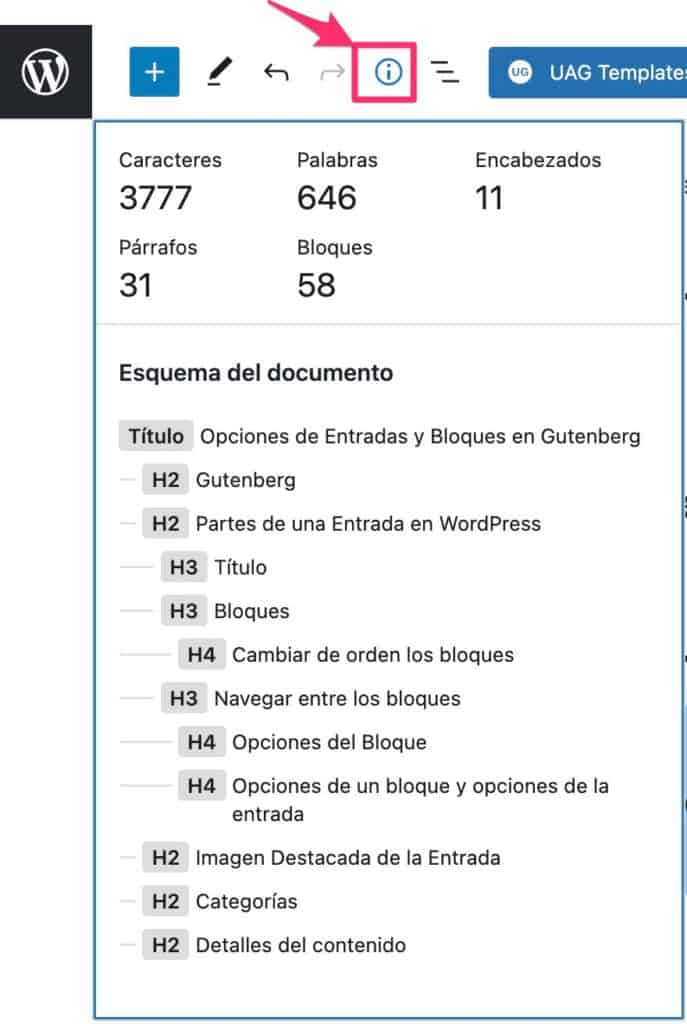
When you are creating a content you may want to know how many words you have or see the outline of the document.
Just by clicking on the information icon, all this information will appear:
Document Revisions and Version Control
This option is your lifesaver 😉
It is very possible that by mistake, you delete or modify your entry and want to return to a previous state of the document.
In WordPress I am very easy thanks to the revisions option
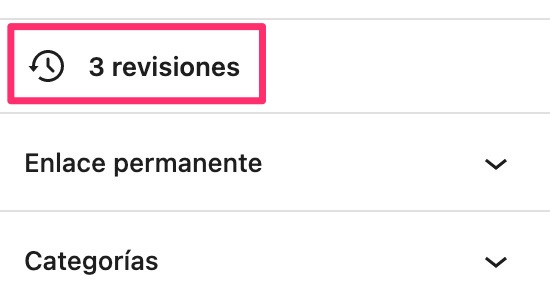
Every time you save the document, a revision of the document is generated.
This means that in addition to saving the document, it saves each modification made and allows us to use any previous version:
If we click on reviews:
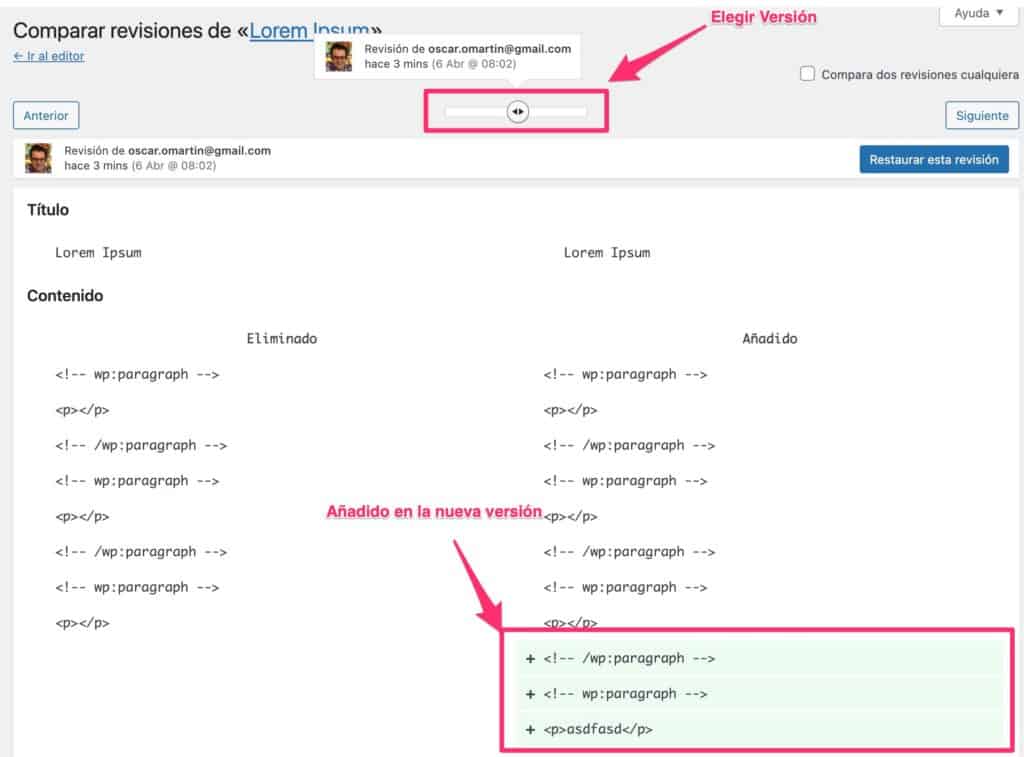
Choose Version
You have a slider to choose which previous version you want to restore.
What you have added appears in green and what you have removed appears in red. Don't tell me it's not cool?

