Install WordPress on Local
Notice
What I am about to say may seem strange, but installing WordPress locally is not the easiest option.
As we will see below, there are tools such as DevKinsta o Location that will make life very easy for us when installing WordPress on our computer.
But two problems are common:
Problems installing tools
DevKinsta y Location They are applications that consume a lot of resources, so on some older computers they may not work as they should.
Both applications generate containers through Docker and it is not uncommon to find some kind of installation conflict. Of course, once installed it is a pleasure how easy everything is.
Of course there are lighter options to install WordPress on our computer but they require more knowledge.
Problems uploading our work to a server
If you are a novice, it may be difficult for you to upload the website to the server, once you are done with the tests.
For this reason, if you do not have much experience, I recommend working directly from a server on the Internet.
Since if you do tests locally then you have to upload your work to the server and although thanks to the mentioned tools the task is not as difficult as it was in the past I think that if you are a novice it is better that you avoid it.
And without further ado, let's see how DevKinsta and Local work
DevKinsta
By its name you may have already guessed that it is a tool from the Hosting company Kinsta.
You can download it from here and it is totally free
Here is a complete tutorial to learn how to install and use DevKinsta:
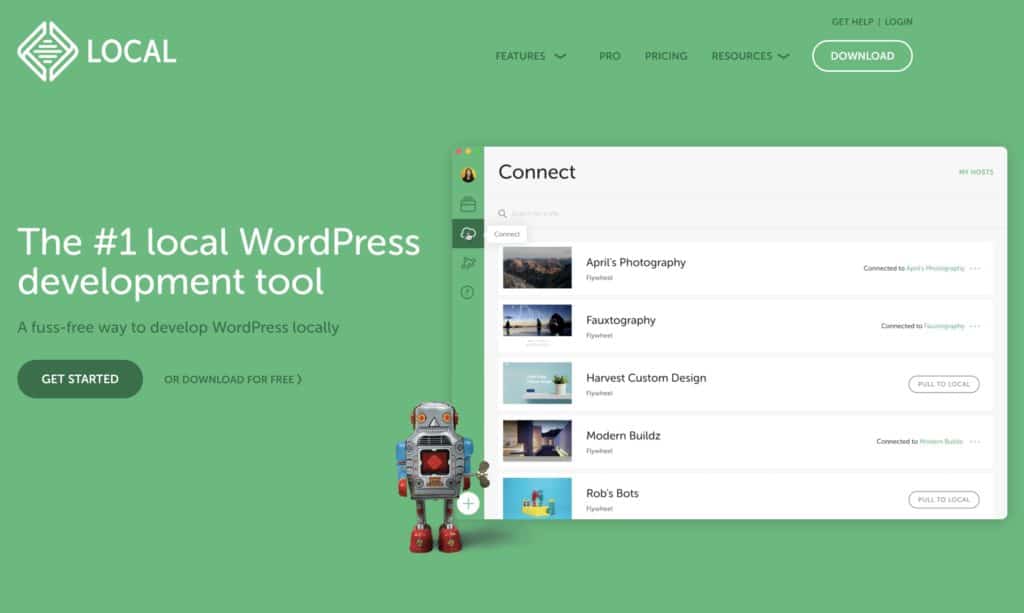
LocalWP

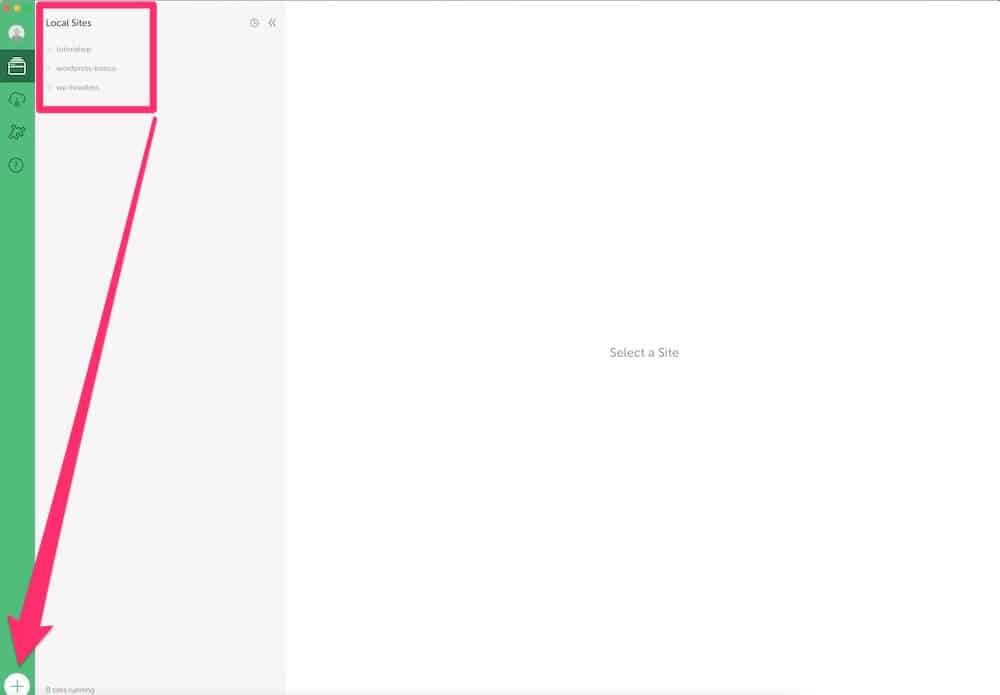
Once downloaded and installed we will have a screen like the following:

In the previous image we see that a list appears with the WordPress pages that we have locally.
Create a fresh installation in LocalWP
We click on the + icon at the bottom left and we follow the wizard.
LocalWP It has a lot of very interesting options, but to begin with, you don't need more.
Recommendation
Before continuing with the rest of the course, I recommend that you have WordPress installed in some environment. I do not recommend you follow the course without trying for yourself each step that we are going to do.
Choose the way to install WordPress that you like the most and don't go to the next lesson until you have a WordPress 💪💪💪

